Whether you just unboxed your embroidery machine or have been embroidering for years, understanding what digitizing is and how it works is crucial to your success.
Digitizing is a fundamental aspect of machine embroidery that can make or break your design quality. If you don’t take the time to learn about digitizing, you might end up making mistakes that could cost you precious time and money. And even if you are outsourcing your digitizing, you should know a little about how it works because it will help you choose the best digitizer for your needs, which is beneficial for your business.
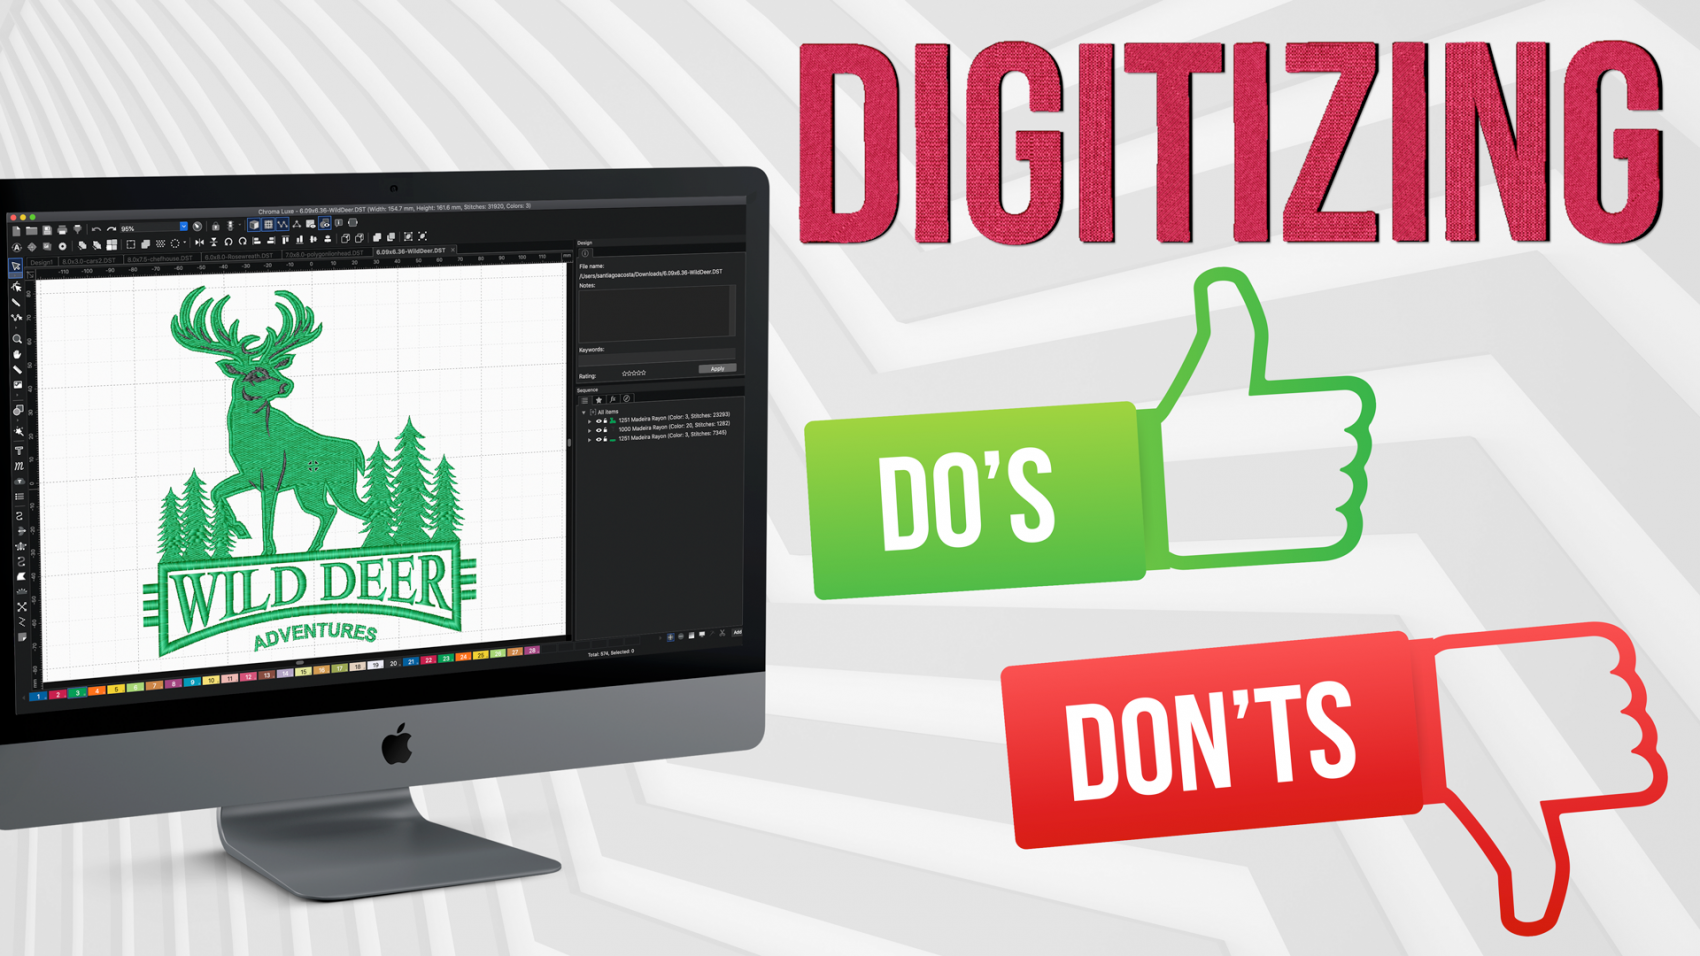
Thankfully, this blog post will go over the do’s and don’ts of digitizing so that your designs will come out right the first time and every time after that, whether you’re digitizing designs yourself or outsourcing.
Let’s get started!
DO’S
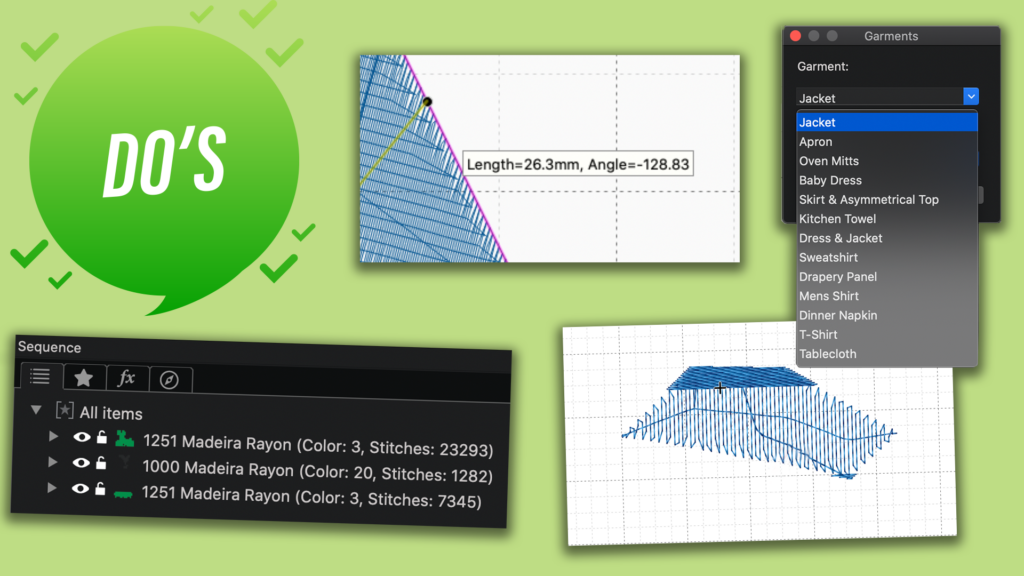
Digitize with the garment in mind
You need to think about what you want to embroider on before digitizing a design. For example, a design digitized for flats would not work on a cap since it doesn’t consider the cap’s curved surface. Embroidering a curved design onto a flat fabric simply won’t produce the best results.
Also, certain design techniques are better for specific fabrics. For example, having too much density on a stretchy fabric can cause puckering, which may not happen with other fabrics. On the other hand, a design digitized for a material like stretchy knitted fabric may not look good on denim because it was digitized with the stretchiness of the knitted fabric in mind.
Watch this episode of Embroidery Hub to learn how to embroider on knitted fabric!
Digitize in the right sequence
The sequence in which the machine embroiders the design is crucial. When embroidering a design, the machine should start with a placement stitch, then the underlay, and then the top stitch. If the machine embroiders out of sequence, then it won’t effectively stabilize the design, which can result in a distorted and badly stitched design with many issues.
When you digitize, you want everything to stitch in the right sequence. For example, small details of the design should be stitched last. Also, when embroidering on hats, the machine should stitch from the center and then outward to prevent puckering.
The GIF below shows how the Slow Redraw tool will simulate the sequence in which the machine will stitch out the design. That way, you don’t have to embroider the actual design and use up materials to see how the machine stitches the design.
Consider the stitch angle
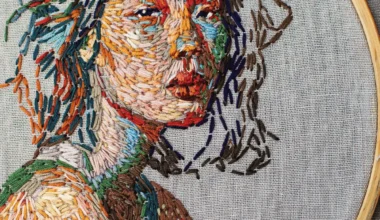
The stitch angle is the angle of the stitches the machine embroiders. They can be any angle, from horizontal to vertical, to diagonal. For example, a design with multiple elements might have one shape with horizontal stitches, while another aspect might have vertical stitches. If you want a good-looking design, it’s important to have different stitch angles for various parts of the design. Having many types of angles results in an interesting and textured design with greater contrast between different elements.
But just using one type of stitch angle could lead to a boring, less textured, one-dimensional design that doesn’t flow. So instead of embroidering a large shape at one angle, for instance, try to split it and add multiple stitch angles to give it more volume and dimension.
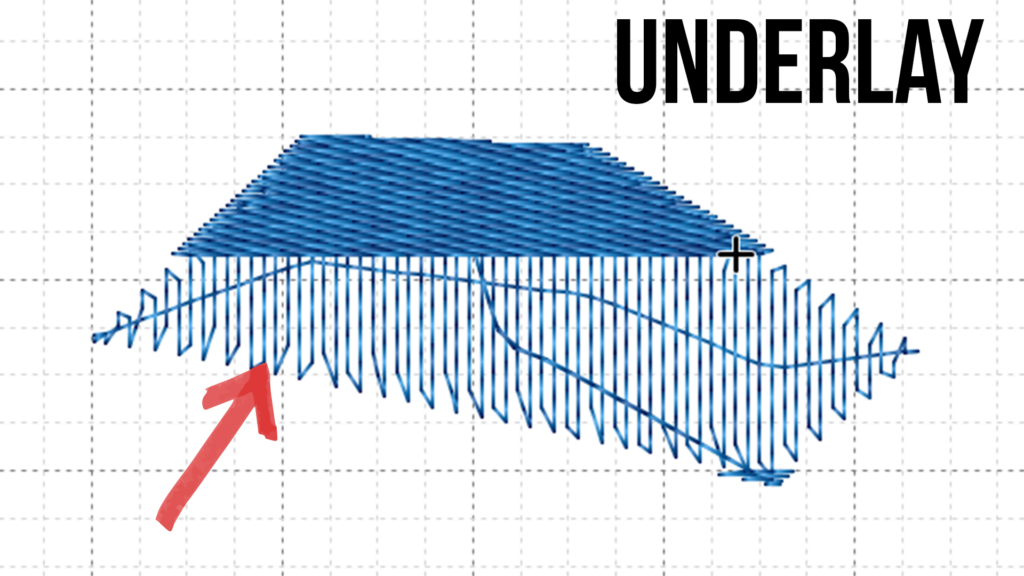
Use underlay
Underlay is the foundation of your design, as it helps to stabilize it. There are many types of underlays like edge runs, center runs, zig-zags, fill stitches, etc. They give the stitches a smooth surface to embroider on, and they minimize design distortion. For example, knitted fabrics are very stretchy, so if you embroidered on this fabric without an underlay, the design would distort. Underlay also adds density to the design, which helps it stand out.
The wrong underlay won’t stabilize the design, resulting in a messy design and a more difficult embroidery process. Having the wrong underlay can also cause the stitches to sink into the fabric. Furthermore, bad underlay may even result in the material showing through the design. For instance, when stitching small lettering, you need a centerline underlay to avoid the underlay peeking out from the top stitches.
DON’TS
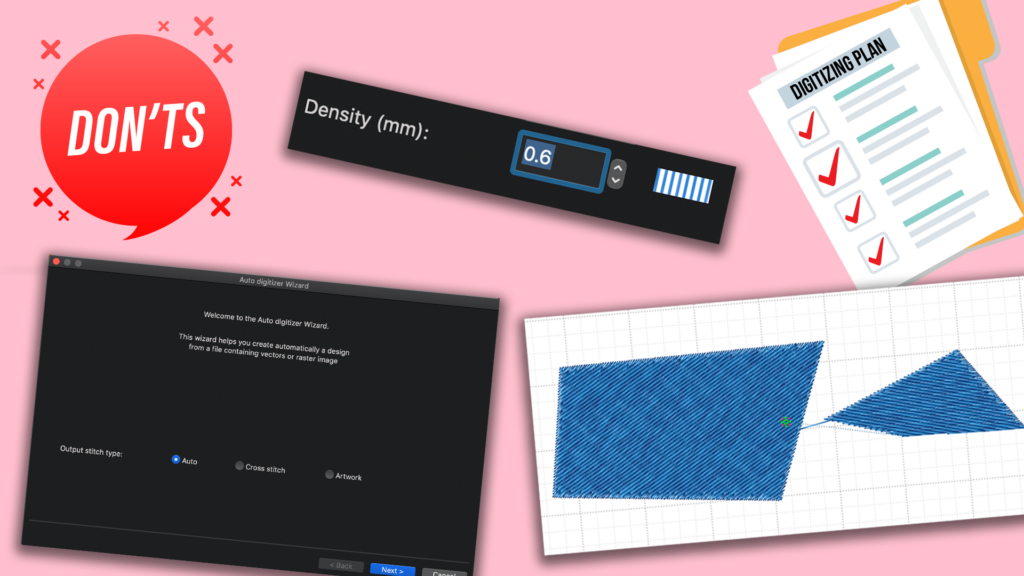
Don’t have too many jump stitches
Jump stitches are the extra threads left on the embroidered design. This happens when the needle travels from one area of the design to another, dragging the thread as it goes. Jump stitches can be due to a poorly digitized design where the needle moves randomly from one area to another. This is typical when the design sequence is not taken into consideration during digitizing. Having many jump stitches results in a much more labor-intensive embroidery experience since you have to trim them manually. Jump stitches can also cause puckering, which makes your embroidered designs look low quality.
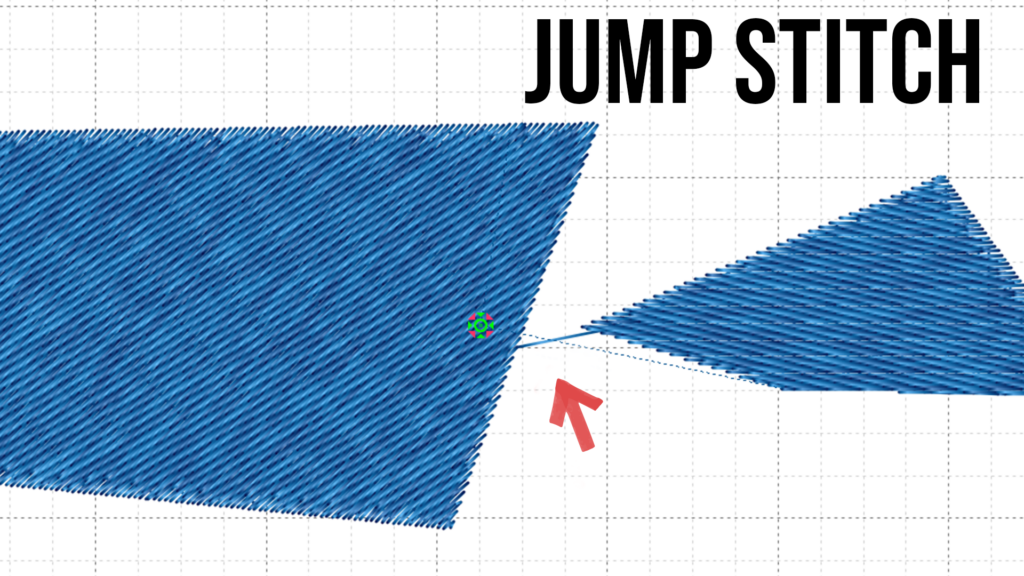
You can reduce jump stitches by avoiding designs that are more likely to jump. Designs that are mostly made of running stitches tend to have more jump stitches. A running stitch is a basic stitch used for underlay, outlining, and detail work. All in all, a well-digitized design that stitches out in the correct order will have minimal jump stitches.
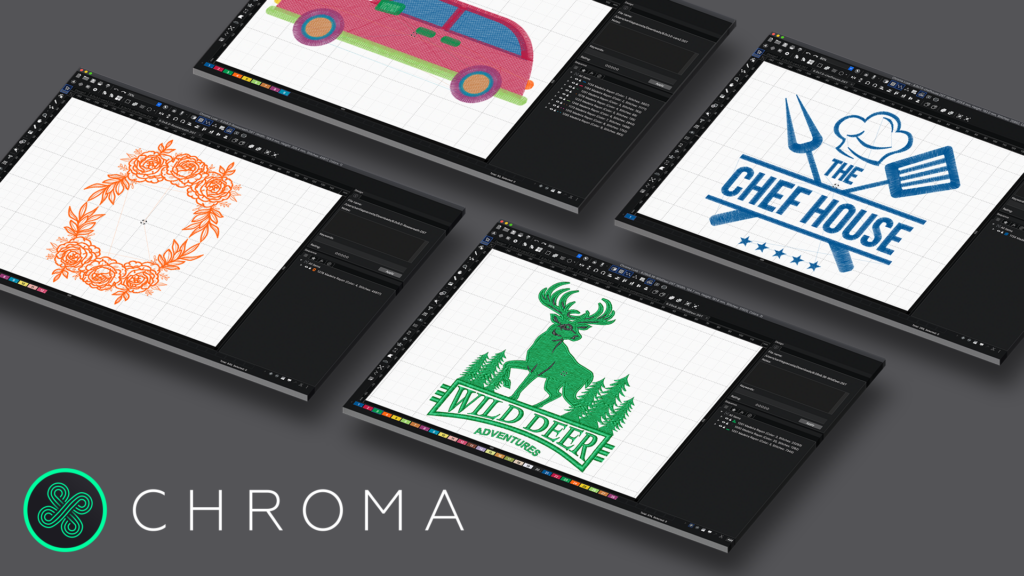
To create amazing designs, click here to download a free trial of our Chroma digitizing software!
Don’t get the density wrong
Density is the distance between individual stitches. Density is important because it has a huge impact on the embroidered design. When there’s less density, the stitch time is shorter, which reduces the chances of thread breaks and broken needles. But if your density is too high, then you may end up with a distorted design, broken needles, thread breaks, and fabric tears. High density can also create a very stiff design that is not comfortable to wear.
Click here to learn how to embroider a large, dense design on this episode of Embroidery Hub.
In the GIF below, see an example of how to change your density using the Chroma software.
Don’t rely entirely on auto digitizing programs
Auto digitizing programs are very useful when first starting out in embroidery. They may be great for digitizing simple designs, but they aren’t perfect. Auto digitizing programs might make mistakes in the digitizing process that won’t be apparent until the machine embroiders the design. This results in wasted time and money, as you’ll now have to digitize the design yourself or pay someone to do it.
If you end up learning how to digitize, then do it manually instead of auto digitizing. The more time you spend digitizing, the more it will improve your skills, which is beneficial for your business. Also, it’s always good to digitize manually or outsource to a professional instead of using an automated program for complicated designs. Digitizing yourself or having someone else do it will ensure that basic errors won’t happen, which in turn will increase your efficiency and productivity.
Learn about the features pro digitizers and newbies love about Chroma in this blog post.
Don’t digitize without a plan
Planning ahead is essential for any project, including digitizing. For instance, you should first think about what you’re embroidering on, what you want the design to look like, and what colors you want to use. After you’ve considered those factors, then you can import a high-quality image, trace over it to create the shapes, and then fill them in with stitches. If you have a planning session for the design you need to digitize, it will help prevent mistakes and ensure a better design overall.
The Bottom Line
Digitizing is a crucial aspect of machine embroidery; without it, you wouldn’t have any designs to embroider. That’s why it’s so important to know the dos and don’ts of digitizing.
If you apply these valuable tips to your digitizing process, you’ll create amazing, high-quality products for your customers quickly and effectively. Not to mention, you’ll save time, money, and materials by using these digitizing tips. On the other hand, if you’re outsourcing your digitizing, these tips will help you inspect the design from your digitizer and ensure you hired the right person for the job.
Customer Contract Templates to Protect your Embroidery Business
Are your customers demanding refunds because you haven’t taken the proper steps to protect yourself and your business from miscommunication?
We’ve put together a package of document templates, including an order form and customer contract PLUS 2 bonus forms, a sample approval form and customer garment disclaimer, complete with standard embroidery business policies that you can customize to fit your needs and protect your business!