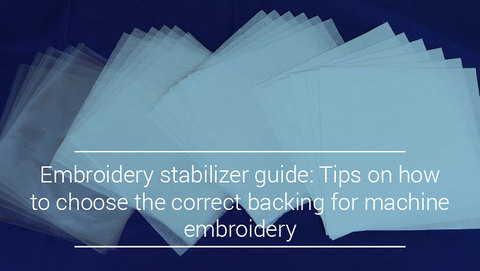
If you know anything about machine embroidery, you’ve probably heard the term “backing” or stabilizer. Selecting the proper backing can be tricky, so we took it upon ourselves to answer all the common questions we get on this topic. Whether you need a quick refresher on which type of backing to use for your current embroidery project (or it’s your first time running across the subject), this guide will answer all your questions about backing.
What is backing anyway?
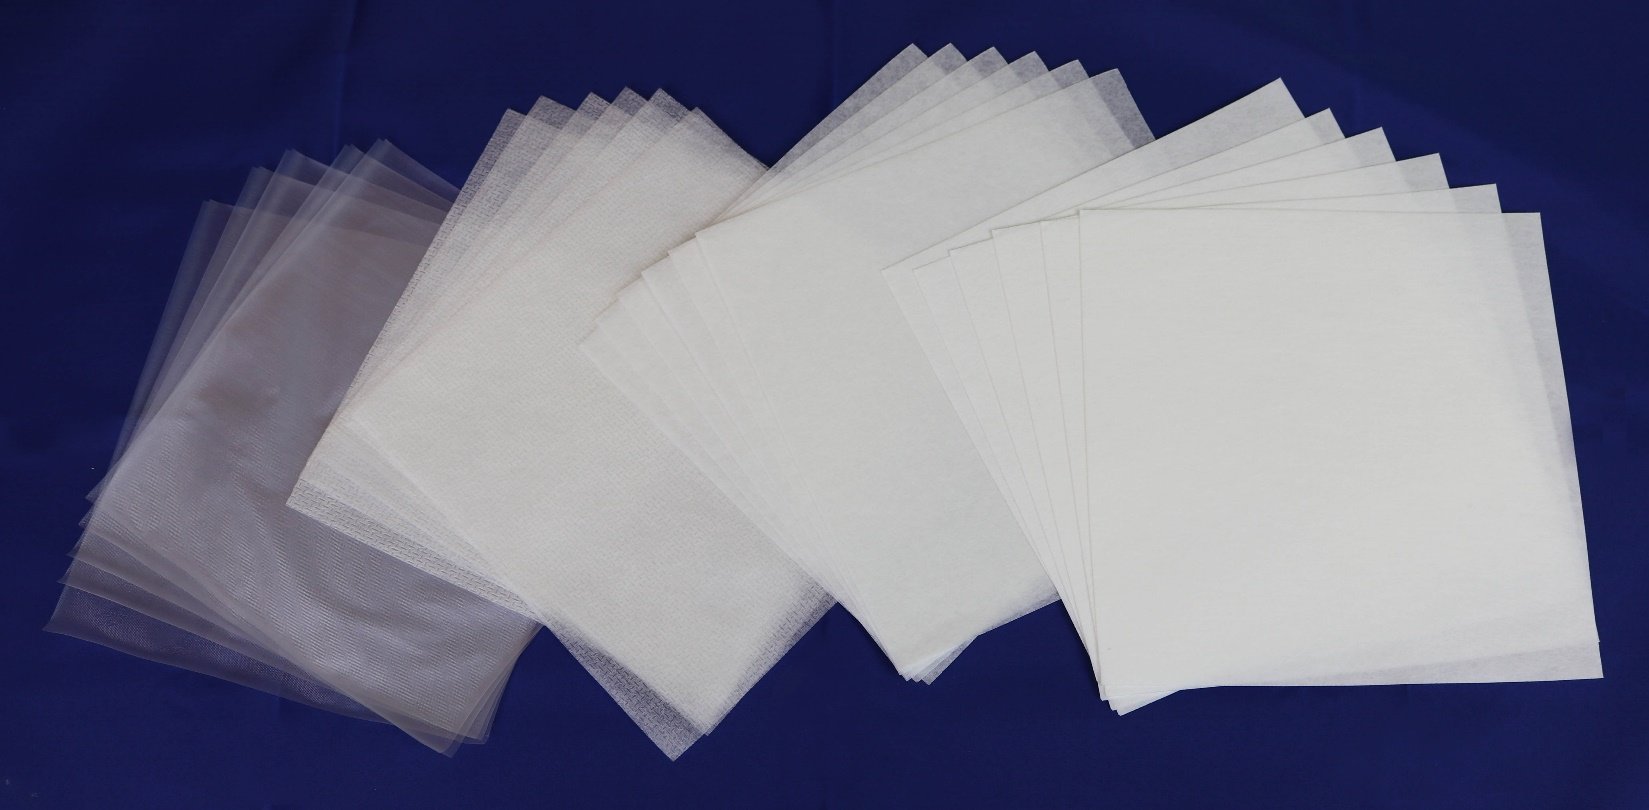
We’ll answer this question with a question. Do you own an embroidered polo? Take a look at the inside of the shirt. Under the embroidery, you’ll find a piece of white material (or black). That’s backing. Backing is a sheet of material that is hooped and embroidered along with the fabric you’re embroidering. This material acts as a stabilizer, supporting the fabric and stitches during the embroidery process. When hooping, a sheet of stabilizer is placed behind the garment to keep the fabric from puckering or moving while it’s being embroidered.
When should I use backing?
Because it acts as the foundation for your embroidery, backing is an essential piece needed for most machine embroidery projects. However, you can’t just use any backing. The appropriate backing to use depends on what item you will be embroidering.
What type of backing should I use?
Here’s the general rule of thumb embroiderers follow when selecting backing: The heavier or thicker the fabric you’re embroidering, the lighter the backing should be. The lighter or thinner the fabric you’re embroidering, the heavier the backing should be.
However, you should keep in mind the following important factors as well:
- Stability of fabric: Stretchy or loose fabrics, such as knits, require heavy backing. On the other hand, stable and tight woven fabrics need a light or medium backing.
- Stitch density: The higher the stitch density, the more support the fabric needs to stay put. Therefore, designs with high stitch densities require heavier backing.
- Wash-ability: If the fabric will be washed frequently, use a heavier backing. The backing will gradually become softer after many washes.
What size backing is considered light and/or heavy?
Typically, backing is available in different sizes, ranging from 1 ounce to 3.5 ounces. These are the three categories each size falls under:
- Lightweight: 1 to 1.5 ounces
- Medium-weight: 2 to 2.75 ounces
- Heavyweight: 3 to 3.5 ounces
Are there any projects that don’t require backing?
Every embroidery project requires some sort of stabilizer. There are very few instances where you won’t need backing, like when embroidering stuffed animals. Some stuffed animals can be bought pre-made for machine embroidery, and will not require backing.
What colors are available?
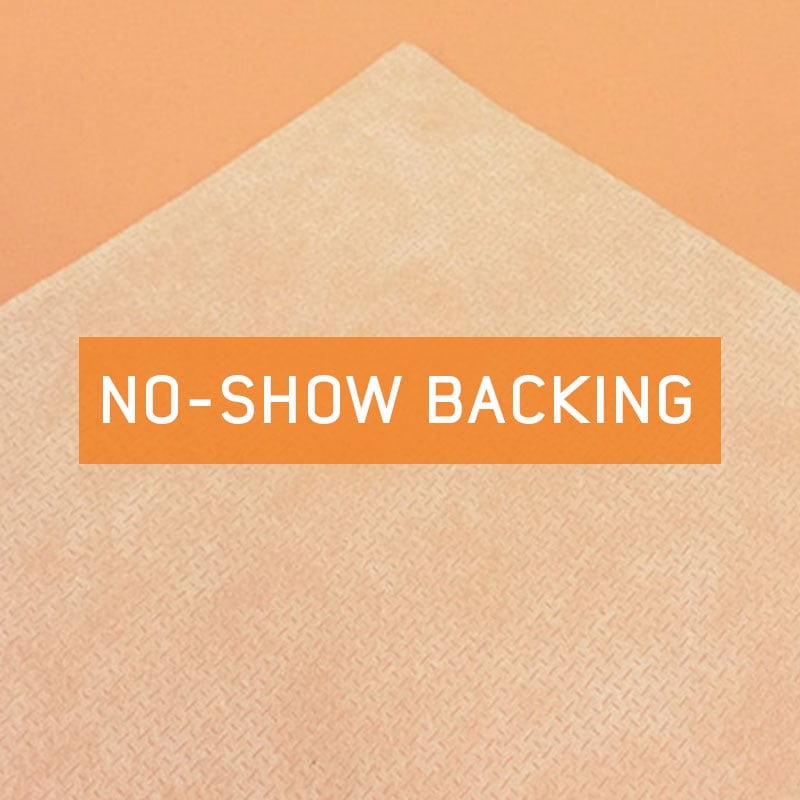
Backing is available in black and white. Of the two, white is the most common because it works well with various colors and will not be seen through the fabric. However, some embroiderers use black backing on darker garments, especially if there is any chance the backing might be seen or bleed through, such as on pique knit shirts. No-show backing is also an option. As its name suggests, this sheer backing will not show through fabric.
How much can I expect to spend on backing?
Backing is available in pre-cut sheets or in large reels. Pre-cut sheets of backing are available in different dimensions, but are most convenient for smaller designs such as the typical left-chest logo. Large reels are used for sewing large designs.
Pre-cut sheets usually come in packs of 100 to 200 and will cost anywhere from $5 to $20 depending on the type of backing it is and how many sheets it brings. Keep in mind: Buying in bulk can reduce this price. Most suppliers will provide sample packs of each type of backing, so be sure to ask for samples to see how each type of backing works on your projects.
The four main types of backing and what they’re used for
Cut-away
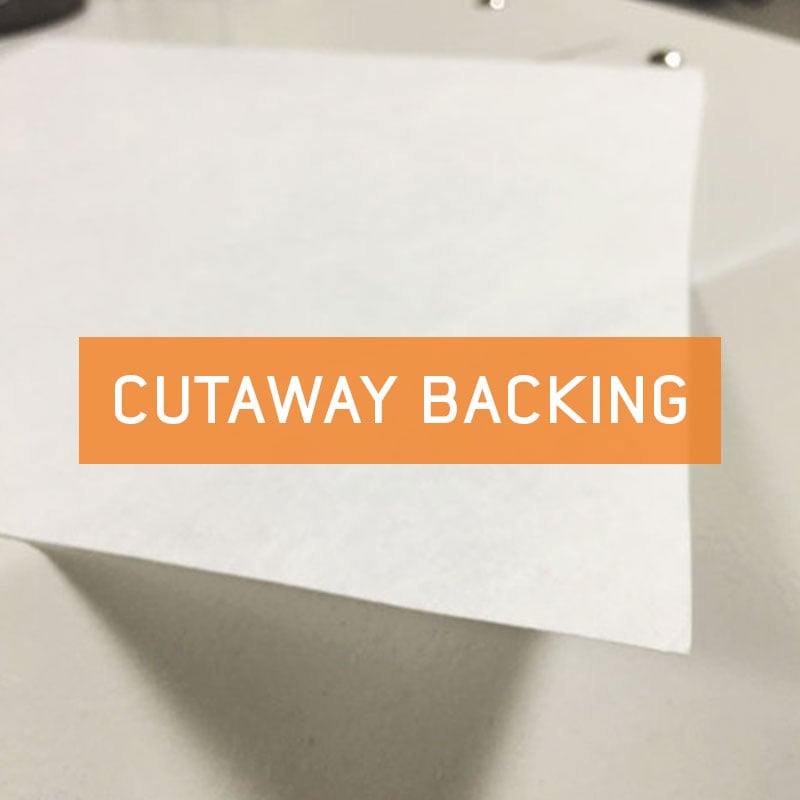
Cut-away backing is used for permanent support, as it provides the most stability. It comes in light to heavy weights and is heat set fusible. It offers the sharpest embroidery on highly detailed designs, including small lettering. Cut-away backing remains permanently affixed to the fabric, and the excess is cut away with scissors, which is how cut-away backing has earned its name. It is available in 1 oz. (light) to 3.75 oz. (heavy). Cut-away is best used on materials that stretch (such as knits) and fabrics that will be worn and washed frequently, as it prevents the design from stretching. It is also used on loosely woven and unstructured caps. Select a lightweight cut-away for light-stitch-density designs and a heavyweight cut-away for dense designs. If you’re not sure if your fabric falls under the “stretchy” category, you can actually feel the fabric to verify. To do so, grab the material with both hands approximately 8 inches apart, and pull on the fabric. Make sure you are in the middle of the fabric, not near an elastic waistband or a zipper. If there is substantial stretching, you should use cut-away backing.
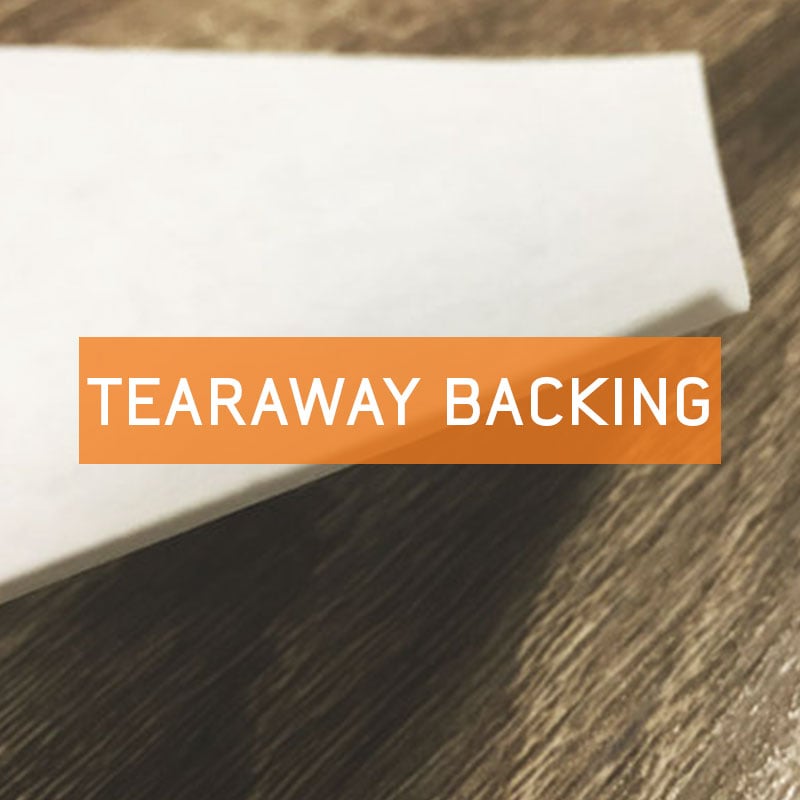
Tear-away
Less stable than cut-away backing, tear-away backing is used for light support. It’s available in light to heavy weight and also carries an adhesive version. Like cut-away, tear-away backing is true to its name. As its name hints, it is removed by tearing it off from the garment. Tear-away backing is typically used on firmly woven, natural-fiber fabrics that don’t stretch, such as terry cloth, robes, blankets, leather and more. In addition to being suitable for very strong and stable fabrics, tear-away is also used when you don’t want the backing to show on the other side of the design, such as back of towels, caps and bags. When your fabric requires strong support, you may use several layers of lightweight to medium-weight tear-away. This method is easier because you’ll remove one lighter sheet at the time, rather than struggling to remove a heavier tear-away.
Poly Mesh/No Show
Poly mesh or no-show backing is a lightweight woven cut-away that is soft, thin and strong. It is designed to provide additional stability to knit shirts. This type of stabilizer does not show through light-colored garments, hence its name. It is used on polos and T-shirts that will carry designs with a low stitch count. For best results, we recommend combining a no-show backing with a tear-away backing. No-show backing can be removed with water or heat.
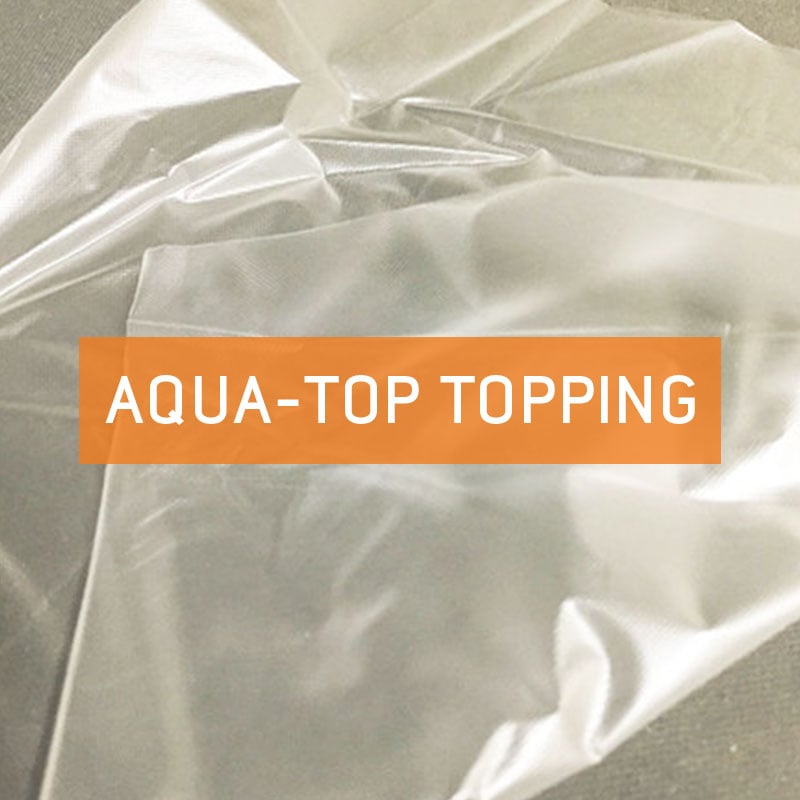
Topping
Aqua-top topping is a water-soluble plastic film used on the top of an embroidery design to prevent stitches from sinking into textured fabrics. It is used for temporary support on delicate, mesh-like and difficult-to-mark fabrics like pique, fleece, terry cloth or corduroy. Topping is also highly recommended when embroidering towels, as it allows the stitches to stand out as much as possible. When using topping, it is still necessary to apply backing on the back of the fabric to stabilize the garment. Topping may be removed by tearing it away, spraying water on it, or a combination of both methods.
The three most common specialty stabilizers
Foam
Foam is used to add dimension to lettering or designs on caps for a 3D effect. It is available in a variety of colors in sheets up to 3 millimeters thick. The foam sheet is laid on top of the desired area and then stitched over with a column fill that uses short stitches to cut the foam. The excess foam will need to be pulled away. Some stray pieces of foam that remain can be removed by applying a hot hair dryer over the area.
Poly mesh backing
While extremely thin, poly mesh backing is exceptionally strong because of the fibers it consists of. This backing is used for adding maximum stability if you don’t want to handle the bulkiness of a heavyweight cut-away. Poly mesh is great for the newer tech garments, as they are very thin and have a lot of fluidity to the fabric. Poly mesh will add support without compromising the stability of the garment. An instance where you may use this backing: when embroidering a stretchy tech golf shirt. In this case, you may layer two sheets of poly mesh.
Fusible Backing
Fusible backing is used on very stretchy materials. Once fused to the garment, the fabric and the backing become one stable material. It is also used to cover up a finished piece of embroidery, such as an infant’s onesie, where the stitches and the backing would otherwise irritate the baby’s skin.
Backing recommendations
Canvas
- Light to medium tear-away backing
Canton fleece
- Use light tear-away polyester backing to maintain color if a garment is subjected to extensive sunlight, chlorine, salt water or industrial laundering and bleaching.
Coated or waterproof fabric
- Use a light to heavy tear-away backing
Corduroy
- Use a medium topping and light to medium tear-away
Cotton sheeting
- Use a heavy cut-away or tear-away/wash-away
Denim
- Use a heavy cut-away or tear-away/wash-away
Dress shirt (woven)
- Use a heavy cut-away or tear-away/wash-away
Golf shirt
- Use a light to heavy cut-away
- Heavy knits require a medium to heavy cut-away
- Medium knits require a light cut-away
Headwear
- Use a medium to heavy tear-away
Leather and vinyl
- Use a light tear-away
Lingerie or silk
- Use a water-soluble tear-away backing
Lycra or spandex
- Use a medium cut-away or water-soluble tear-away
Nylon windbreaker
- Use a light to heavy cut-away
Satin jacket
- Use a light to heavy cut-away
Sweater knit
- Use a medium to heavy cut-away
Sweatshirt
- Use a heavy tear-away or cut-away
T-shirt
- Use a light, water-soluble tear-away or medium cut-away
Terry cloth
- Use a medium weight, water-soluble tear-away and topping
Ultimate Embroidery Cheat Sheet: 50 Popular Fabrics & How-To Embroider Them for Best Quality
Did you know that you can improve the quality of your embroidery no matter which fabric you’re embroidering on?
To guarantee your embroidery success, we’ve put together a cheat sheet of 50 of the most popular fabrics used for embroidery and the combination of materials that you’ll need to give you the best possible results for your projects.