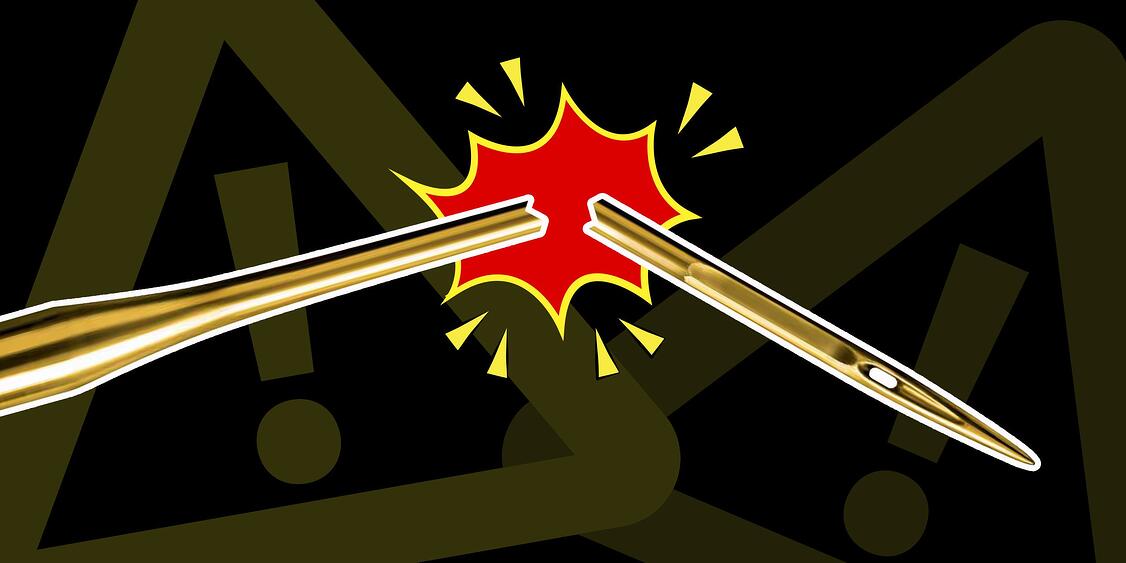
There are many reasons why needles break during your sewing process. In fact, needle breaks happen with most embroidery machines. It is inevitable and quite unpredictable.
Thankfully, embroidery companies have come up with a lot of different tricks and hacks on how to prevent needle breaks and/or what to look for.
By the end of this article you should be able to:
- Determine the density of the fabric in comparison to the needle
- Check if you’re using the right kind of needle
- Ensure that the cap driver is not too high
- Understand how improper timing can cause needle breaks
Keep on reading to find out how you can avoid dealing with those frustrating needle breaks!
#1: Fabric is too tough

Have you ever tried to embroider a piece of fabric and your needle just continues to break?
Consider that the fabric might be too tough for the needle you have chosen!
But before changing the fabric or needle you are currently using…
Try softening your fabric by spraying water on the front of the cap or by applying heat.
Many embroiderers get creative and use heat from a heat press or steamer to soften the fabric.
This tip works well for hard, structured caps because it makes the fabric soft and easy to penetrate. It’s also very important that you choose the right needle, which we’ll get to in the next section.
Our embroidery cheat sheet can guide you in choosing the right needle, stabilizer, and design for your next project! Click here to download the cheat sheet and get a bonus video that explains how to determine the right materials to use on your projects.
#2: You’re using the wrong type of needle

Certain fabrics require certain types of needles.
For instance, ball point needles work best on thin, stretchy fabric, and may even break if you try to sew on thick material, like caps or corduroy.
Most embroidery projects call for 75/11 sharp point needles. However, if you usually have an issue with your needle breaking, consider using a different type of needle to solve the problem.
Consider trying titanium needles, which tend to be more suitable for tough materials. You can even use titanium coated needles on regular fabric, since they’re built to last longer than your average needle.
Pro tip: If you’re embroidering on a cap, there are certain spots where the needle can deflect and break. For caps, we recommend using an 80/12 sharp point needle or a 75/11 sharp point titanium needle.
If you want to master cap embroidery, click here to check out our guide where we discuss 7 costly mistakes to avoid, so you can save time and money to create the best products!
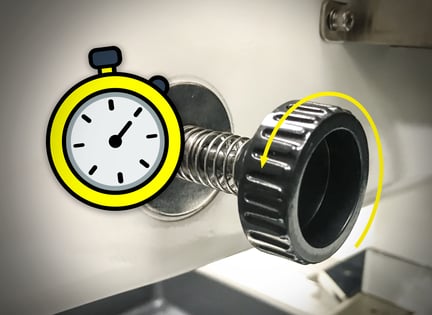
#3: Cap driver is too high

Needle breakage usually occurs when embroidering on caps.
This is due to their round surface and unusual shape.
In embroidery, our goal is to get the fabric as flat as possible.
Therefore, lowering the cap driver will help reduce the space between the cap and the needle plate. This reduces flagging, which is what typically causes needle breaks on caps.
Flagging occurs when there is too much space between the fabric and the needle plate, which causes the material to bounce up and down, as the needle penetrates through the fabric. This causes the needle to bend and eventually break.
With space, there is a greater chance for the needle to flex (bend) and miss the needle hole. If the needle misses the needle hole, it will strike the plate and break.
Remember: “…if you can get it flat, you can embroider that.”
Pro tip: The rule of thumb is to leave a small space between the sewing arm and cap driver, so they are not touching or rubbing.
#4: Improper timing
Hook timing is the synchronization of the rotary hook with the needle. When your hook timing is off, you will experience multiple needle breaks.
Tip: One way to determine if your hook timing is causing the needle breaks is to embroider on a flat fabric, rather than a cap. If you are still experiencing needle breaks on the flat surface, it may not be your needle or your cap causing it. It’s most likely that your hook timing is off.
Pro tip: We recommend checking your hook timing once a year, to decrease the amount of needle breaks that could occur.
Bottom Line
Needle breaks can definitely be a frustrating experience. It is unpredictable and time consuming, especially if it is your first time dealing with one.
To avoid needle breaks as much as possible, it is important for every embroiderer to read or watch tips and hacks on how to make the experience smoother.
For more embroidery tips and machine embroidery projects, make sure to watch our machine embroidery tutorials on YouTube and join our Facebook community, Embroidery and Printing Business Help.
Are you curious how Ricoma can help your custom apparel business?
Schedule a call for a quick 30 minutes “Embroidery Talk” with our specialists to see if you’re really ready to start or expand your business. Our specialists can help you…
- Find helpful resources to kick start your embroidery education
- Answer any questions regarding pricing your items for profit and sourcing materials
- Help you compare and contrast different machine types and branch in the industry
- Help you determine which machine would suit your business based on your current and future goals