If you want to bring a customized, cozy feel to your or your customers’ clothing, you’re in the right place. Making a statement in both style and comfort can be easy with the right tools and process. Whether you want to embroider for yourself or your embroidery business, here’s exactly how to embroider a sweatshirt, both by hand and with a machine!
Materials You’ll Need
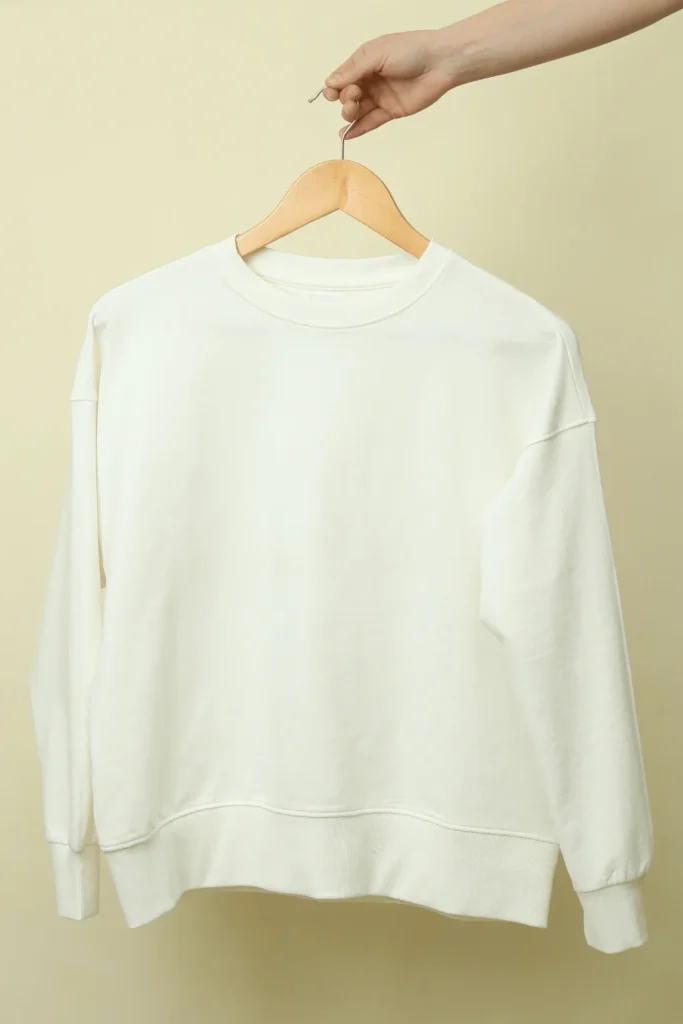
- A sweatshirt, ideally made of sturdy fabric like cotton or fleece
- An embroidery machine
- A hoop that comfortably fits around the area you plan to embroider
- Embroidery floss in your preferred colors
- Embroidery needles
- Transfer method (tracing paper, iron-on transfers, or water-soluble stabilizers)
- Sharp scissors for cutting floss
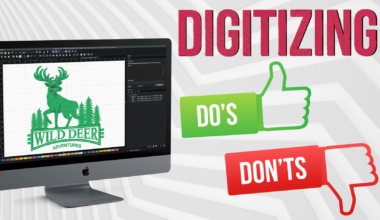
Choosing a Design
If you’re a beginner, you might want to start with simpler designs before progressing to more intricate patterns.
When it comes to sweatshirts specifically, avoid densely stitched designs that may pucker the fabric, and instead opt for simple patterns to start (especially if this is your first time embroidering sweatshirts).
Also consider the contrast of the colors to make the design stand out more — think about stitch color and how it compares to the sweatshirt you’re embroidering on.
How to Embroider a Sweatshirt by Hand
Prepare Your Sweatshirt
Prepping your shirt is one of the most crucial parts of learning how to embroider a sweatshirt, as it’s setting your sweatshirt up for the best transfer possible!
Wash and iron your sweatshirt to ensure it’s clean and free of wrinkles, which can distort the embroidery. If you need, stretch the sweatshirt over an embroidery hoop, ensuring it’s taut but not stretched out of shape.
Secure the sweatshirt in the embroidery hoop, making sure the area that will be embroidered is centered and pulled tight.
Transfer the Design
When it comes to how to hand embroider a sweatshirt, you get to pick a few different types of transfer methods: tracing paper, iron-on transfers, or water-soluble stabilizers.
Use marking tools like chalk or water-soluble fabric markers to trace the design onto the sweatshirt, and think about symmetry and alignment with the garment’s seams or other features.
With the design transferred, you’re ready to start stitching!
Set Up Your Embroidery Hoop
Once your design is transferred, you’ll be using an embroidery hoop to secure around the fabric and keep things stable during embroidery.
Make sure your hoop is tightened securely around the fabric to keep it stable during embroidery.
Adjust the hoop so that the area to be embroidered is centered within the hoop, allowing easy access for stitching.
Find a comfortable position to hold the hoop while stitching, ensuring your hands have freedom of movement — and get embroidering!
Know Your Basic Embroidery Stitches
Before you begin stitching, it’s helpful to familiarize yourself with some basic embroidery stitches while learning how to embroider a sweatshirt by hand:
- Learn the backstitch for outlining and creating solid lines.
- Master the running stitch for simple, straight lines and fill stitching.
- Practice the satin stitch for filling in larger areas with smooth, shiny stitches.
- Familiarize yourself with the French knot for adding textured dots or small accents.
With these basic stitches in your repertoire, you’ll be ready to bring your embroidered design to life on your sweatshirt (and get creative with future designs).
Play with Advanced Embroidery Stitches (Optional)
Once you’ve mastered the basic embroidery stitches, you may want to experiment with more advanced techniques to enhance your design further:
- The chain stitch offers a textured look, perfect for creating decorative borders or adding dimension to your design.
- The feather stitch, which can add delicate, feathery details to your embroidery is great for creating organic shapes or intricate patterns.
- The bullion knot adds a more dimensional look, which creates raised elements on your fabric.
- Couching attaches decorative threads or yards onto your fabric surface, adding depth and interest to your design. These advanced stitches can take your embroidery to the next level, allowing you to create more intricate and detailed designs.
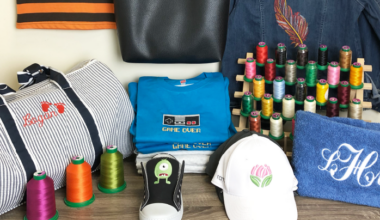
Add Embellishments (Optional but Fun!)
For an extra touch of flair, consider adding embellishments to your embroidered sweatshirt!

Beads or sequins can add sparkle and texture to your design, creating eye-catching accents that catch the light. Ribbon embroidery helps you create dimensional floral motifs or intricate patterns, using ribbons of various widths and colors to enhance your design.
Fabric appliqué techniques allow you to incorporate additional fabrics or textures into your embroidery, adding layers and depth to your design.
Or, you can mix different types of embroidery floss, like metallic or variegated threads, which can add visual interest and complexity to your design.
These embellishments aren’t necessary, but can make your embroidery more personalized!
✨FUN FACT: Did you know that Ricoma sells a special Sequin Machine for special order? This machine can be attached to your embroidery machine and can add sequins and beading into a design. Contact your account coordinator for more details on how to order!
Finishing Touches: Remove Hoop Marks & Secure Loose Threads
Once you’ve completed your embroidery, gently steaming or ironing the embroidered area to remove any hoop marks or creases left behind during stitching. Then, carefully trim any loose threads on the front and back of the embroidered area, ensuring they are securely knotted and hidden within the stitches.
Take a final look at your embroidered sweatshirt, checking for any missed stitches or areas that may need reinforcement. Make any necessary touch-ups to ensure your embroidery looks its best.
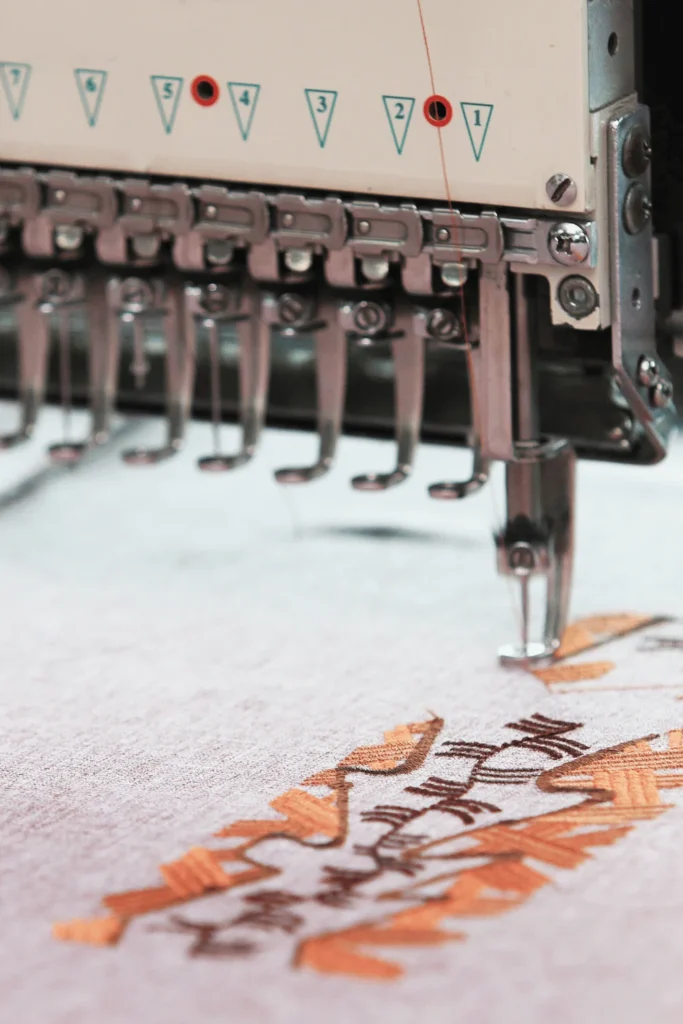
How to Embroider a Sweatshirt with a Machine
Learning how to embroider a sweatshirt with a machine can help make your process fast and easier when running your embroidery business. It also lets you create intricate designs easier and faster. Let’s walk through the process:
Choose a Design
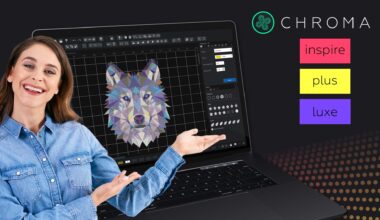
Instead of manually stitching, you’ll be working with digital embroidery files compatible with your machine. These files often come in formats like .pes, .dst, or .jef. Our embroidery software subscription, Chroma, is universally compatible with all embroidery machines and offers training and tutorials when you subscribe to learn more with each creation!
Set Up Your Machine
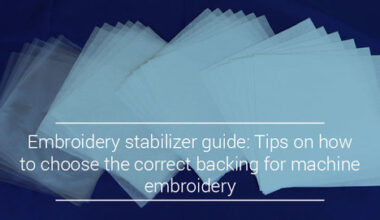
Hoop the sweatshirt fabric securely, ensuring it’s smooth and wrinkle-free within the hoop. Then, place your stabilizer underneath the sweatshirt fabric to provide support and prevent puckering during embroidery. The type of stabilizer you choose should be appropriate for the fabric type and design complexity.
Adjust your machine settings, like stitch speed, tension, and needle type, according to the requirements of your chosen design and fabric. Don’t forget to test stitch settings on scrap fabric before starting on your sweatshirt!
Transfer Your Design
Transfer your design onto your embroidery machine using a USB drive, memory card, or directly from your computer (if your machine supports it).
Then, use the interface to position it accurately on the sweatshirt fabric, considering factors like placement, size, and alignment.
This is the time to be patient and ensure your design is positioned exactly where you want it before proceeding.
Follow Your Machine’s Instructions
Refer to the manual for guidance on setup, threading, and operation, following your machine’s instructions. Pay close attention to proper tension and smooth operation.
Use your machine’s control panel or interface to choose the appropriate embroidery stitch settings based on your design and fabric type.
But don’t walk away just yet! Pay close attention to the machine’s progress and be prepared to troubleshoot any issues that may arise.
Trim Excess Stabilizer & Secure Thread Ends
Once your embroidery is complete, it’s time to add the finishing touches!

Carefully trim any excess stabilizer from around the embroidered design using sharp scissors. Take care not to cut into the stitches or fabric. Next, tie off or secure any loose thread ends on the back of the embroidered area using a hand-sewing needle.
Make sure the ends are hidden within the stitches to prevent unraveling. Finally, inspect the embroidered sweatshirt — in case there’s any remaining stabilizer residue or loose threads.
Make any necessary adjustments or touch-ups to ensure a clean, professional finish.
Find Your Dream Embroidery Machine at Ricoma
So you’ve learned how to embroider on a sweatshirt — now let’s help you make a business out of it! The Ricoma SWIFT 20-needle embroidery machine will suit all of your embroidery needs, making it as easy as ever to embroider on repeat!