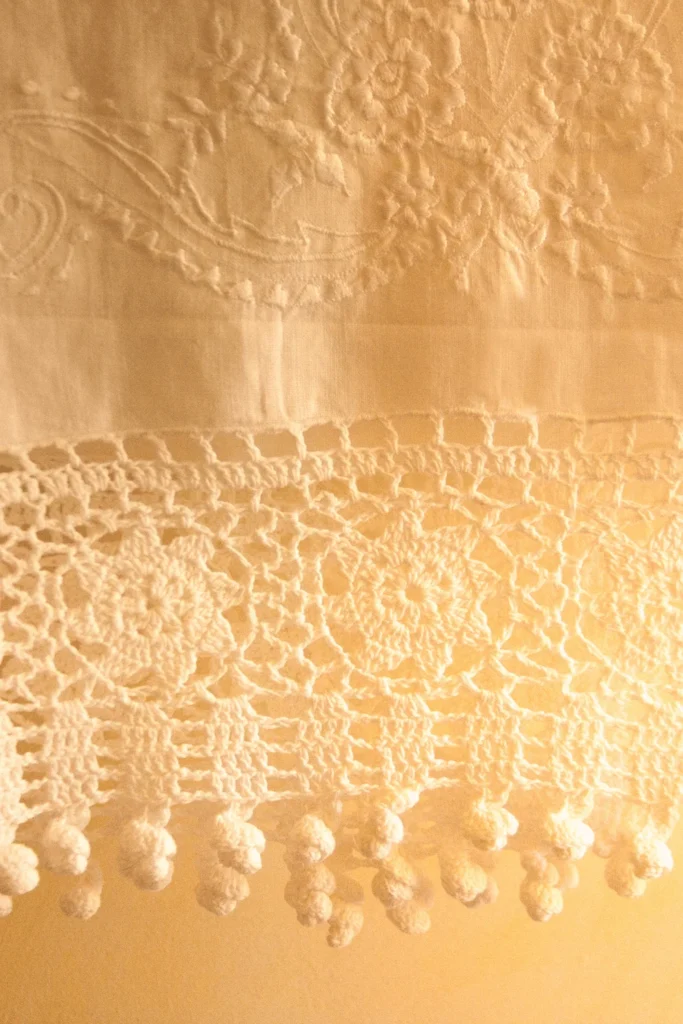
Learning how to embroider towels can add a personal touch to your home decor or make for thoughtful gifts that are both beautiful and practical.
Whether it’s just a new hobby you’re taking up or you’re starting an embroidery business, there are various techniques to explore, from how to embroider towels by hand to how to embroider towels by machine.
Let’s delve into the different methods and give you some step-by-step instructions for how to embroider towels you love!
Hand-Embroidering vs. Machine Embroidering
When looking into how to embroider towels, you’ll find it can be done either by hand or with the help of a machine. Each offers its own set of advantages and considerations.
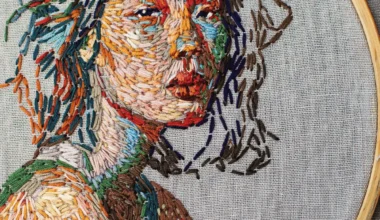
Hand-embroidering allows for a personal touch and offers nearly endless customization options!
However, hand embroidering can be time-consuming, especially for intricate designs, and may seem like a mammoth task when you’re first learning how to embroider towels.
It requires patience, skill, and practice to achieve professional-looking results.
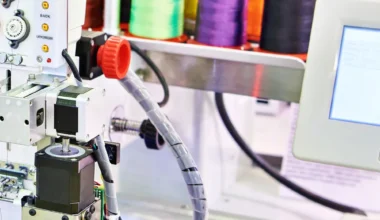
An embroidery machine, however, will give you speed and consistency in production. You can easily replicate designs across multiple towels with precision and efficiency, which can be a great way to scale your Etsy shop or growing website. Machine embroidery is versatile, allowing you to embroider various designs ranging from simple patterns to intricate motifs.
However, it does require an initial investment in equipment as well as a learning curve to master the techniques.
How to Embroider Towels by Hand
Follow these steps on how to embroider a towel by hand to create beautifully embroidered towels that are sure to impress!
1. Prepare Your Towel
Before you begin embroidering, let’s prepare your towel properly.
Wash and dry the towel to remove any sizing or dirt, ensuring a clean surface for embroidery. Once it’s dry, iron the towel to create a smooth and flat surface, which is crucial for achieving neat and even stitches during embroidery.
If you’re working with a loosely woven or stretchy fabric, use a stabilizer to prevent the fabric from stretching or distorting while you stitch.
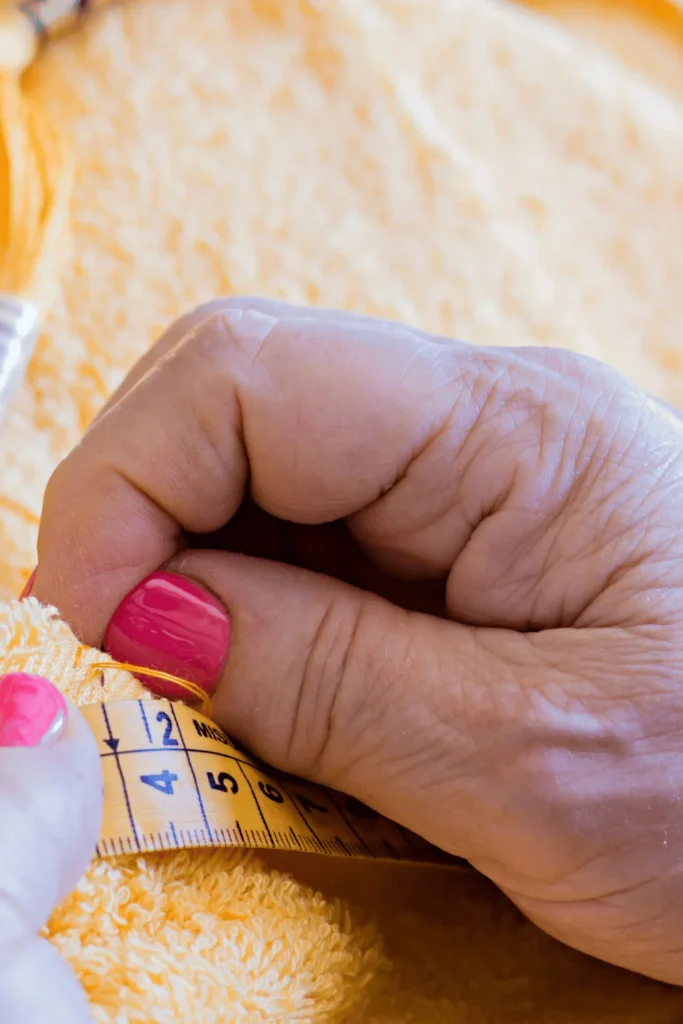
2. Choose Your Design
Selecting the right design will set the tone for your embroidered towel.
Consider the size and complexity of the design, choosing one that fits the size of your towel and matches your skill level.
If you’re a beginner, you may want to start with simple designs and gradually work your way up to more intricate patterns.
3. Transfer the Design
Use a transfer pen or pencil to trace the design directly onto the fabric, ensuring it’s centered and aligned correctly before you begin stitching.
For more complex designs, you can use a lightbox or transfer paper to transfer the pattern accurately onto the towel.
4. Secure the Towel in the Hoop
In order to stitch smoothly, it’s essential to properly secure your towel in the embroidery hoop.
Place the towel in the embroidery hoop, making sure it’s taut but not stretched. Adjust the tension of the hoop to hold the fabric securely in place, and double-check the placement of the design within the hoop before tightening the screw to ensure it stays centered and aligned.
5. Thread Your Needle
Selecting the right thread and preparing your needle sets the foundation for nailing your ideal embroidery design.
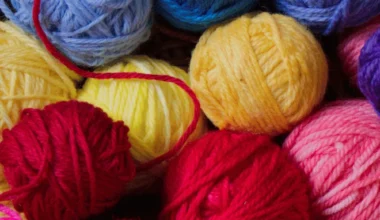
Choose embroidery floss or thread that complements the color of your towel and the design, separating the floss strands according to the thickness requirements of your design
Thread the needle and knot the end securely to prevent it from coming undone while you stitch, ensuring smooth and effortless embroidery.
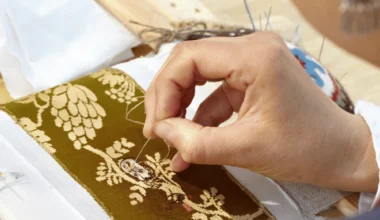
6. Start Embroidering
Now comes the fun part – stitching your design onto the towel!
Begin stitching from the center of the design outward for balanced results, using the embroidery stitch of your choosing. Some popular ones include a satin stitch, backstitch, or French knots to add texture and dimension to your design.
Throughout the embroidery process, maintain consistent tension and stitch length for a polished finish, practicing until you achieve the desired results.
7. Remove the Design
Once you’ve completed the embroidery, it’s time to remove any leftover markings or stabilizer.
Your removal methods will depend on the type of stabilizer you’ve opted for. You might be tearing away, cutting away, or washing away. Either way, be gentle; you might want to use a small brush or tweezers to remove any stubborn residue, ensuring your embroidery looks clean and crisp.
8. Press the Embroidery
The final step is to press the embroidery to give it a professional finish!
Place a pressing cloth over the embroidered area to protect the stitches from direct heat, then use a steam iron on a low setting to press the embroidery from the wrong side of the towel.
Avoid pressing directly on the stitches, as this flattens and distorts the design.
How to Embroider Towels by Machine
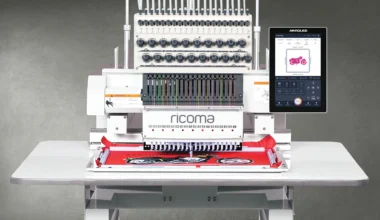
Learning how to machine embroider towels offers a fast and efficient way to add intricate designs to your linens. Whether you’re embellishing towels for your home or creating personalized gifts, machine embroidery provides endless possibilities.
1. Load Your Design Into the Software
To get started, you’ll need to load your chosen design into the embroidery software, like Chroma software. This can be a pre-made design or one you’ve customized yourself.
In this software, you’ll be able to resize, rotate, or customize the design as needed to fit your towel perfectly. Once you’re satisfied, save it in the appropriate file format supported by your machine (usually a .dst) to ensure compatibility for seamless stitching.
2. Hoop the Stabilizer and Towel
Next, prepare the hoop and stabilize the towel for embroidery. Cut a piece of stabilizer slightly larger than the embroidery hoop size to support the fabric and ensure smooth stitching.
Place the stabilizer and towel together in the embroidery hoop, making sure they’re centered within the hoop. Tighten the hoop to hold the stabilizer and towel securely in place, ensuring there are no wrinkles or folds in the fabric.
Tip: You can use a water-soluble topping to help make your design stand out against the textured fabric.
3. Thread Your Machine
Now it’s time to thread your embroidery machine and prepare for stitching. Choose the appropriate thread color for your design and thread the machine accordingly, following the machine’s threading diagram and ensuring proper tension settings.
Before starting on your towel, test the thread tension and stitch alignment on a scrap piece of fabric to ensure optimal results.
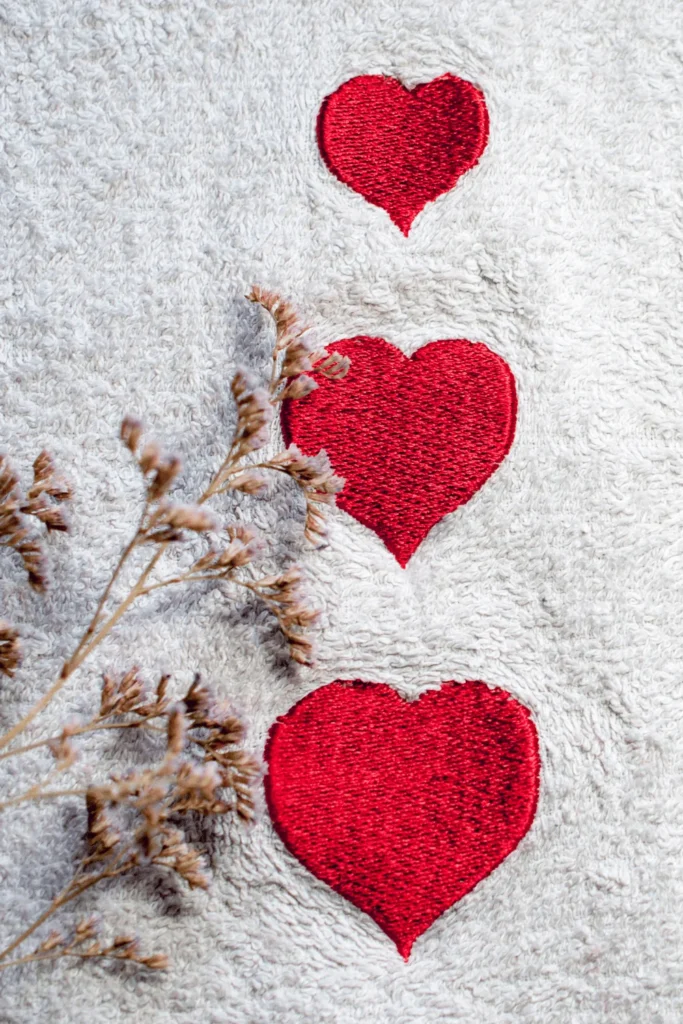
4. Stitch Your Design
With everything set up, it’s time to start stitching your design onto the towel. Start the embroidery machine and monitor the stitching progress, ensuring it keeps with smooth and consistent stitches.
Pause or stop the machine if any thread breaks or if adjustments are needed to maintain quality stitching. Allow the machine to complete the design, ensuring all the elements are stitched accurately and with precision.

5. Trim Threads & Remove Excess Stabilizer
Once your embroidery is complete, tidy up the finished piece by carefully trimming any loose threads or jump stitches from the embroidered area, using small embroidery scissors to avoid damaging the fabric.
Tear away any excess stabilizer from the back of the towel, being careful not to damage the stitches while ensuring a clean finish.
6. Press the Embroidery
To give your embroidered towel a professional finish, press the embroidery just like you would if you hand-embroidered!
Lay the embroidered towel flat on an ironing board with the wrong side facing up, and place a pressing cloth over the embroidery to protect the stitches from direct heat.
Lightly press the embroidery with a steam iron on a low setting to remove any wrinkles and ensure a smooth finish.
Learn How to Embroider Towels By Machine with Ricoma’s Free Resources!
For further guidance and inspiration on machine embroidery, explore the Ricoma TV YouTube channel for tutorials, guides, and how-tos to learn all the latest techniques to master your new embroidery machine!