Trendy, cute, embroidered hats are prime real estate for showcasing your personality. After all, it’s the closest clothing piece to your smiling face! So, why not learn how to embroider your own? Let’s explore all you need to know about how to embroider hats.
Why Embroider Hats?
If you’re thinking about turning your passion for embroidery into a side hustle, hats are a great place to start. They’re affordable to buy in bulk, useful for hot days and sporty outings, and have the ability to be cute outfit additions that don’t require any effort to wear!
Choose the Right Hat
So, you’re about ready to start your crafting journey — let’s teach you how to embroider hats, starting with how to choose the right one for you.
Embroidering for Baseball Caps
Baseball caps are not your typical flat surface like a shirt or a tote bag. They’ve got curves and seams that can make embroidery a challenge if you’re used to embroidering on flat surfaces.
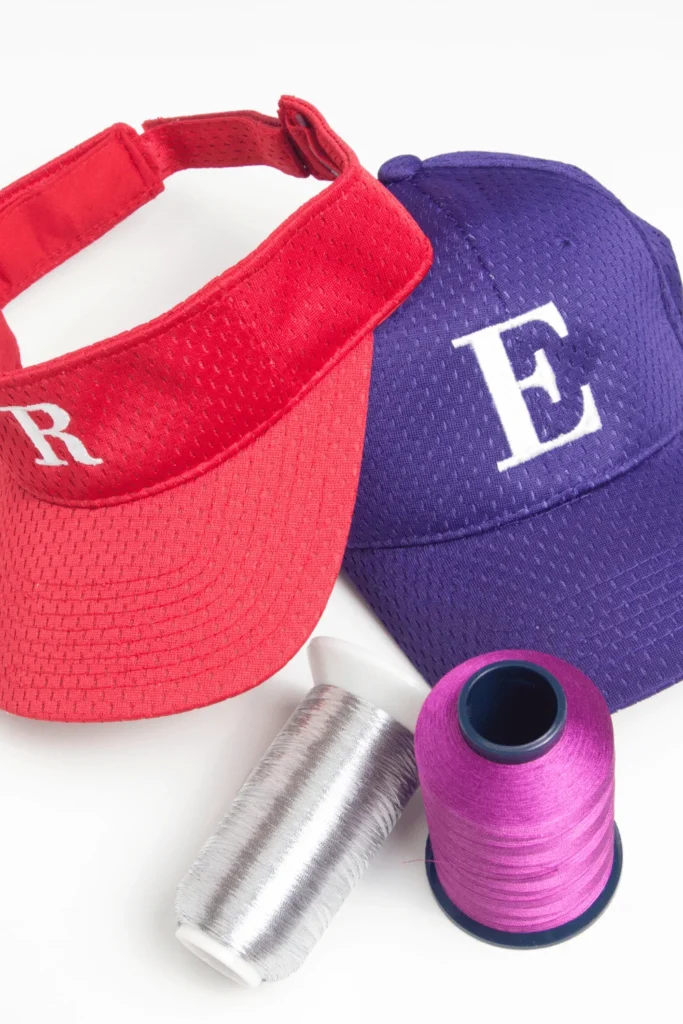
When choosing hats for embroidery, opt for ones made from sturdy fabric like cotton twill or wool blend. These materials hold up better to stitching and will give your embroidery a polished look.
Placement is also key when it comes to embroidery on baseball caps. You don’t want your design getting lost in the curve of the cap or overshadowed by seams, so aim for the front panel or the side, where there’s plenty of space for your design to shine.
Keep size in check, too. Too big, and your design will look awkward and stretched out. Too small, and it might get lost in the fabric.
Embroidering for Beanies
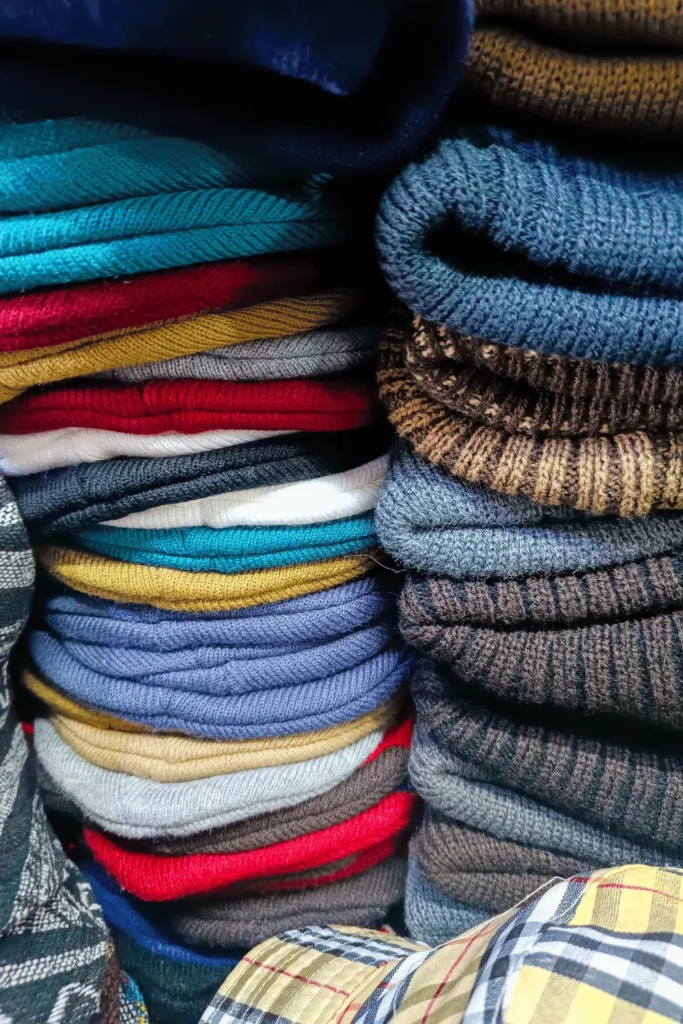
When it comes to embroidering beanies, fabric matters! Look for ones made from knit or fleece materials. These fabrics are comfortable to wear and strong enough to withstand embroidery.
Unlike baseball caps, beanies are stretchy, which means you’ll need to adjust your embroidery techniques accordingly. It’s especially important to choose a great stabilizer to prevent puckering or distortion as you stitch.
Placement options for embroidery on beanies are endless. You can go for the classic front placement, where your design sits front and center, or get creative with placements on the back, side, or even along the brim.
Beanies come in all shapes and sizes, from slouchy to snug-fitting, so it’s essential to choose a design that complements the beanie’s style. Perhaps opt for simple, bold designs for slouchy beanies and more intricate designs for tighter-fitting ones.
And don’t forget to play around with colors to make your embroidery pop!
Pick a Hat-Worthy Design
Now that you’ve got your intro on how to embroider hats, it’s time for the fun part — picking the perfect design!
Stitch complexity is a big factor to keep in mind. Intricate designs might look stunning on paper, but they can be a nightmare to embroider, especially on curved surfaces like hats. Aim for designs with clean lines and minimal detailing for best results, especially if this is your first time embroidering hats.
🔎 FAQ: How long does it take to embroider a hat? It depends on the design, but hand-embroidering can take at least 30 minutes and up to a few hours. Using an embroidery machine typically takes between 15 and 45 minutes, depending on the design complexity.
Prepare Your Hat
Give your hat a good clean. Dust, dirt, and oils from your hands can affect the quality of your embroidery, so make sure your hat is squeaky clean before you start stitching.
Press your hat, ensuring it’s nice and flat so it’s easier to hoop and embroider. Then, mark your placement guidelines with tailor’s chalk or water-soluble markers to mark your design’s placement on the hat before you start stitching.
Hand-Embroider or Use Your Embroidery Machine
The choice is yours — hand embroidery, or machine?
Hand embroidery has a charm all its own. There’s something meditative when learning how to embroider a hat by hand. It allows for a level of detail and customization that’s hard to achieve with a machine. Plus, it’s portable, so you can take your embroidery projects with you wherever you go! However, hand embroidery can be time-consuming, especially for intricate designs.
With an embroidery machine, you can whip up professional-looking designs in a fraction of the time it takes to stitch them by hand. Machines also offer consistency and precision that’s hard to beat.
If you want to learn how to embroider a hat with hand embroidery, try learning some basic stitches like backstitch, satin stitch, and French knots, and work your way up from there.
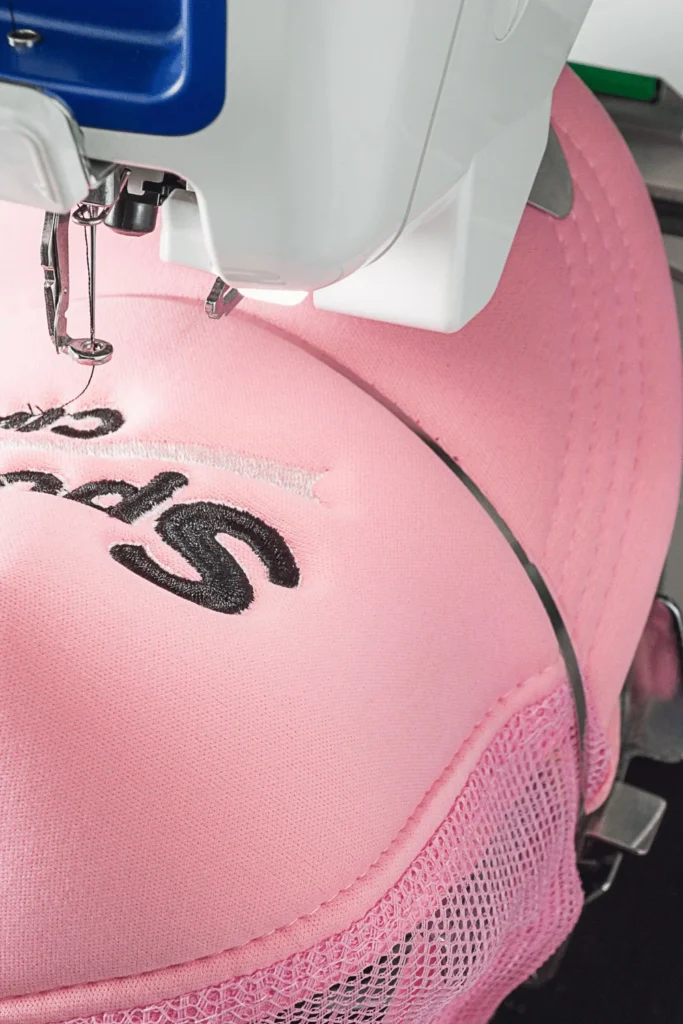
As for machine embroidery, you’ll need to set up your machine, choose the right thread and needle, and program your design into the machine’s software.
But once you’ve got the hang of it, machine embroidery is a breeze — just sit back, relax, and let the machine do the work for you!
Add the Finishing Touches
You’ve stitched your heart out, and now it’s time to add those final touches to make your embroidered hats truly shine!
First things first, grab a pair of sharp embroidery scissors and carefully trim away any excess stabilizer or threads. Be sure to take your time and trim close to the stitches without cutting into them. Add beads, sequins or rhinestones to accentuate your design even more, or try your hand at additional stitching techniques like appliqué or French knots to add texture and dimension.
Once your hats are looking picture-perfect, it’s time for a quality check. Take a close look at each hat, inspecting for any loose stitches, puckering, or other imperfections. Fix any issues you find before moving on to the next step.

If you’re selling your hats on Etsy, add a personalized tag or label to add a special touch to the presentation. (And don’t forget to include care instructions!)
Mistakes to Avoid When Embroidering Hats
Learning how to embroider hats can be fun, but some common mistakes can trip you up along the way. Let’s make sure you don’t make these costly mistakes when embroidering caps and hats:
Using the Wrong Stabilizer
If you’re experiencing stabilizer-related issues during embroidery, don’t panic!
Try adjusting your stabilizer type or thickness, or experiment with adding multiple layers for extra support.
For heavier fabrics like denim or canvas, go for a heavyweight cut-away stabilizer. And for stretchy fabrics like knit or fleece, use a stabilizer specifically designed for stretch fabrics.
Incorrect Hooping
Place your hat securely in the hoop, making sure it’s centered and taut. You want the fabric to be stretched tight enough to prevent puckering but not so tight that it distorts the shape of the hat.
If you find that your initial hooping is incorrect, you can always rehoop your hat and start over. Just be sure to remove any leftover stabilizer or stray threads before rehooping to prevent interference with your embroidery.
Using the Wrong Needle
The needle might seem like a small detail, but it plays a big role in the quality of your embroidery. Using the wrong needle type or size can lead to skipped stitches, thread breaks, or even damage to your fabric.
So, how do you choose the right needle for hat embroidery? It all depends on factors like hat fabric and design complexity. For lightweight fabrics like cotton or polyester, opt for a fine needle size to prevent damage to the fabric. For heavier fabrics like denim or canvas, go for a larger needle size to ensure smooth stitching.
If you’re experiencing needle-related issues during embroidery, don’t panic! Try adjusting your needle size or type to better suit your fabric and design. And remember to change your needle regularly to prevent dulling and ensure clean, crisp stitches.
🔎 FAQ: How much does it cost to embroider a hat? Expect to pay anywhere from $5 to $20 per hat for a standard design. More intricate designs will go up from there.
Not Checking Thread Tension
Thread tension might not be the most glamorous part of embroidery, but it’s absolutely essential for achieving high-quality results. Incorrect thread tension can lead to all sorts of problems, like loose stitches, puckering, or thread breakage.
To avoid thread tension woes, check and adjust your tension regularly. Keep an eye out for visual indicators of incorrect tension, like loops or puckering in your stitches. If you notice any issues, don’t hesitate to make adjustments to your tension settings.
Most machines have tension adjustment knobs or dials that allow you to fine-tune your tension settings. Start by making small adjustments and testing your stitches until you achieve the perfect tension.
Skipping the Test Stitch
Before you start embroidering hats, take the time to conduct test stitches on scrap fabric or a similar material. This will give you a chance to test your design, thread tension, and embroidery settings before you commit to stitching on your actual hats.
Once you’ve completed your test stitches, take a close look at the results. Are your stitches even and uniform? Is your design properly aligned? If not, now’s the time to make any necessary adjustments before you start embroidering your hat.
Rushing the Process
Embroidery is not a race! Rushing through the process can lead to all sorts of mistakes and mishaps, like uneven stitching, misalignment, or even damage to your fabric.
Explore Ricoma’s Embroidery Machine for Beautiful, Custom Hats!
Our
makes embroidering hats easy and seamless (pun intended!). Our high-definition touch-screen panel, 20-needle design, automatic color change, and wifi are just a few of the features that make mastering how to embroider hats easy and fun!