If you’ve ever struggled with machine embroidery, it is possible that you didn’t have the right tools to complete your project effectively.
Embroidery tools and accessories make it faster and easier to embroider on a wide variety of items, correct mistakes, and even prevent mistakes.
While there are so many helpful tools in the market to choose from, we’ve narrowed it down to 10 tools every embroiderer should consider adding to their arsenal.
Do you have any of these tools in your embroidery stash yet?
Read on to find out which tools you need and how you could put them to good use at your home or shop.
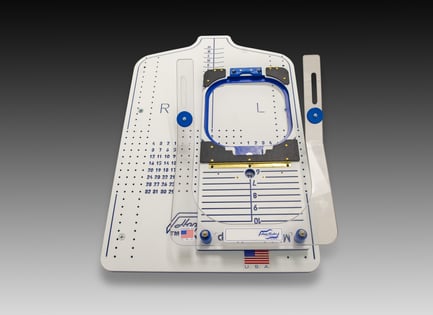
#1: Embroiderer’s Helper
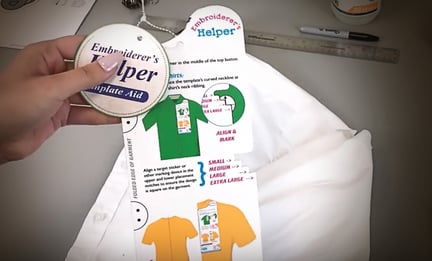
As its name suggests, the Embroiderer’s Helper is your right hand assistant when it comes to placing and centering left and right chest embroidery designs on items such as:
- polo shirts
- placket shirts
- tees
- sweatshirts
This affordable placement tool takes the guessing out of design placement, with notches that display where to place your center mark, depending on the size and type of shirt. Check out this video where we show you how to use the Embroiderer’s Helper to place logos on a shirt!
#2: Peggy’s Stitch Eraser
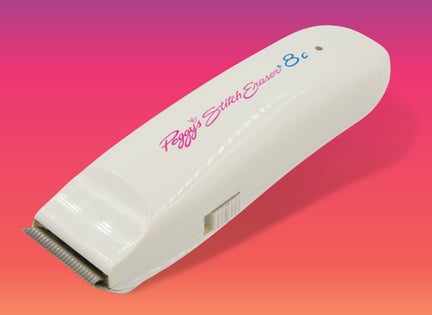
Even the best embroiderers make mistakes at some point. We’ve all been there, trying to remove the stitches with anything you could find (scissors, tweezers and even hair clippers). But why risk damaging your design?
That’s where Peggy’s Stitch Eraser comes to the rescue.
The tool was designed by an embroiderer and sewing enthusiast named Peggy, as part of her vision to help other embroiderers remove embroidery thread without tarnishing their garments.
Don’t make the mistake of using the wrong materials on certain fabrics! Our embroidery cheat sheet has everything you need to know about choosing the right materials for best product results!
The Stitch Eraser also makes the stitch removal process much less tedious and more efficient for embroiderers, even when removing thicker threads.
The packaging itself comes with clipper oil, a cleaning brush, and detailed instructions on how to make this tool work its magic.
#3: Hooptech Slimline Clamps
Using HoopTech’s Slimline Clamping System definitely is perfect for embroiderers with a wide variety of needs to fill. This accessory consists of one master bracket, which you mount onto the embroidery machine, and interchangeable frames that are available in different sizes.
Its slim design allows you to frame hard-to-hoop areas with limited space, such as wallets and shirt sleeves.
Meanwhile, its high pressure lever gets a firm hold on stiff items, such as leather bags and boots, that are too difficult to hoop traditionally. Check out this video where we use the Hooptech clamps to embroider a sun hat!
In fact, it’s so easy to hoop with, that many embroiderers rarely revert to their regular hoops even when embroidering standard items like polo shirts.
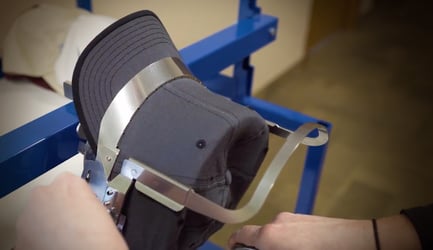
#4: Robot Frame
Embroidering shoes is no easy feat, but with Robot Frame, you can get high-quality, trouble-free embroidery on shoes. The tool consists of two adjustable high-pressure clamps that get a strong hold on thick shoes, like cleats and leather boots during the embroidery process.
You can also get creative with the clamps and embroider other difficult-to-hoop items, such as bags.
Though the most expensive on the list, the Robot Frame pays for itself with the capability it grants. If you plan on offering professional shoe embroidery, the Robot Frame is worth the investment. Here’s a great tutorial on how to embroider shoes using the Robot Frame!
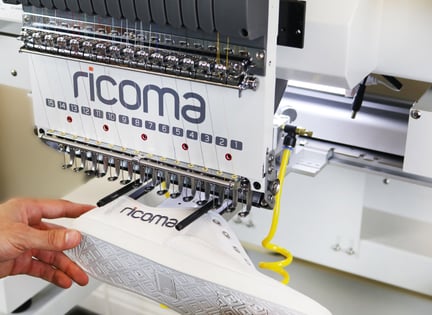
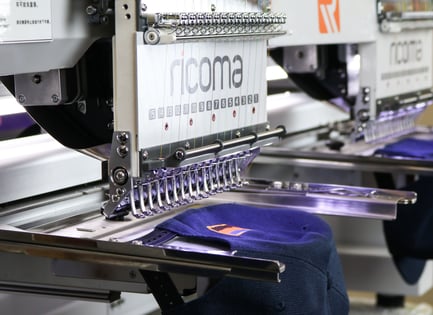
#5: Gen 2 Cap Frame
If you are passionate about embroidering caps, you won’t be able to embroider one without HoopTech’s Gen 2 cap frame. This specialty cap frame opens up the embroidery area to allow you to stitch closer to the bill of the hat without experiencing needle breaks.
The frame also contains clips to hold the stabilizer when hooping caps, simplifying the hooping process.
Overall, this tool makes hooping and embroidering caps much more efficient, saving businesses tons of money on production time and potential mistakes.
#6: HoopMaster
The HoopMaster is perfect for those who struggle to reach consistent design placement. This hooping station’s placement guides reveal exactly where to place your design according to the shirt and hoop size.
If you’re looking for quick and easy design placement and hooping, the Hoopmaster will undoubtedly cut the time it takes to complete bulk orders, maximizing productivity within your business!
#7: Mighty Hoops
If you own these hoops, you probably use them for just about everything you can. Why?
These “mighty” hoops essentially hoop the material themselves. Although they’re shaped similarly to regular hoops, these hoops contain magnets that cling together instantly when they meet.
This reduces time spent hooping and allows you to easily hoop thick items. We show you how to use the mighty hoops, on a robe, in this episode of Embroidery Hub!
Pro tip: These hoops also help reduce hoop burn, which are the marks left behind by the hoop on your fabric, making it great for delicate items that are prone to hoop burn like satin. We have a great video on how to remove hoop burns, so be sure to check it out!
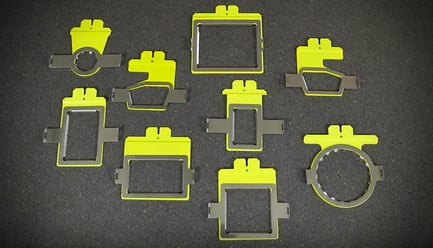
#8: 8-in-1 Hoop Set
The 8-in-1 hoop set consists of one master bracket and eight specialty hoops of different sizes that allow you to embroider on an extensive list of items. This item definitely does wonders for embroiderers because it allows you to “float” the material over the hoop using adhesive stabilizer, rather than hooping it traditionally.
This tool is perfect for managing clothing items with limited space such as:
- pockets
- sleeves
- cuffs
- baby clothes
and more.
This tool also provides a simple solution for embroidering the back and sides of caps. In addition to its versatility, these hoops also work to prevent machine embroidery issues such as puckering on knit items, such as beanies.
Usually, when you embroider knits, the material tends to stretch when it’s hooped, causing the fabric to bunch up around the embroidery design.
Click here to get a full tutorial on how best to use the 8-in-1 hoops for your next project!
However, when you float your material using the 8-in-1 hoop, you’re able to maintain the material’s original properties to ensure the best quality embroidery.
#9: Placement stickers
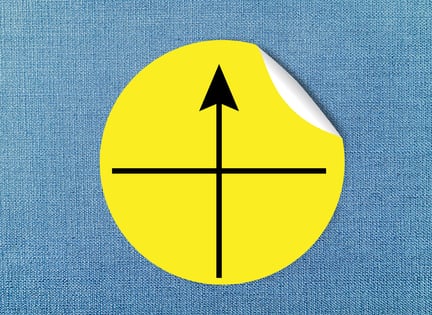
Placement stickers are a simple and effective tool to mark your design placement. Usually, embroiderers mark their placement with water soluble pens and even chalk, which can be a hassle to remove.
Reusable placement stickers make your production process so much smoother by keeping your garment free of residue and marks.
Another major bonus: The stickers contain a crosshair, making it easy to position your needle in the center of the crosshair to ensure proper placement. Once the needle is centered in the crosshair, it is almost impossible to have a failed attempt at stitching within the desired area.
#10: Tension Gauge
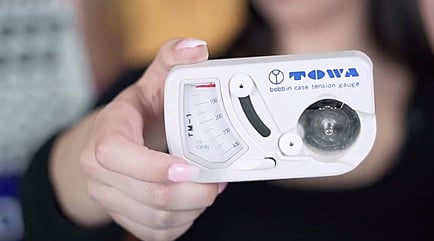
And lastly, there’s the good ole’ tension gauge. In machine embroidery, proper thread tension is crucial to ensure smooth operation.
Machine embroidery tension gauges allow you to measure your thread tension setting and adjust it until you’ve reached the proper setting. Top thread tension gauges are hooked to the top thread from the presser foot. Learn more about tension gauges in this episode of Embroidery Hub!
By pulling on the thread, you can determine the tension the embroidery machine is applying on the thread.
Want to learn more about why thread tension can get in the way of your next project? Check out this guide all about thread breaks, and you’ll get a bonus video on Thread Tension!
Both top and bobbin thread tension gauges can be used for both commercial and home embroidery machines and are available at plenty of embroidery supply stores.
Bottom Line
All of these great tools serve a purpose during the embroidering process. While you may not use each one for every single project, it is helpful to have it on hand, just in case you do!
Now that you’ve learned the tools of the trade, build your embroidery arsenal today with some of the top tools in the industry. It’s time to put them into practice and create embroidered masterpieces – without the headaches.
Don’t forget to share your creations on our Facebook group, Embroidery & Custom Apparel! Happy embroidering!
Ultimate Embroidery Cheat Sheet: 50 Popular Fabrics & How-To Embroider Them for Best Quality
Did you know that you can improve the quality of your embroidery no matter which fabric you’re embroidering on?
To guarantee your embroidery success, we’ve put together a cheat sheet of 50 of the most popular fabrics used for embroidery and the combination of materials that you’ll need to give you the best possible results for your projects.