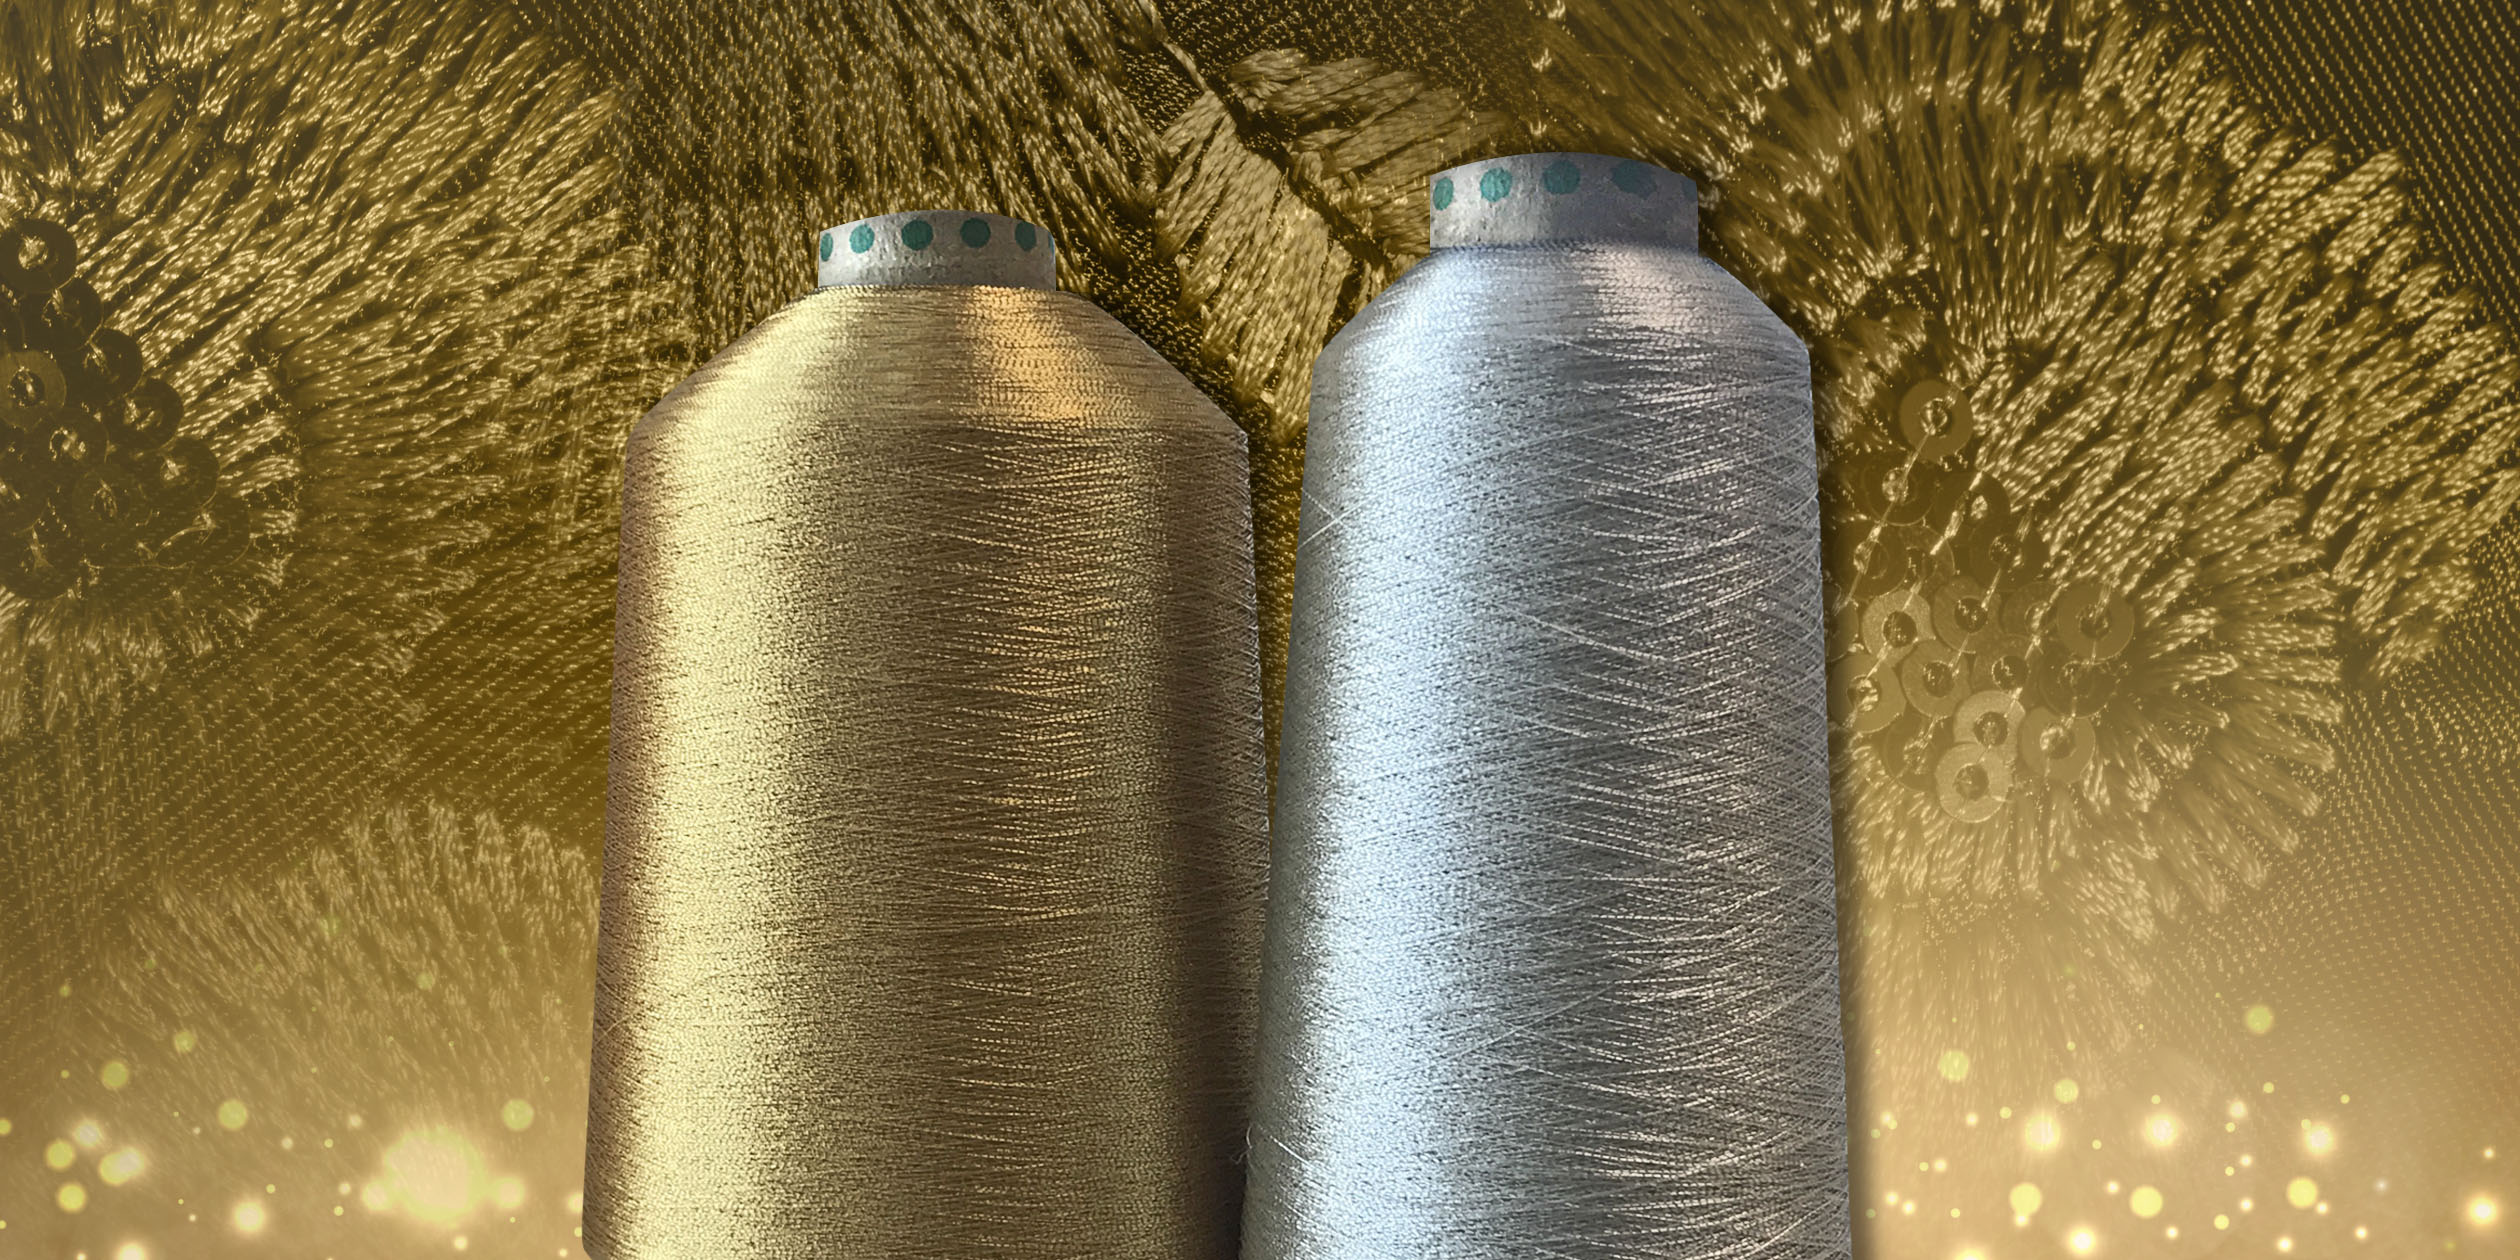
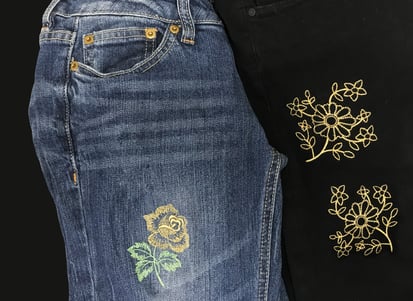
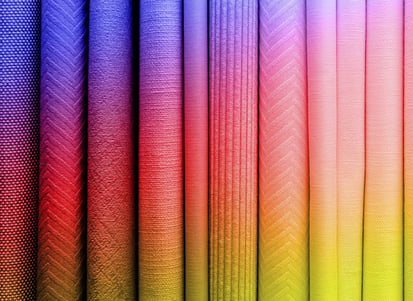
Typically seen in home décor, holiday gear, performance costumes and more, metallic thread adds a sparkly sheen and pop of color to all kinds of projects.
While it’s tough to argue that metallic threads are not beautiful to decorate with, it’s easy to agree on one thing: they’re a huge pain for machine embroiderers.
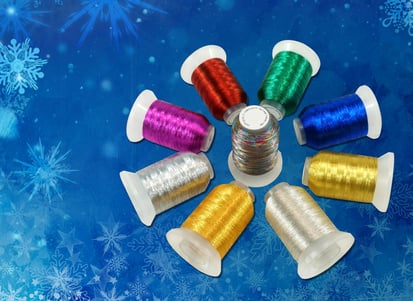
Why? Because of their anatomy. Thicker and coarser than your standard thread, metallic thread is made up of a layer of metallic foil wrapped around the core to form metallic thread. This makes it more prone to breakage and shredding – especially because of the way it comes off the spool, which causes the thread to twist more.
Like all other embroidery projects, there are a few simple adjustments you can make to ensure a high quality finished product and a smooth production process.
Luckily, in this article you’ll learn:
- What type of needle you should be using with metallic thread
- Why you should slow down when embroidering with metallic thread
- Why you should make sure your machine is polished
- How using a horizontal spool pin can help
- Why to look out for certain fabrics
So if you want to ensure a smooth run the next time you’re working with metallics, let’s jump right in with our top 10 tips for embroidering on metallic threads!
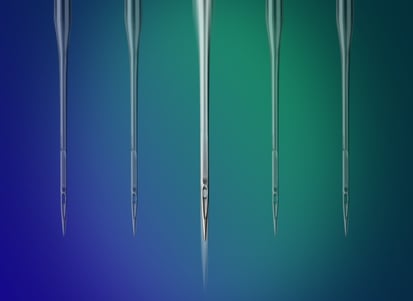
#1: Use the right needle
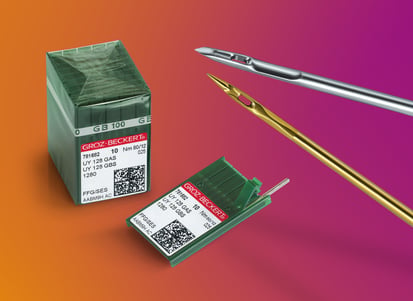
There are plenty of specialty needles on the market that are designed for different types of threads and fabrics. Metallic embroidery machine needles have a larger eye that allows the thread to pass through more smoothly.
This extra room reduces the friction between the needle and the thread, thus eliminating thread breaks and shredding.
Consider this:
- If you don’t have a specialty metallic needle, use a larger embroidery needle such as an 80/12 sharp point needle or even a 90/12 sharp point needle, depending on the weight of your thread.
- A 50-weight thread may not require an 80/12 needle, so you may get away with a 75/11 needle.
- A 40-weight or 30-weight metallic thread will require a needle size or two up.
In any case, if you have larger needles at your disposal, it’s best to use your larger needle as long you keep in mind the fabric you’re embroidering.
Remember, larger standard embroidery needles will poke a larger hole on your fabric. When possible, use a specialty metallic thread needle because it won’t puncture a larger hole.
Still curious about how to make sure that you’ve chosen the right needle for your project?
Check out this Embroidery Hub episode where we cover the types of needles and what each is best for!
#2: Slow down
Regardless of your machine’s make or model, you need to slow down the speed of your machine.
Higher speeds cause more friction, and your ultimate goal with metallic thread is to reduce friction as much as possible.
Try running your machine anywhere from 500 to 600 stitches per minute.
Depending on the needle and fabric you’re using, you may be able to get away with running metallic threads at higher speeds at times. Other times, however, you will end up with thread breaks and shredding that will ultimately slow you down in the long run.
#3: Reduce tension
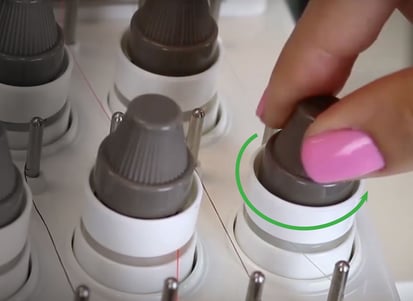
Proper thread tension is essential to eliminating thread breaks. Thread breaks may occur if there is too much tension on the thread.
To reduce friction and stress on the thread, try loosening the tension of the top thread of the working needle.
Tip: You should make small adjustments to your tension and test your design on a similar piece of fabric that you plan to embroider until the machine is comfortable with the combination of thread, backing, and fabric.
Did you know we have a free guide explaining how to correct and prevent thread breaks? Click here to download the guide, which includes a bonus video, all about tension!
#4: Choose the right design
Choose simple and open designs without any heavy or dense fills. Any heavy stitch count designs will most likely cause thread breaks.
You should also choose longer stitch lengths. The shorter the stitches, the easier it is for the thread to shred and break.
To learn more about the types of designs to use on each fabric, click here to download a list of 50 fabrics and the best practices to use on each.
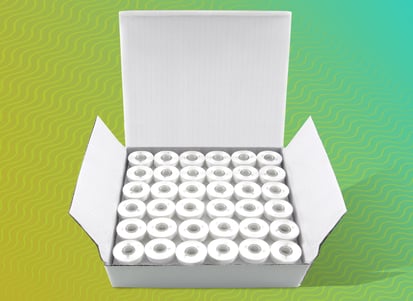
#5: Store in the freezer before use
It’s true that threads are prone to breakage if stored in heat, so would the opposite occur if stored in the cold?
For years, embroiderers have sworn by storing metallic threads for 30 minutes to an hour in the freezer before putting them to use.
Because the thread twists as it’s coming off the spool, the cold helps the thread feed more smoothly and not twist as much.
#6: Use Sewers Aid
Because your ultimate goal with metallic thread is to reduce friction, needle lubricant is another way to get the thread to glide smoothly through both the needle and thread path.
While Sewers Aid is meant to be used on the needle to reduce friction between the eye and the thread, try placing a thin layer on the thread spool itself.
You can also place a drop on a strand of thread and run the lubricated thread through all areas of the thread path. This will help reduce friction in all areas of the thread path, rather than the needle only.
#7: Keep your machine polished
Any burrs in the thread path will cause immediate breakage – especially with metallic threads. While you might get away with minor burrs with regular thread, you need to make sure your machine is in tip-top condition for metallic threads.
If you see any burrs in the thread path eyelets or openings, polish them away with crocus cord.
#8: Materials matter
Metallic threads are less prone to breakage on softer fabrics and backing.
If inexperienced, you may also want to steer away from winding your own bobbin if possible, as pre-wound bobbins are more consistent.
Use pre-wound size L bobbins for best results.
#9: Try a horizontal spool pin
When all other adjustments fail, try buying or creating your own horizontal spool pin.
Typically, the thread feeds into the machine in a vertical direction, causing it to twist.
When you turn the thread horizontally, it will redirect the thread to feed off the spool the same way it was wound, which means it will no longer twist and cause breaks.
#10: Beware of certain fabrics
If you’re embroidering a very delicate fabric such as silk, metallic thread may be too rough and rip your fabric.
You may also want to be careful using large metallic designs on baby clothes, as this may irritate the baby’s skin.
If you do use metallic thread, try using a soft fusible backing after embroidering to cover the stitches and avoid irritating the skin.
In cases like these, using the right materials will be the key to guaranteeing a successful embroidery run and a high-quality finished product. Click here to download our Embroidery Cheat Sheet to make sure you’re using the right materials on each type of fabric.
Bottom Line
At the end of the day, metallic threads can make some beautiful designs when used correctly.
Although it may be frustrating to use at times, there are many ways to make your experience machine embroidering with metallic threads much smoother.
Master the adjustments above and watch your metallic vision come to life!
Before you go…
We know you might still have questions, so feel free to leave a comment below and don’t forget to join our Facebook group, Embroidery & Printing Business Help! There is a whole community of passionate embroiderers waiting to help and share their expertise!
Ultimate Embroidery Cheat Sheet: 50 Popular Fabrics & How-To Embroider Them for Best Quality
Did you know that you can improve the quality of your embroidery no matter which fabric you’re embroidering on?
To guarantee your embroidery success, we’ve put together a cheat sheet of 50 of the most popular fabrics used for embroidery and the combination of materials that you’ll need to give you the best possible results for your projects.