There’s a reason we love embroidery so much — it brings beauty to clothing, accessories, decor pieces and more!
But part of the beauty of running your own embroidery business is knowing how to differentiate yourself from bad embroidery practices.
Signs of Bad Embroidery (& How to Fix It)
Sign #1: Uneven Stitches
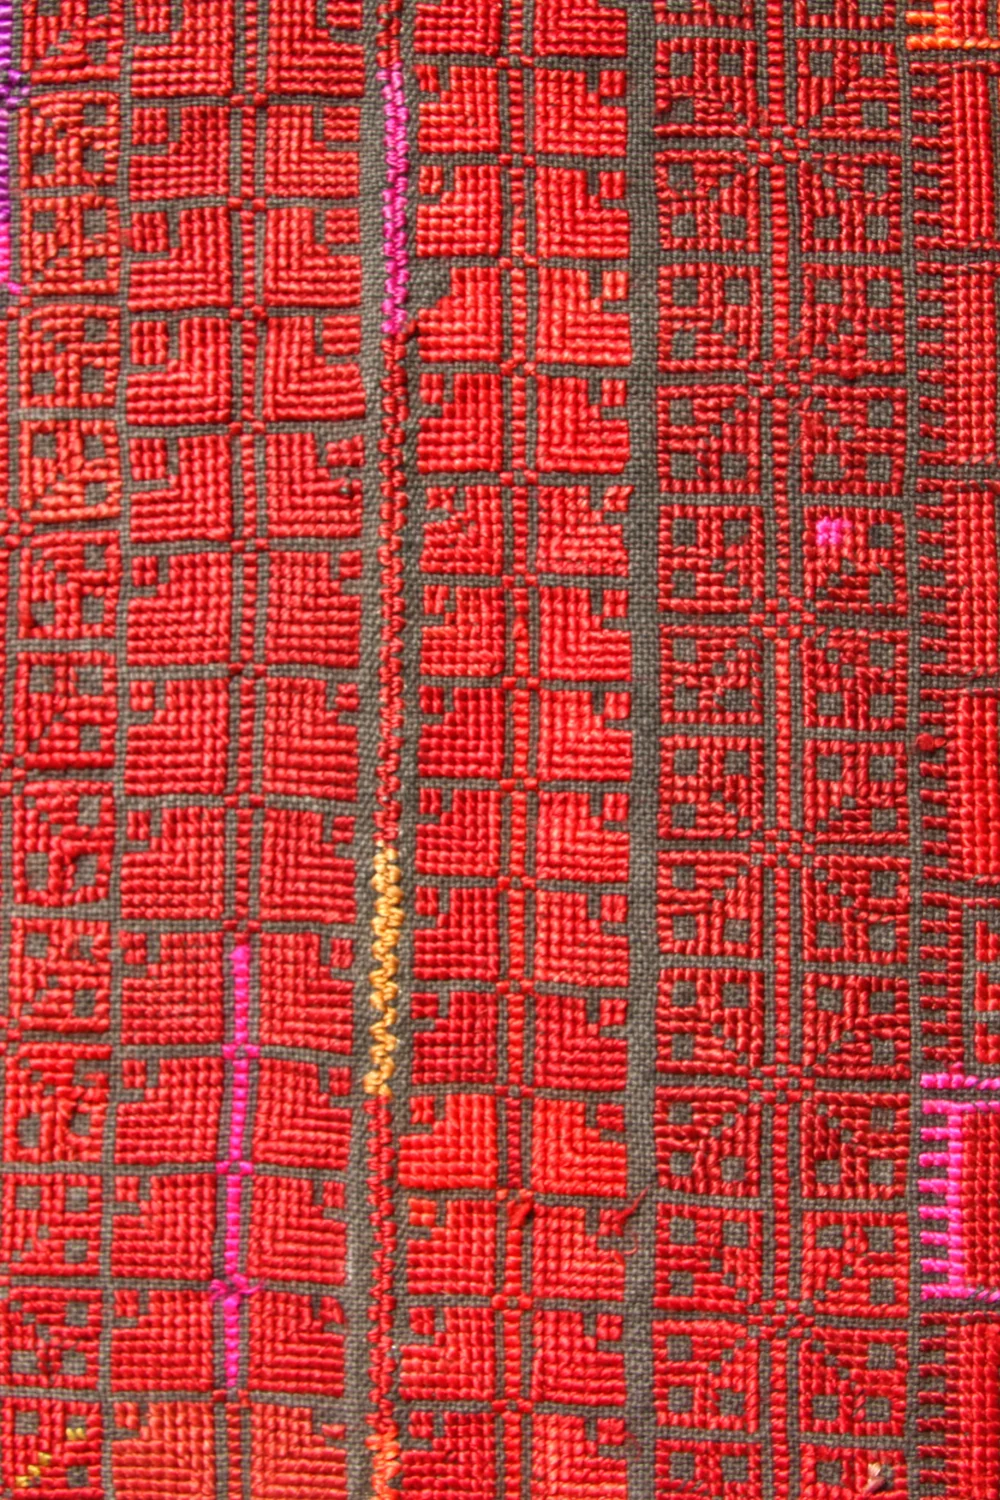
Uneven stitches might be the biggest tell-tale sign of bad embroidery. They can make your embroidery look messy and unprofessional.
Uneven stitches often happen because of incorrect thread tension, poor-quality thread, or a machine that needs maintenance.
To avoid this, adjust the tension settings on your embroidery machine until the stitches are even. Make sure you are using the right type of thread for your project.
Another tip is before starting your main project, practice on a piece of scrap fabric. This helps you get the tension and stitch length just right and avoid a bad embroidery job.
Sign #2: Puckering Fabric
Puckering is when the fabric wrinkles around the stitches, making the embroidery look bumpy and uneven. It can ruin the overall appearance of your design. To avoid puckering, it’s essential to hoop your fabric tightly and use the right stabilizer. This keeps the fabric flat and stable while you stitch.
How to correctly hoop the fabric and choose the right stabilizer.
- Place your fabric over the inner hoop.
- Press the outer hoop over it, ensuring the fabric is taut.
- Tighten the screw on the hoop to keep the fabric in place.
- Use a stabilizer that matches your fabric type to keep it steady during stitching.
Avoid overstretching the fabric in the hoop. It should be taut but not stretched out of shape. Also, choose a stabilizer that matches the fabric weight and type.
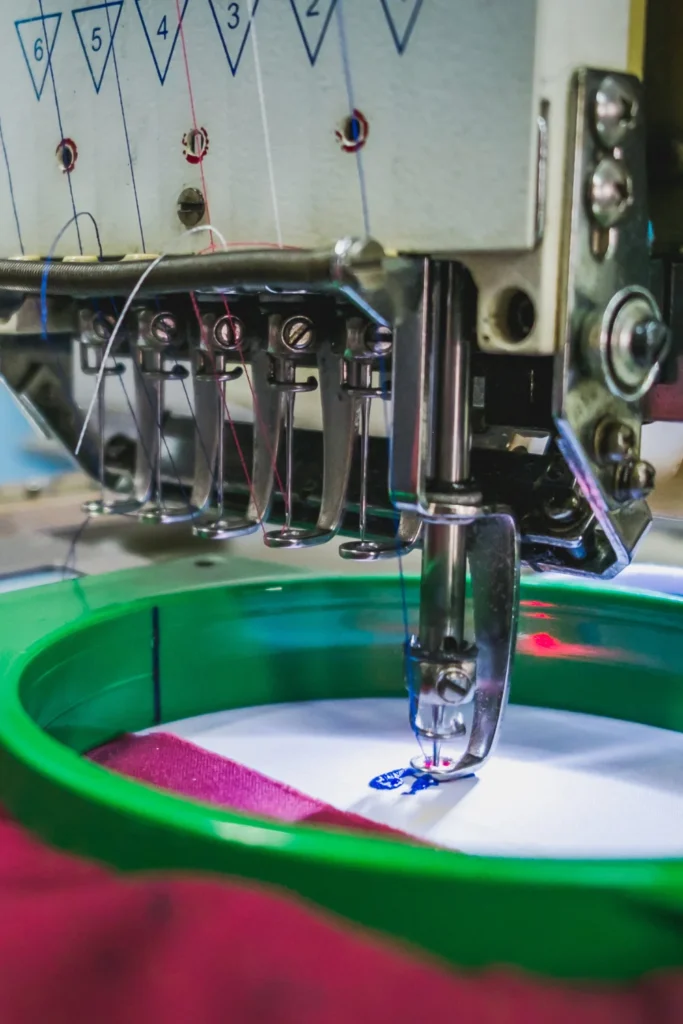
Sign #3: Thread Breakage or Fraying
Thread breakage or fraying can stop your project in its tracks, leading to gaps in the design and frustration. This can be caused by using the wrong needle size, poor-quality thread, or an improperly threaded machine.
Apply a thread conditioner to strengthen the thread and reduce friction. Regularly clean and maintain your machine to ensure smooth operation.
High-quality threads are less likely to break. Follow the machine’s threading guide carefully to ensure the thread is correctly placed and to avoid bad embroidery.
Sign #4: Incorrect Thread Tension
Incorrect thread tension can make your embroidery look messy. It can cause stitches to be too tight or too loose, making the design look uneven. Here’s how to adjust the tension:
- Find the tension dial on your machine.
- Turn it slightly to increase or decrease the tension.
- Refer to your machine’s manual for specific instructions.
Always test the tension on a piece of scrap fabric. This helps you see if the stitches are even before you start your main project.
A few more troubleshooting tips for identifying and correcting tension issues:
- If stitches are too tight, loosen the tension dial.
- If stitches are too loose, tighten the tension dial.
- Re-thread the machine to ensure the thread is correctly positioned.
Sign #5: Poor Color Transition
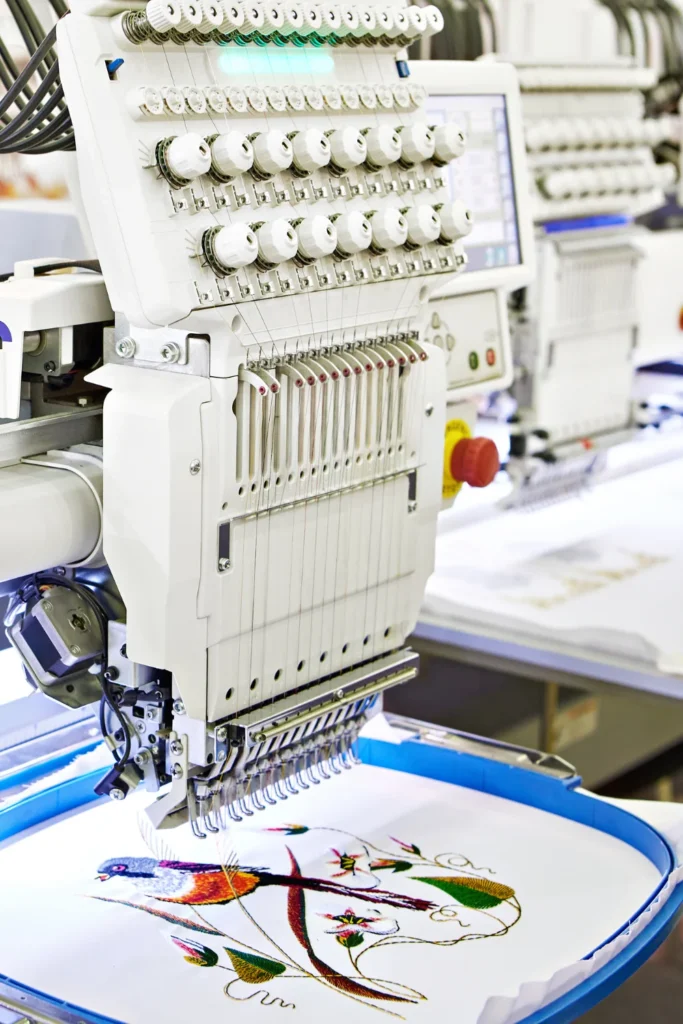
Poor color transition happens when colors don’t blend smoothly, making the design look harsh and less appealing. Using colors that match and blend well is important for a smooth and attractive design. Blending techniques help create a gradual transition between colors.
To ensure this…
- Choose threads in shades that gradually change from light to dark.
- Use a color chart to find matching colors.
- Practice blending colors on small designs.
Sign #6: Inconsistent Border Edges
Clean, sharp borders are key to a polished design. That means inconsistent borders make for bad embroidery and look sloppy and unprofessional. Common causes include not hooping the fabric correctly or errors in the digitizing process.
Here are tips for digitizing clean, sharp borders and proper hooping techniques.
- Ensure the design is properly digitized with clean lines.
- Hoop the fabric tightly to keep it steady.
- Use the right stabilizer to prevent shifting.
High-quality stabilizers help keep the fabric in place, ensuring the borders stay consistent and sharp.
Tools & Tips for Improving Your Embroidery
Now that you know the bad embroidery signs to look out for, here are some essential tips to help you improve your embroidery skills.
Quality Embroidery Floss and Thread
High-quality threads are less likely to break or fray. Some great brands to consider are DMC, Anchor, and Madeira.
Thread conditioner can also help reduce friction, making the thread glide more smoothly through the fabric. This helps prevent tangling and makes stitching easier.
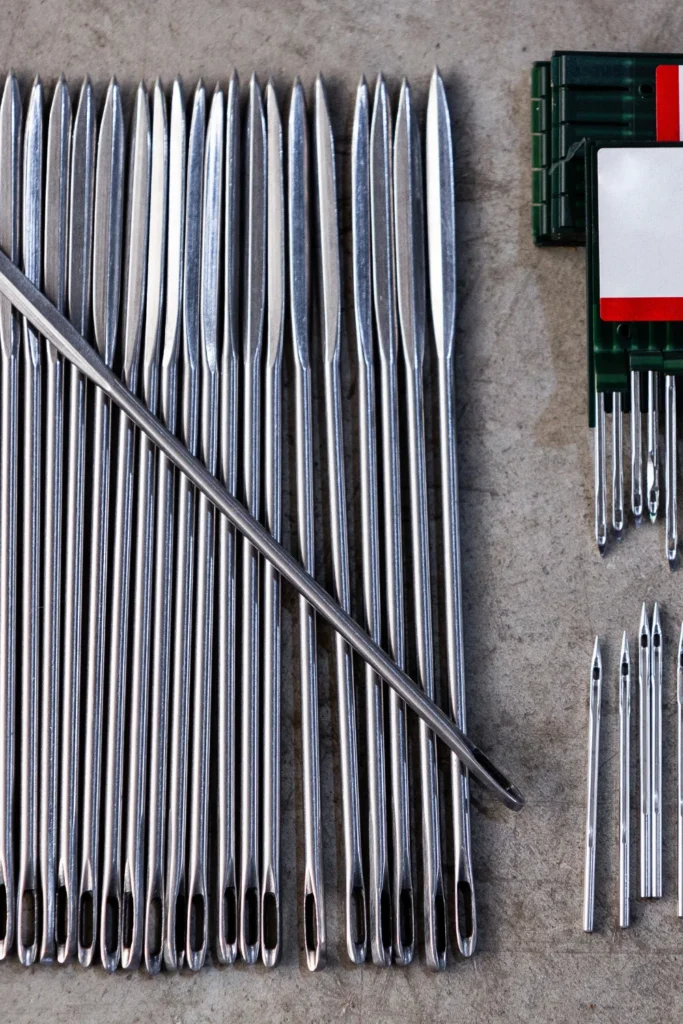
Variety of Different Needles
Choosing the right needle is important because different fabrics and threads require different types of needles. For example, a finer needle is needed for delicate fabrics, while a sturdier needle is better for thicker materials.
Use a crewel needle for general embroidery on medium-weight fabrics.
Try a tapestry needle for counted cross-stitch and needlepoint.
Opt for a milliner’s needle for bullion knots and French knots.
Needles can become dull or bent over time, which can affect your stitching. It’s a good idea to change your needle regularly to keep your stitches neat and even.
Stable Hoops & Frames
Stable hoops and frames are essential for keeping your fabric tight and steady while you stitch. This helps prevent fabric distortion and ensures your stitches are even and neat.
Using a stable hoop or frame keeps your fabric taut, which makes it easier to stitch evenly. It prevents the fabric from bunching up or shifting, which can cause your stitches to look uneven. Selecting the right hoop size and material for different projects.
Marking Tools
Marking tools are very helpful for placing your embroidery designs accurately. They allow you to mark guidelines on your fabric so you can follow them while stitching.
Marking tools help you draw lines and shapes on your fabric where you want to stitch. This makes it easier to follow your design and ensures that your embroidery is placed correctly.
Here are recommended types of marking tools such as water-soluble pens and tailor’s chalk.
- Water-soluble pens are great because their marks can be easily removed with a damp cloth.
- Tailor’s chalk is another good option for making temporary marks on fabric.
- Air-erasable pens are also useful; their marks disappear after a short time.
Here’s how to use and remove marks without damaging the fabric.
- Always test your marking tool on a scrap piece of fabric to make sure it doesn’t stain.
- Use light pressure when marking to avoid stretching or damaging the fabric.
- For water-soluble marks, gently dab with a damp cloth to remove them without rubbing.
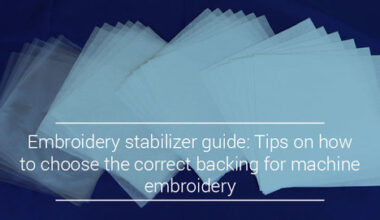
The Right Stabilizer
Stabilizers are essential tools for embroidery, helping to keep your fabric steady while you stitch. They prevent the fabric from moving around and ensure that your designs come out neat and precise. Stabilizers provide support to the fabric, keeping it in place during embroidery. This stability is crucial for achieving clean, even stitches and preventing distortions in your design.
Use this mini guide on choosing the right stabilizer type (tear-away, cut-away, wash-away) for different projects.
- Tear-away stabilizers are best for stable fabrics like cotton. These are easy to remove after stitching by tearing away the excess.
- Cut-away stabilizers are ideal for stretchy or delicate fabrics like knits. They offer strong support and need to be cut away carefully after embroidery.
- Wash-away stabilizers are perfect for lightweight or sheer fabrics. These dissolve in water, leaving no trace behind once your project is complete.
Learn from Ricoma Crafts on YouTube!
If you’ve been thinking “Why does my embroidery look bad?” you’re not alone — and we’re here to help! We help crafty small business owners start their journey on the right foot!
Explore our signature machines like the SWIFT embroidery machine, our build-in Chroma digitizing software and our free Ricoma Crafts YouTube channel full of tutorials and tips. Our community of embroidery experts are excited to welcome you!