There’s nothing more frustrating than spending hours on a project only to have it ruined by embroidery puckering!
Let’s say goodbye to puckering woes and hello to stunning embroidery masterpieces by learning the ins and outs of your embroidering.
What is Puckered Embroidery?
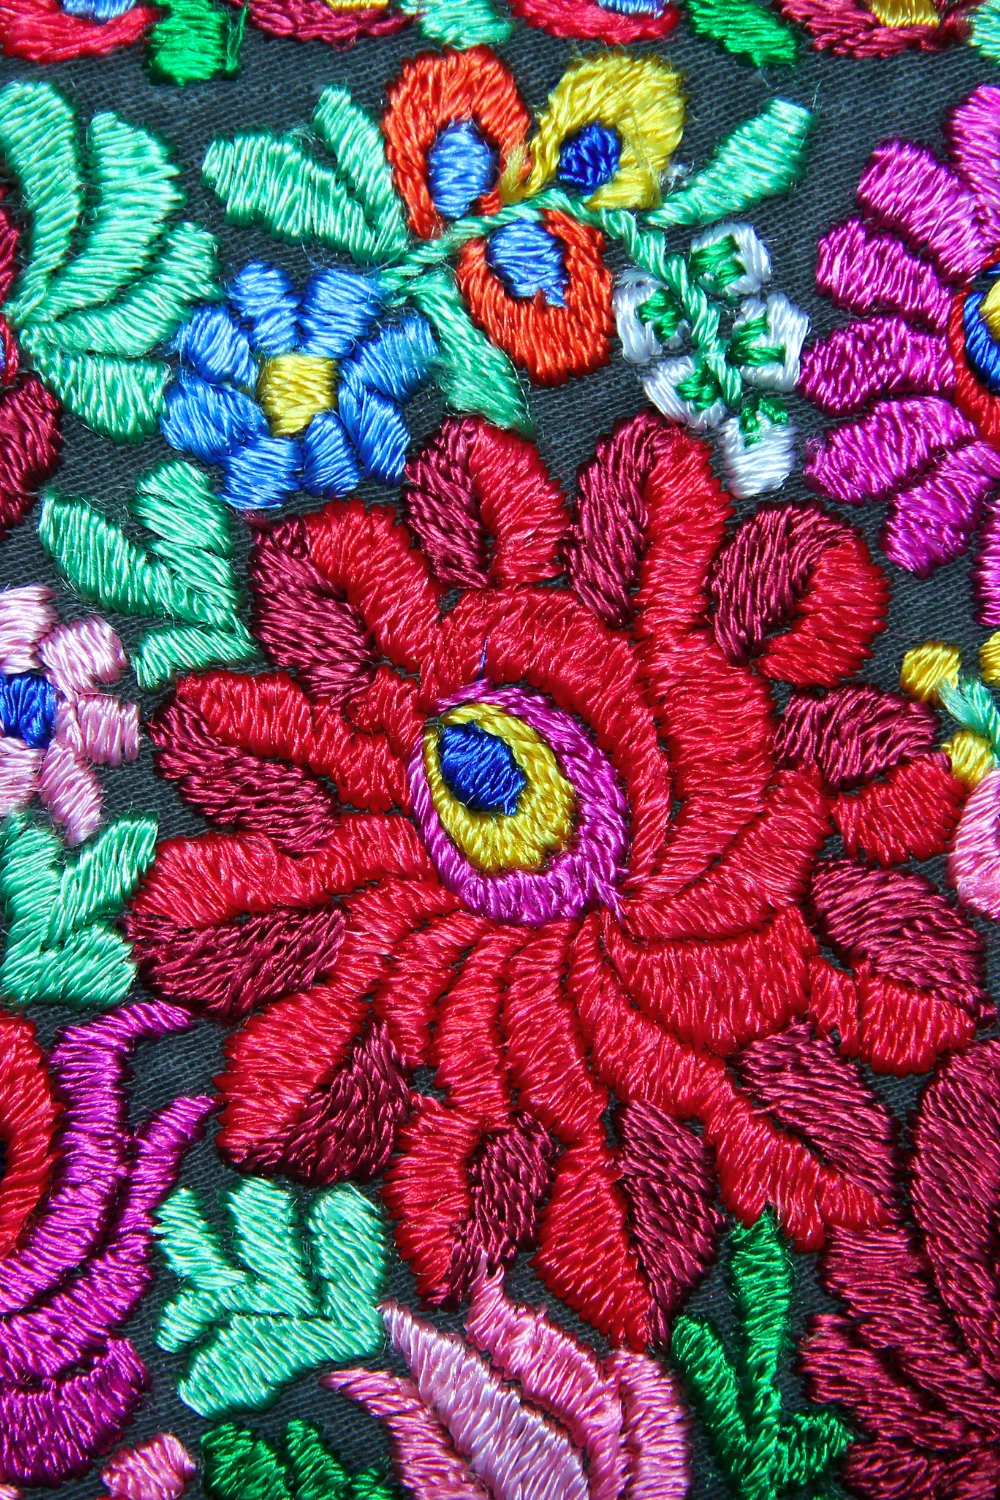
Embroidery puckering happens when the fabric around your stitches gets all wrinkly and bunched up. This can happen on all kinds of fabrics, from sturdy cotton to slippery satin.
Different embroidery designs can also be more prone to embroidery puckering, especially if they have lots of tight stitches close together. Finding an embroidery puckering fix is super important if you want yours to look smooth and polished.
What Causes Puckering?
Before learning how to avoid puckering, let’s understand how it happens in the first place.
Not Using Stabilizer Correctly
Stabilizers are like the backbone of your fabric during embroidery. They provide support and keep the fabric from moving around too much and causing embroidery puckering.
There are different types of stabilizers, like tear-away, cut-away, and wash-away, each suitable for different fabrics and designs. A common mistake is using the wrong type or weight of stabilizer. For example, using a light stabilizer on a heavy fabric won’t give enough support, leading to puckering. Always match your stabilizer to your fabric and design needs.
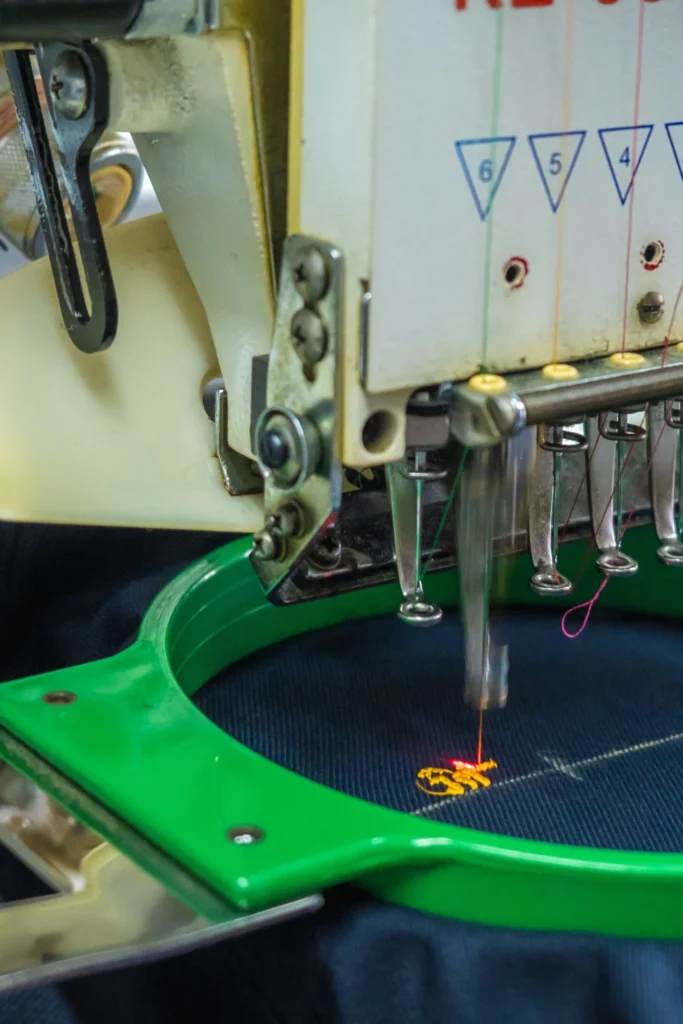
Poor Hooping Technique
Hooping your fabric correctly is crucial to prevent embroidery puckering. The fabric should be taut in the hoop but not stretched out. If it’s too loose, it can shift around and cause wrinkles.
Using the right size hoop for your design is also important. A hoop that’s too big or too small can make it hard to keep the fabric stable. Improper hooping can lead to the fabric moving during stitching, which causes puckering. Always take your time to hoop the fabric properly to ensure smooth results.
Wrong Tension Settings

Thread tension plays a big role in the quality of your embroidery. If the tension is too tight, it can pull the fabric too much and cause embroidery puckering. If it’s too loose, the stitches might not hold the fabric properly, leading to a messy design.
To adjust the tension, you need to consider the type of thread you’re using and the thickness of your fabric. Different threads, like polyester or cotton, require different tension settings. Thicker fabrics might need a looser tension compared to thinner ones.
Always test your tension settings on a scrap piece of fabric before you start your final project. This helps you see how the stitches will look and lets you make any necessary adjustments.
Fabric Type and Prep
Different fabrics react differently to embroidery. Some might be more prone to puckering, while others handle stitches well. For example, stretchy fabrics like knits can be tricky because they move a lot, while stable fabrics like cotton are easier to work with.
Pre-washing and ironing your fabric before you start can help a lot. This removes any sizing or wrinkles that might interfere with your stitching.
Fabric composition is also important. Stretchy fabrics need more support and might require extra stabilizers to prevent puckering, while non-stretchy fabrics might be easier to handle.
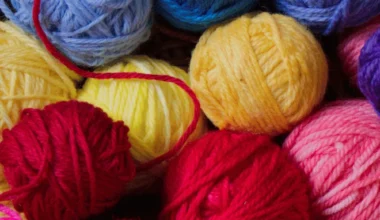
Poor Thread Quality and/or Type
Using high-quality embroidery threads is a crucial step in how to keep embroidery from puckering. Cheap or low-quality threads can break easily or cause uneven stitches, leading to puckering.
Different thread types, like polyester or rayon, can impact your results. Polyester threads are strong and less likely to break, making them a good choice for dense designs. Rayon threads are smooth and shiny but might need more careful handling.
It’s important to match the thread weight and type to your fabric and design. Using a thread that’s too heavy or too light for your fabric can cause problems, including puckering.
How to Prevent Puckered Embroidery
Choose the Right Stabilizer
Picking the right stabilizer is crucial to avoid puckering in embroidery, as different fabrics and designs require specific types.
Tear-away stabilizers are ideal for stable fabrics like cotton, offering temporary support during stitching and easily removed afterward. They’re best for designs without intricate details or open spaces.
Cut-away stabilizers, on the other hand, are suited for stretchy or delicate fabrics like knits, providing long-term support by remaining in the fabric after trimming around the design. This helps maintain the fabric’s shape and stability over time, particularly after multiple washes.
For sheer or lightweight fabrics, wash-away stabilizers are the best choice, as they dissolve in water post-stitching, leaving no residue. This makes them perfect for projects like lace or sheer curtains, where no stabilizer material should be visible.
Application Techniques
Applying stabilizers correctly is important for stabilizing your fabric throughout the embroidery process. Attach the stabilizer to the fabric before hooping, ensuring it covers the entire area to be embroidered. This prevents the fabric from moving or stretching during embroidery, which can lead to puckering.
When hooping, distribute the fabric evenly without stretching it. The fabric should be taut but not overly tight, as excessive tightness can cause distortion and puckering. To further secure the fabric and stabilizer layers, use basting stitches or adhesive sprays, which help maintain their position and prevent movement during stitching.
Basting stitches, being temporary, hold the fabric and stabilizer together, reducing the risk of shifting and ensuring the design’s integrity and appearance.
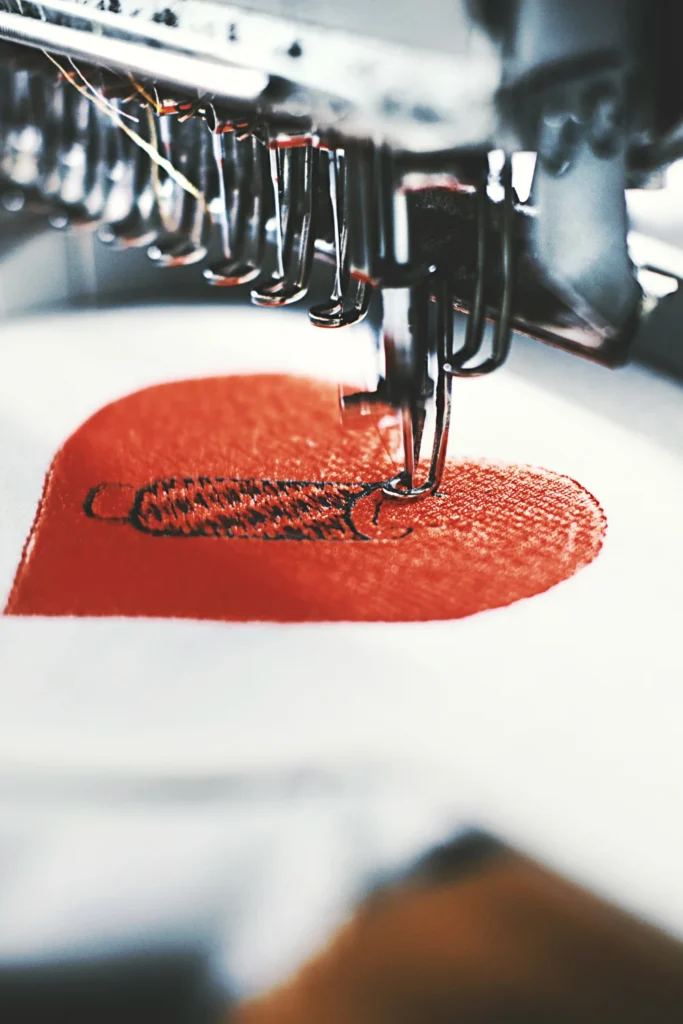
Use the Right Machine Settings
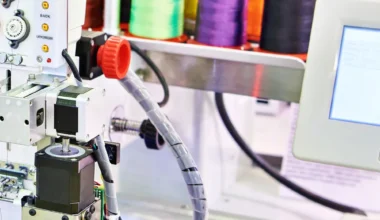
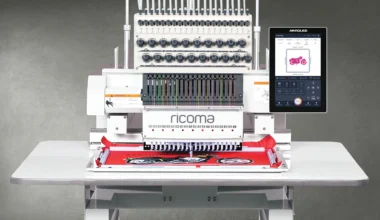
Make sure you compare our embroidery machines and adjust the machine settings! This can significantly impact the quality of your embroidery.
Begin by picking a good quality software, like the Chroma digitizing software. Then you’ll need to set the stitch length appropriately to the fabric and design, with longer stitches often required for thicker fabrics. The correct stitch length prevents puckering and ensures a neat, professional appearance.
Adjust the machine speed to match the fabric and design complexity, using slower speeds for better control and reduced risk of puckering, especially for detailed designs or delicate fabrics. Balance the thread tension for both the top and bobbin threads, testing on a scrap piece of fabric to find the ideal setting.
Proper tension ensures even stitches and prevents thread breaks or puckering. Additionally, regular machine maintenance, including cleaning and oiling, is crucial for consistent quality and performance, helping to avoid technical issues that could affect your embroidery.
Perfect Your Embroidery with Ricoma!
If you’re looking to achieve professional results with ease, Ricoma embroidery machines are designed perfectly for you!
Our machines, like the SWIFT embroidery machine, offer advanced features and user-friendly controls to make your embroidery projects a success. Investing in a high-quality machine ensures that your designs remain smooth and polished, allowing your creativity to shine through every stitch.
Explore the Ricoma embroidery machines today and start creating flawless designs!