Have you ever seen a plain hat and thought, “Hmm, this could use a little something extra”? Well, embroidery is the perfect way to spice it up with stitching for hats!
We love giving you all the cool ideas for embroidering, including how to turn ordinary hats into extraordinary ones!
Why Choose Embroidery for Hats?
So, why pick stitching for hats? First off, embroidery adds a touch of class and durability that other decorations can’t match. When you embroider a design onto a hat, it doesn’t just sit on top; it becomes part of the hat itself. This means your cool design won’t fade away or peel off like some stickers or prints.
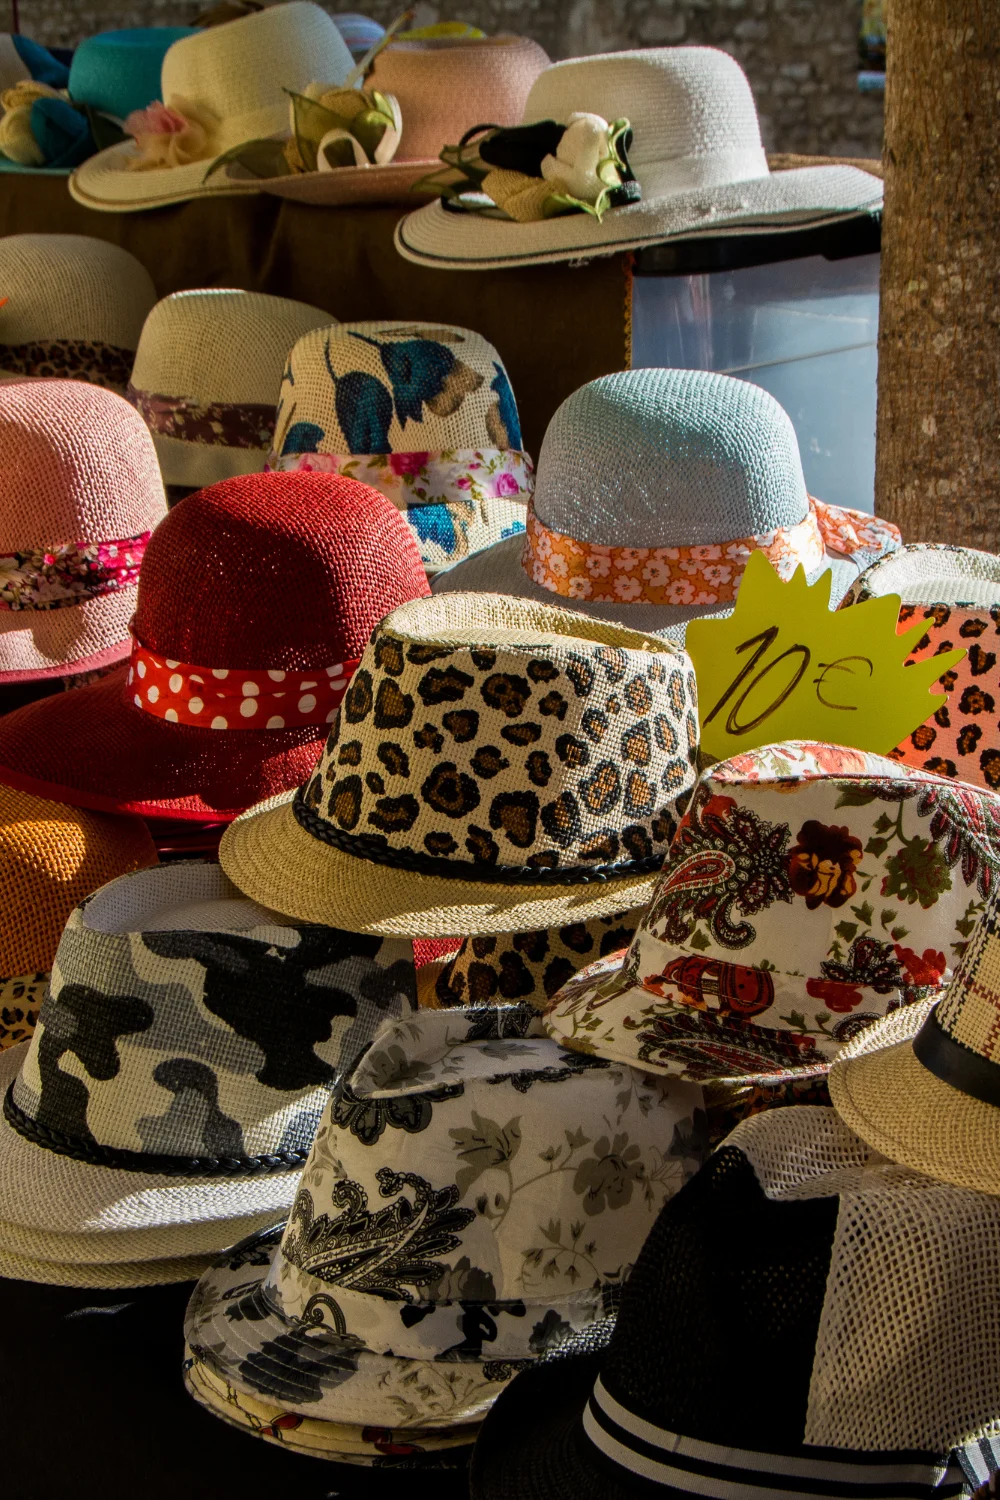
Plus, if you’re running a business or a club, stitching for hats is a great way to get noticed. You can easily show off your logo or slogan in a professional way, making your brand look super polished. Embroidery works on all sorts of hats, whether they’re baseball caps, beanies, or even sun hats. So, no matter what your style, there’s a way to make it even better with some neat stitching!
Tools & Materials
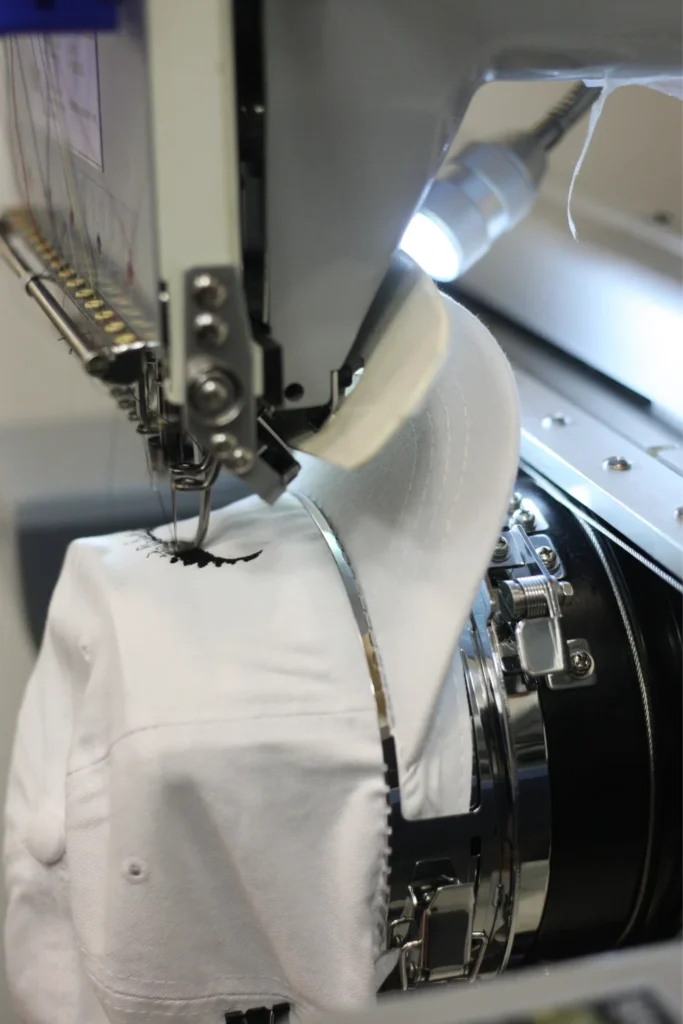
Embroidery Machine
Before you start stitching for hats, you’ll need the right tools. The most important one? An embroidery machine that’s up for the job of hat embroidery. Not all machines are the same—so make sure to compare our embroidery machines to find which one is right for you!
You should look for an embroidery stitch machine for hats that comes with a cap hoop, which helps hold your hat in place while you stitch. You should check if the machine has different needle positions and speed settings, so you can make all kinds of designs, from simple to super detailed.
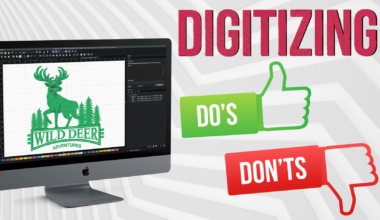
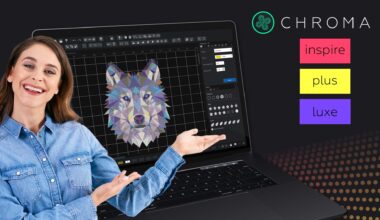
And a pro tip: don’t forget the software! The Chroma digitizing software is our pick, but we always recommend you do your own research to find what works best for you!
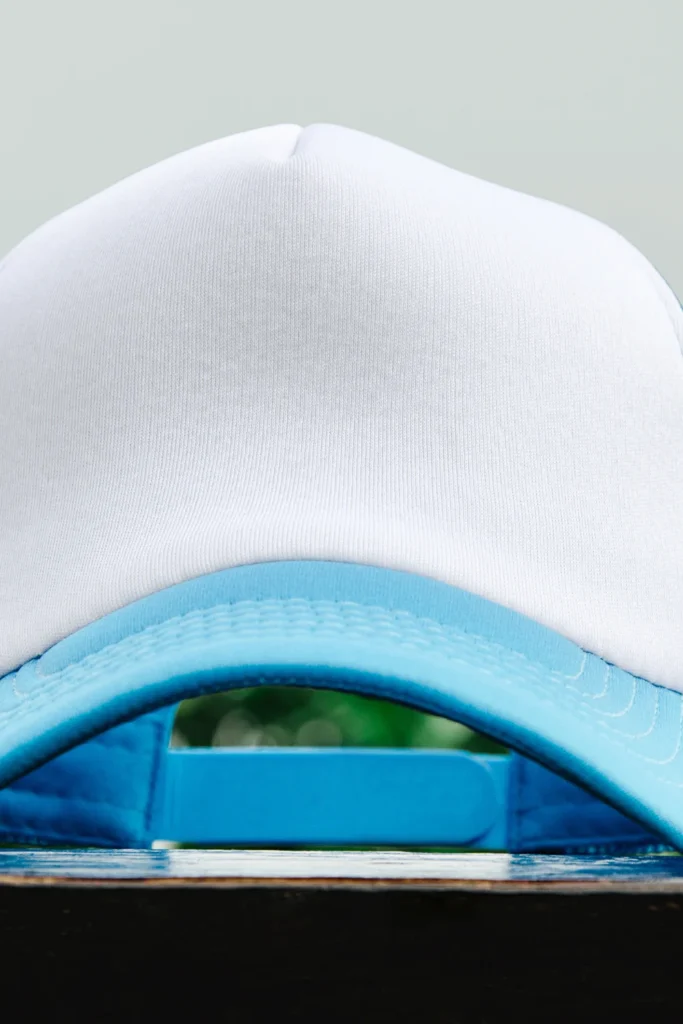
Cap Hoop
Cap hoops are game-changers in stitching for hats. A cap hoop is a special tool that helps keep your hat stable while it’s being embroidered. This means no slipping or sliding—just crisp, clean stitches.
Mounting your hat onto a cap hoop might seem tricky at first, but with a little practice, it becomes easy. Just make sure the hat is snug and even, and you’ll be stitching in no time. If you’re not sure which cap hoop to get, ask around or look up reviews to find one that fits well with your machine and is easy to use.
With these tools ready, you’re all set to start your embroidery journey. Up next, we’ll dive into some awesome embroidery stitches that are perfect for hats, so stay tuned and get ready to be inspired!
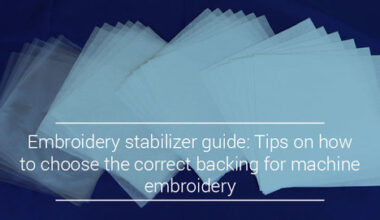
Stabilizer
Stabilizers come in different types, like cut-away, tear-away, and wash-away.
Cut-away stabilizers are great because they stay with the fabric, giving it strength even after you’re done stitching.
Tear-away stabilizers are easier to remove; you just stitch, and then tear off the excess.
And wash-away are as easy as, well, washing away!
The choice depends on the hat’s material. For sturdy caps, cut-away might be best, but if you’re working with a lighter fabric, tear-away could work without adding too much bulk.
Picking the right stabilizer may also depend on the fabric of your hat. Thick, structured hats need a strong stabilizer, while soft, flexible hats do better with something lighter.
Embroidery Needles and Threads (Selecting the Right One)
Using the right needle and thread for your hat material ensures that your design looks amazing and lasts long. For threads, polyester is a top choice for hats, especially if they’ll be worn outdoors. Polyester thread is tough, won’t fade in the sun, and holds up well through many washes.
Needle choice matters too. Different fabrics and thread types work best with specific needles. For most hat fabrics, a sharp, medium-sized embroidery needle works well. But, if you’re working with a particularly thick or tricky fabric, you might need a larger, stronger needle to get through without breaking. When selecting, consider your design’s complexity and the fabric type—this will guide you to the perfect needle for the job.
Marking Tools, Scissors, Adhesive Spray
Before you start stitching, you’ll want to mark where your design will go. This is super important for getting your design just right. Use marking tools like fabric pens or tailor’s chalk to lightly draw your design onto the hat. These marks will guide you and ensure your embroidery lands exactly where you want it.
You’ll also need a sharp pair of embroidery scissors for cutting thread and trimming the stabilizer around your finished design. Look for ones that fit comfortably in your hand and make clean cuts, so you don’t fray the threads or fabric.
Adhesive sprays helps keep everything in place while you embroider. Just a light spray will hold your stabilizer and fabric together, preventing them from shifting or bubbling up as you stitch. Make sure to use a spray designed for fabric and embroidery to avoid any sticky residues or stains.
With these tools and supplies, you’re all set to start creating awesome embroidered hats. Let’s get stitching and see your designs come to life!
Popular Embroidery Stitches for Hats
Embroidery on hats is not just about choosing the right thread or needle; it’s also about selecting the perfect stitch to bring your design to life. Before you start searching how many stitches for a hat on straight needles, you should consider that different stitches can add varied textures and details, like crotchet stitches for hats, making them truly unique.
Here are some of the more popular stitches used for hat embroidery and some tips for working with the tricky shapes of hats.
Satin Stitch
The satin stitch is perfect for those who want a smooth, sleek finish on their hats. This stitch involves tightly packed threads that create a glossy, dense coverage, ideal for small and medium-sized designs.
When doing a satin stitch on hats, you’ll want to maintain even tension; otherwise, you might pull the fabric, causing it to bunch up or distort.
Fill Stitch
Fill stitches are your go-to for covering larger areas within an embroidery design. Unlike the satin stitch, fill stitches can handle bigger spaces without looking sparse or uneven. They’re especially handy on hats because they adapt well to the curves and contours of the cap.
To ensure that the fill stitch lays flat on the curved surfaces of hats, use a lighter density in the stitch and ensure your hoop is properly aligned.
Running Stitch
The running stitch may seem simple, but it’s incredibly effective for adding fine details and outlines to your embroidery. It’s a basic stitch where the needle weaves in and out of the fabric, creating a dashed line. This stitch is excellent for delicate details or as a complement to more complex stitches.
Keep your stitch length consistent and adjust spacing according to the detail level required by your design. Use running stitches for delicate borders, small text, or intricate details that other stitches might overpower.
Tips for Stitching Curved Surfaces
Stitching on the curved surfaces of hats can be challenging, but with the right techniques, it’s definitely manageable. The curvature can affect how your design sits and stretches across the fabric, as well as how many stitches for a hat you will need, so it’s important to adjust your approach accordingly.
Make sure your cap hoop is secure and that the hat is mounted without any wrinkles or puckering.
Watch out for design distortion due to the curved surface. Sometimes, reducing the embroidery speed can help maintain precision.
Creative Embroidery Ideas for Hats
Monograms and Personalization
Monograms have a way of making anything feel special and tailored just for you or your loved one. They’re hugely popular for personalizing hats because they add an elegant touch that’s both classic and chic.
Choose a font that fits the hat’s style and the wearer’s personality. Place the monogram front and center on caps, or discreetly on the side of beanies. Show off designs ranging from single-letter monograms on baseball caps to full names elegantly stitched across the back of sun hats.
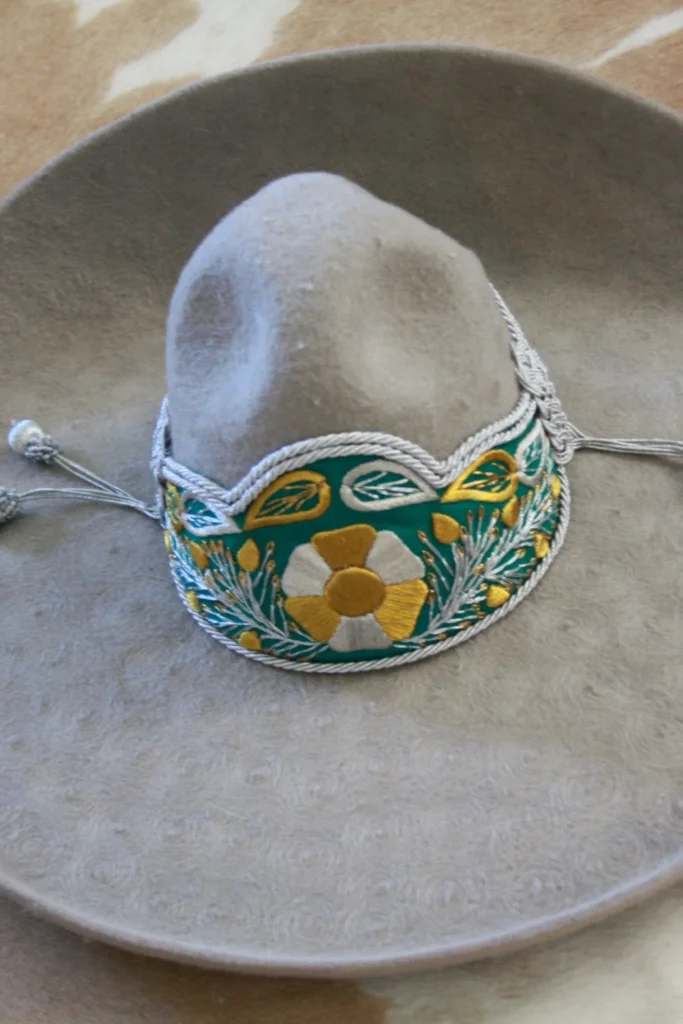
Floral Designs
Floral designs on hats can range from subtle little blossoms to bold, colorful blooms. They’re perfect for adding a touch of nature’s beauty to any look.
Pick vibrant threads and combine fill stitches with satin stitches to make your flowers pop. Floral hats are perfect for garden parties, weddings, or as lovely gifts for Mother’s Day!
Geometric Patterns
Geometric patterns are all about making a modern impact. They can be as simple or as complex as you like, making them versatile enough for any hat style.
Use contrasting colors for a bold effect, or subtle tones for a sophisticated look. Keep the patterns symmetrical to maintain the hat’s balance. Share images of both snapbacks with bold, angular designs and bucket hats with soft, repeating geometric shapes.

Create Beautiful Custom Hats with Ricoma!
Want to make amazing custom hats that go beyond just a hobby? Ricoma embroidery machines can help you take your creations to the next level!
Our machines, like the SWIFT embroidery machine, are perfect for hat embroidery, with special accessories and settings that make sure your hats turn out great every time.
Check out Ricoma today and start creating your own custom hats!