Are you a crafty beginner or looking to pick up a new hobby? An embroidery machine starter kit is your first step toward creating beautiful designs on fabric!
Embroidery machines come with all sorts of cool features these days, but starting with an embroidery machine starter kit is key. It not only equips you with the necessary tools but also simplifies the learning curve, so you can focus on the fun part—creating!
*Note: embroidery machine starter kits come with all our Ricoma machines, and include bobbins, threads, backing, and some other tools to help you get started! We want to teach you not just what to buy, but why you need these tools and how they will work with your given machine.
Types of Embroidery Machines
Choosing the right type from your embroidery machine starter kit is crucial because it affects everything from the kind of designs you can make to how much you enjoy the process.
There are two main types you’ll come across: single-needle and multi-needle machines.
Single-Needle Machines
These machines have one needle and are great for beginners because they’re easier to use, usually cost less, and can handle simple projects like adding designs to towels or pillowcases. If you’re new to embroidery and want to give it a try without spending too much, a single-needle machine is a good option. It’s perfect for starting out with smaller projects and getting the hang of embroidery.
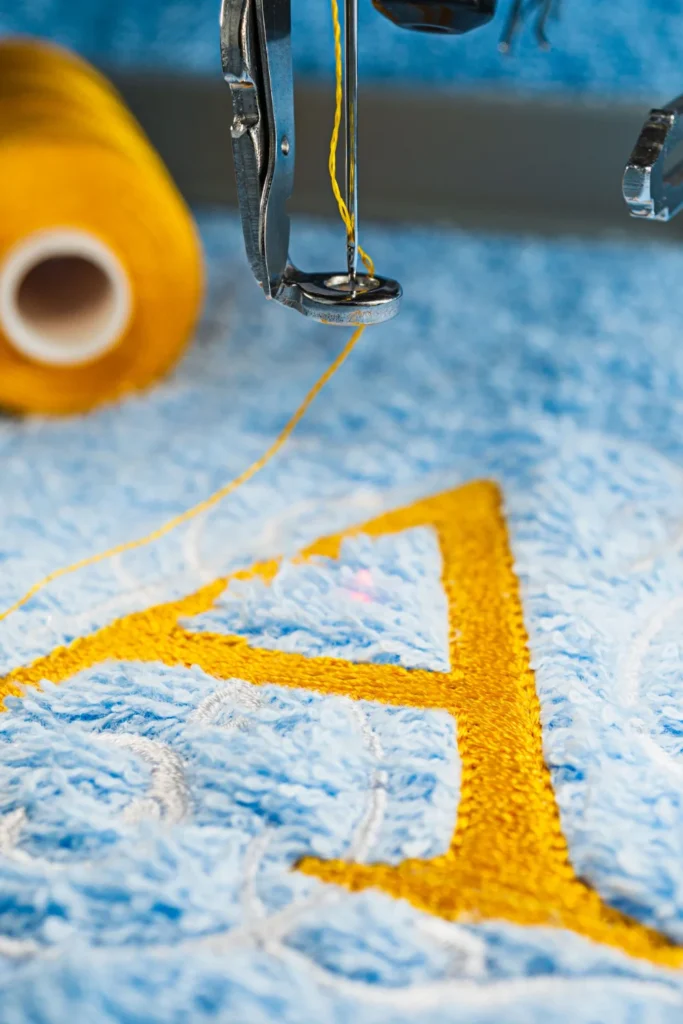
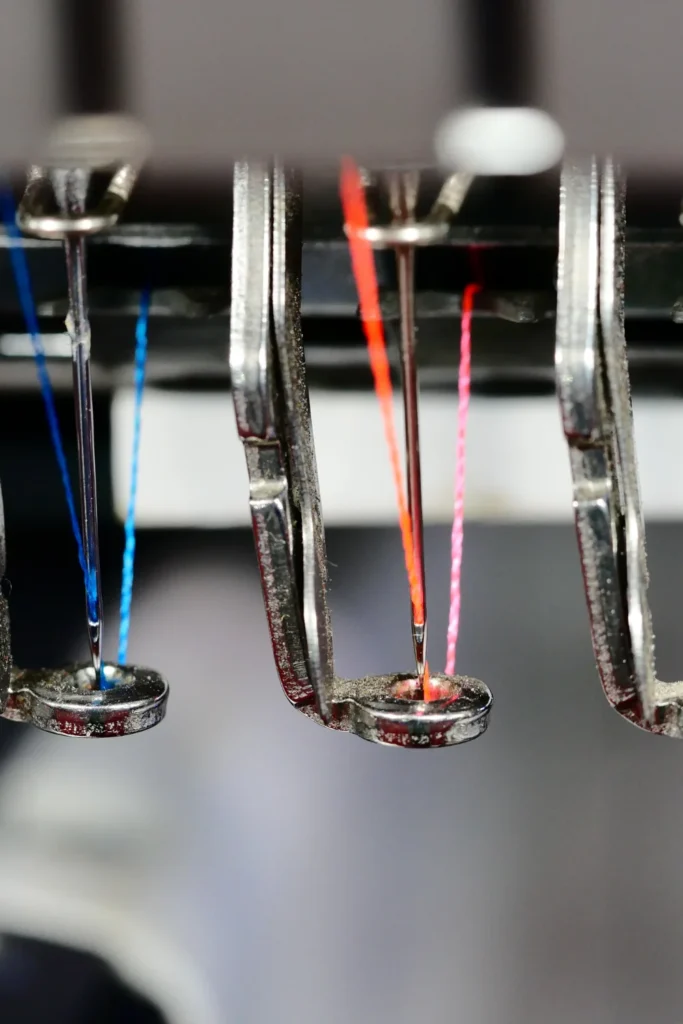
Multi-Needle Machines
If you’re thinking about tackling bigger or more detailed embroidery projects, you might want to check out a multi-needle machine.
Unlike single-needle ones, these machines can hold multiple threads at once, which comes with a bunch of advantages. They’re more efficient, meaning you can finish complex designs quicker without having to change threads manually. Plus, they handle larger designs and thicker fabrics easily, making them perfect for ambitious projects.
Multi-needle machines also give you professional-quality results, like what you see in stores. If you’re serious about getting into embroidery or starting a small business, getting a multi-needle machine as part of your starter kit could be a smart move. They might cost a bit more, but for someone really committed, it’s a worthwhile investment!
Key Features to Look For
Let’s dive into some of the must-have features that will help you create amazing designs with less hassle.
USB Connectivity
USB connectivity is a must-have feature for your embroidery machine. With USB connectivity, you can effortlessly transfer embroidery designs from your computer to your machine. This means you can find or make designs on your PC and then stitch them out with your machine hassle-free.
Maximum Embroidery Area
Having this feature helps you pick the right machine for your projects.
If you’re into large, detailed designs, go for a machine with a bigger embroidery area. That way, your creativity won’t be limited by size!
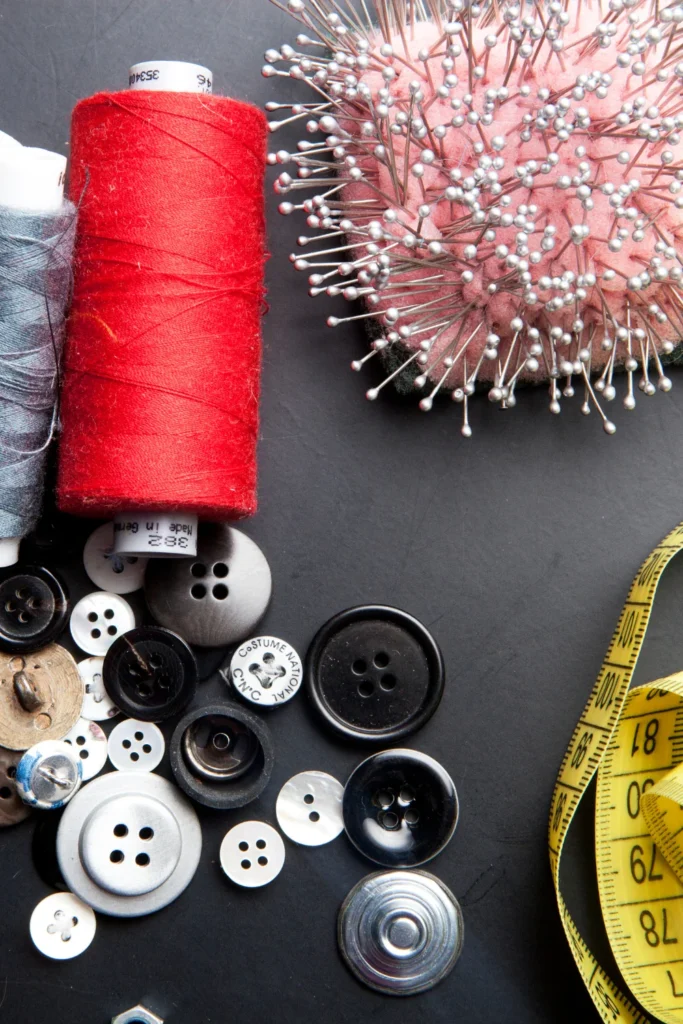
Essential Tools and Accessories
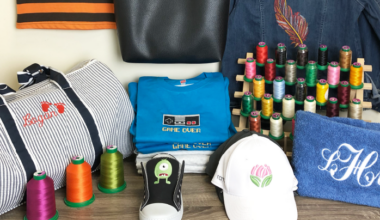
Every embroiderer, especially beginners, needs a set of essential tools and accessories in their embroidery machine starter kit. These not only make the embroidery process easier but also enhance the quality and appearance of your finished projects.
Embroidery Hoops
Embroidery hoops keep the fabric stretched tightly while you stitch, which helps prevent puckering and ensures even stitching.
By holding the fabric securely, hoops allow you to move it around freely under the needle of your embroidery machine, making the process smoother.
For different projects, you’ll need various hoop sizes:
Small hoops are great for monograms or small designs on handkerchiefs and baby clothes.
Medium hoops are great for standard projects like T-shirts or pillow covers.
Large hoops are best for larger projects like tablecloths or quilt blocks.
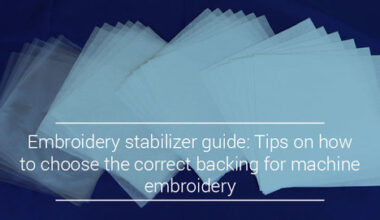
Stabilizers
Stabilizers help maintain the integrity of the fabric, avoiding distortions during the embroidery process. They provide support to the fabric during the stitching process, which is crucial for high-quality results.
There are a few different types of stabilizers you can choose from:
- Cut-away stabilizers remain on the fabric after stitching and are great for stretchy materials.
- Tear-away stabilizers can be removed easily after embroidery, and are perfect for non-stretch fabrics.
- Water-soluble stabilizers are best for temporary support on wash-away projects like freestanding lace.
For beginners, it’s good to start with a variety of stabilizers in your kit so you can experiment and find out what works best with different fabrics and designs.
Embroidery Threads
The right thread can make or break an embroidery project. There are two main types of threads that you should consider:
- Rayon: Known for its brilliant shine and smoothness, making it perfect for decorative embroidery.
- Polyester: Durable and colorfast, ideal for items that will be frequently washed or exposed to sunlight.
Bobbins
Bobbins are small spools that hold the thread underneath the fabric during the stitching process. They work in conjunction with the top thread, which is threaded through the needle of the embroidery machine.
As your machine moves, the top thread and bobbin thread work together to create the embroidered design.
Practical Tips for First-Timers
Embarking on your embroidery journey can be both exciting and a bit daunting. Here are some practical tips to help you start smoothly and enjoy each step of the process:
Start simple! Don’t overwhelm yourself with complex projects, no matter how easy Pinterest or Tikok might make them look. Begin with easy projects that require basic stitches and work your way up from there. This will build your confidence and skills gradually.
Read the manual. It might sound boring, but understanding your machine’s manual is crucial. It’s packed with specific instructions and tips for your model. If you have Ricoma machines, we also have many resources on our Ricoma Crafts YouTube channel.
Test your designs. Always do a test run of your design on a similar fabric scrap. This helps you catch issues before they happen on your actual project.
Don’t…
- Push your machine beyond its limits with materials that are too thick or designs that are too complex for its capabilities.
Ignore machine sounds! If something sounds off, stop and check. Strange noises can be a sign of a needed adjustment or repair.
Start Your Embroidery Journey with Ricoma!
Dive into your new embroidery business with Ricoma! From picking your perfect embroidery machine to downloading your digitizing software to experimenting with different designs to sell, we’ll help you every step of the way!