Are you looking for your next creative project that will take your embroidery skills to the next level?
Sure; everyone loves a monogrammed tee or an appliquéd baby bib. But there’s actually so much more you can do with machine embroidery.
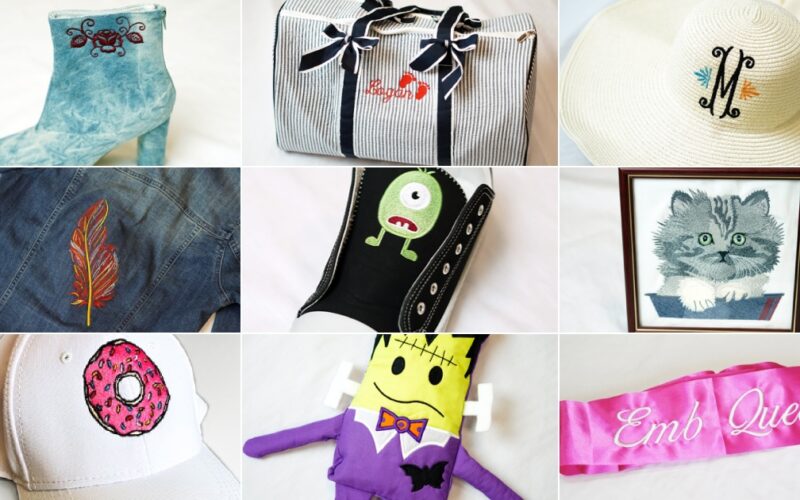
With a wealth of materials and tools available specifically for machine embroidery, you can stitch stunning designs on items you probably never thought you could embroider (without taking them apart, at least).
But you don’t have to take our word for it. Check out the top nine creative projects you can create with an embroidery machine.
Spoiler alert: Seeing how #1 is done will blow you away!
#9: Jacket backs
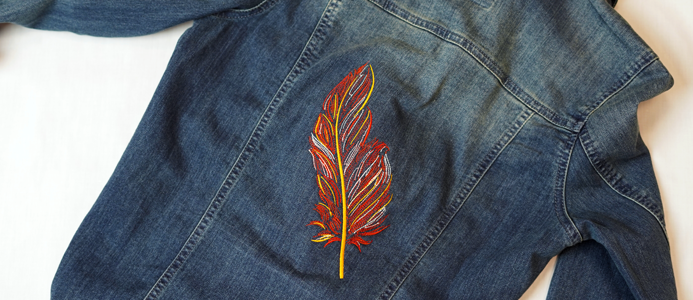
Do you ever wonder how embroiderers manage to get such large designs on the back of a jacket? No; they don’t hoop and re-hoop (although you can with a significant amount of work). Instead, they use multi-needle machines, which have large frames that grant you plenty of space to embroider large, vibrant designs on items such as fishing shirts, letterman jackets and more.
Click here to watch how to embroider on the back of a jacket.
#8: Caps
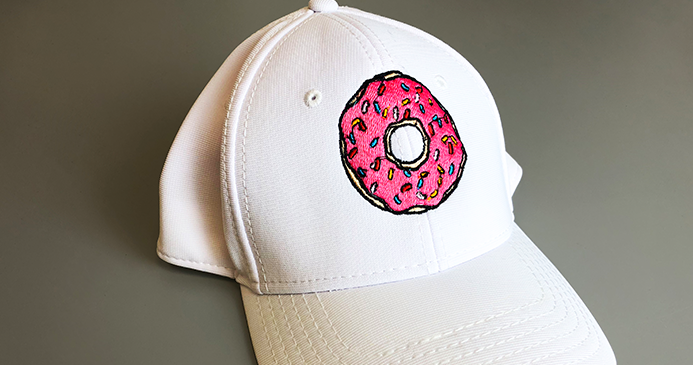
You’ve probably heard some embroiderers saying, “If you can get it flat, you can embroider that.” But how do you flatten out a structured hat?
While you can embroider unstructured caps with a flat hoop due to their flexibility, you’ll have no such luck with structured hats. Luckily, many embroidery machines are compatible with cap attachments that allow you to easily embroider from ear-to-ear on the curved surface of ball caps, fitted caps, snapbacks and more.
Because cap embroidery involves some special techniques and tools, you can even schedule a free virtual demo to watch how cap embroidery is done and ask any questions you have in a one-on-one environment.
Click here to learn how to embroider on caps.
#7: Portraits
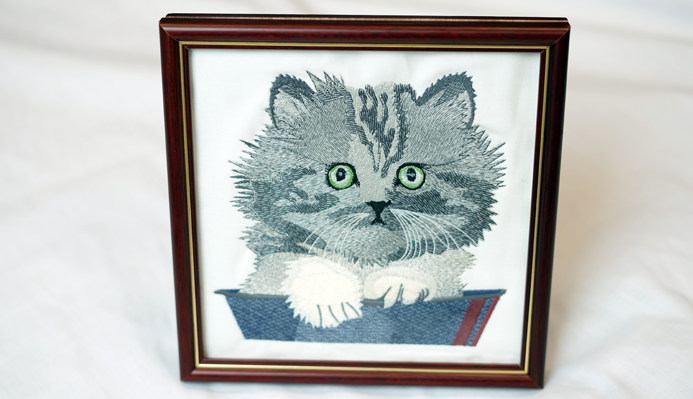
One of the latest trends in machine embroidery is digitizing and embroidering a photo of you, a loved one or even a pet. When you embroider on portraits, you’ll need to make sure your design is large enough for the details to show up clearly, but more importantly, you’ll need to stock up on a few shades of the same color to make your portrait really come to life.
While color is the secret to giving portraits that “wow” factor, there are some best practices to keep in mind when embroidering the small details in portraits.
Click here to learn the best practices for embroidering portraits.
#6: Sun hats
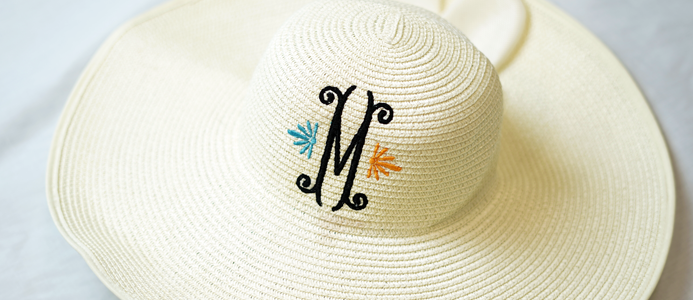
While you can certainly embroider the brim of a sunhat, you’ll likely only have space to embroider a small design unless you have a large or specialty hoop.
With a larger hoop, you can embroider designs like flowers or a clever phrase across the brim of the hat. Some machines are also compatible with specialty attachments that allow you to easily reach areas that you never thought were possible.
The head of this hat was embroidered using machine embroidery clamps that hold the material firm and allow you to embroider on all types of surfaces without struggling to hoop the material and get it flat.
Click here to see how it’s done.
#5: Duffel bags
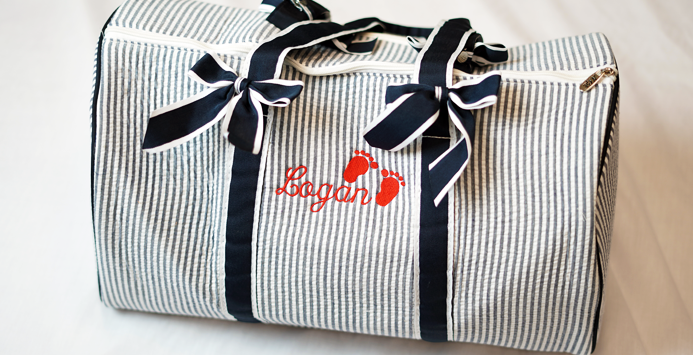
Nothing is more convenient than sorting through travel bags and knowing exactly which one is yours because it’s customized!
However, embroidering something this thick isn’t easy and you may not have enough space in the hoop or underneath the machine head to embroider on large, heavy items like duffel bags and weekender bags.
But with a few special tweaks and tools like Mighty Hoops, you can embroider on luggage pieces like weekender bags without any issues.
Click here to learn how to embroider duffel bags.
#4: Belts/sashes
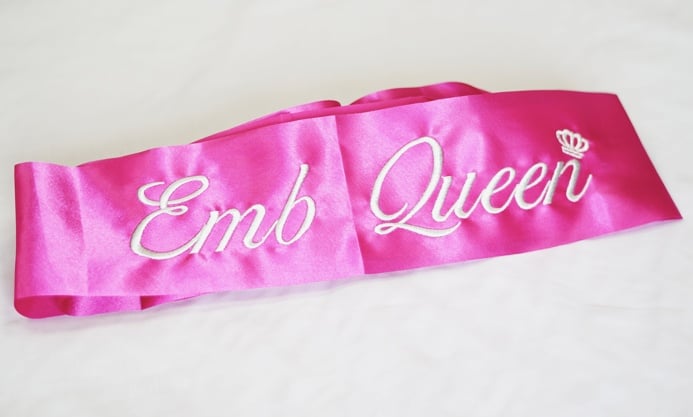
Some embroidery machines are compatible with hoops that are specifically designed to embroider on belts and belt-shaped items like sashes. These hoops have high-pressure clamps and notches that hold the fabric firmly in the center of the hoop, so that you don’t risk losing registration or embroidering off center.
However, even if you don’t use the belt attachment, you can still embroider names on sashes or colorful floral designs on belts with a large embroidery hoop and special hooping techniques.
Click here to learn how to embroider sashes.
#3: Shoes
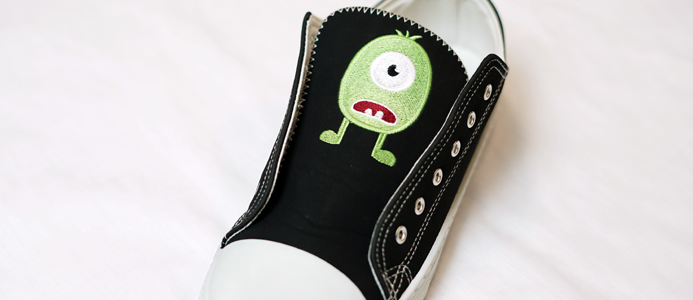
Despite their irregular shape, you can, in fact, stitch on shoes. While some machines may limit you to flats, multi-needle embroidery machines have space underneath the hoop that allows you to embroider on unusually shaped finished items like shoes.
With an 8-in-1 hoop, you can embroider on the tongue of sneakers or on the front of flats. This specialty hoop includes eight different-sized frames that allow you to easily float your material over your hoop, rather than hooping it traditionally.
Click here to learn how to embroider on the tongue of sneakers.
#2: Boots
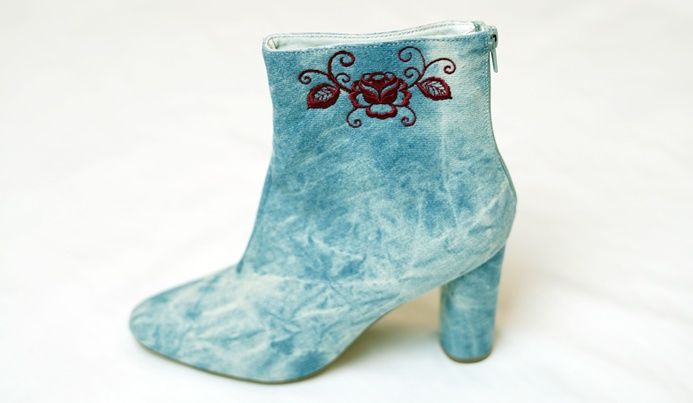
Boots are another popular piece of footwear that you can embroider with the help of Mighty Hoops, which are strong magnetic hoops that reduce the possibility of hoop burn and allow you to easily hoop thick materials with a magnetic force. If you’d like to see how these powerful hoops work, click here to watch a Mighty Hoops demo on Embroidery Hub, a YouTube show all about…
…you guessed it, embroidery!
You can also embroider boots with the help of machine embroidery clamps. Similar to the 8-in-1 hoop set, these clamps allow you to easily hoop and embroider irregularly shaped items without risking quality.
Click here to learn how to embroider on shoes.
#1: In-the-hoop projects
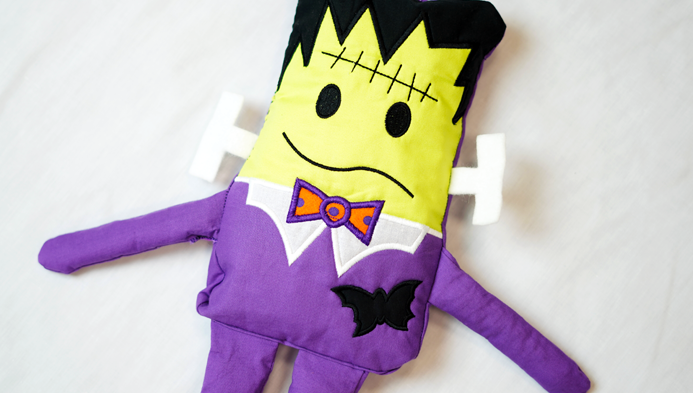
Did you know you can transform a few pieces of fabric into a finished item with your embroidery machine?! With a large enough hoop and a special digitized design, you can create stuffed animals and dolls directly on your embroidery machine without the need to sew it together with a sewing machine.
This makes for a fast and easy way to both personalize and sew finished items from scratch with your embroidery machine alone.
Click here to watch a few pieces of fabric transform into a full-blown stuffed doll.
Now that you’ve seen what you can do with machine embroidery, the real question is…
HOW?!
It’s easy. Just “watch and learn” – literally.
In this next article, we’ve compiled nine videos that cover the exact steps you need to take to complete all nine of these projects quickly and easily.
Click here to “watch and learn.”
Do you want to see even more creative projects? Click here to join our Facebook group, Embroidery & Printing Business Help where we share awesome videos and content just like this.
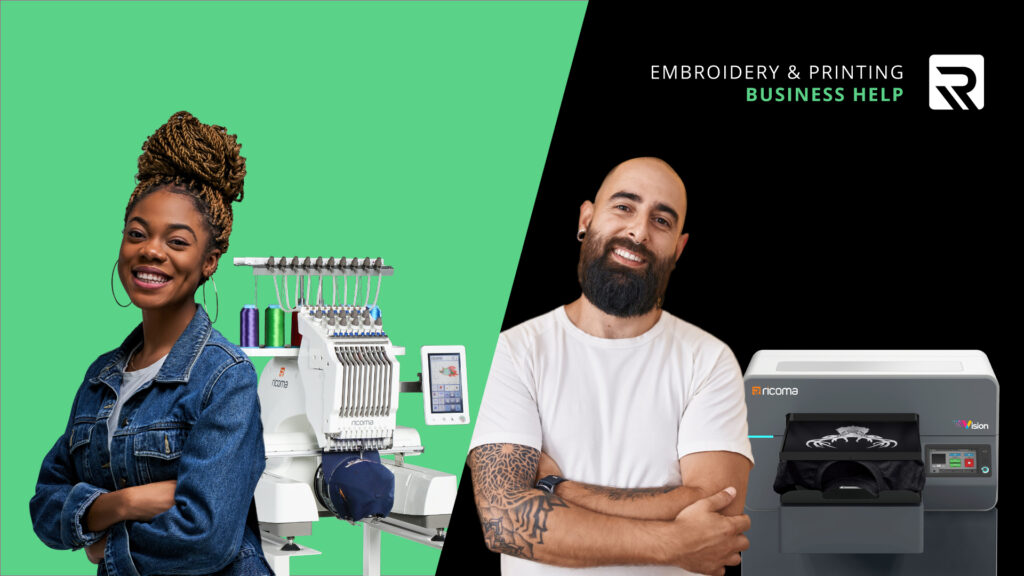
Once you see how many beautiful projects and useful tips are shared in the group, you’ll have more than enough material to embroider for a lifetime. Pun intended.
But if you’re really excited to learn embroidery, you can actually schedule a free virtual demo here.
In it, you’ll have a one-on-one real-time video session with an embroidery expert where you can watch an embroidery machine running live from the comfort of your home. Click here to schedule your free virtual demo today.
Want to see one of our machines in action?
Schedule a free virtual demo if you want to see any of our machines in action. In it, you can ask any questions you have about the industry and see exactly how to start and run an embroidery project in real time.
