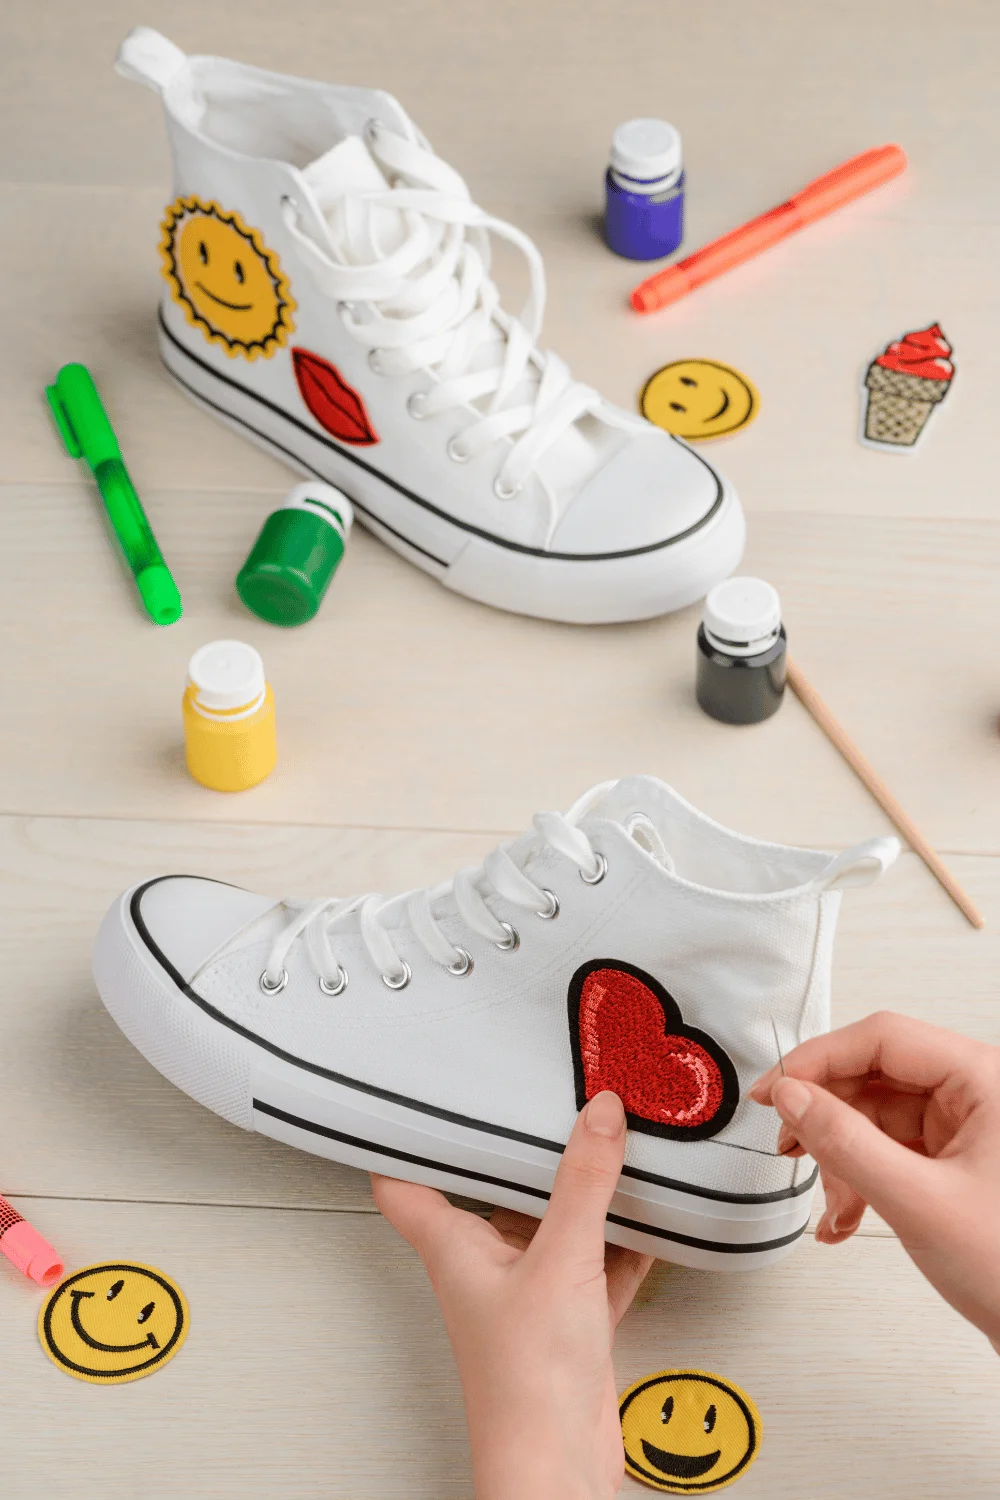
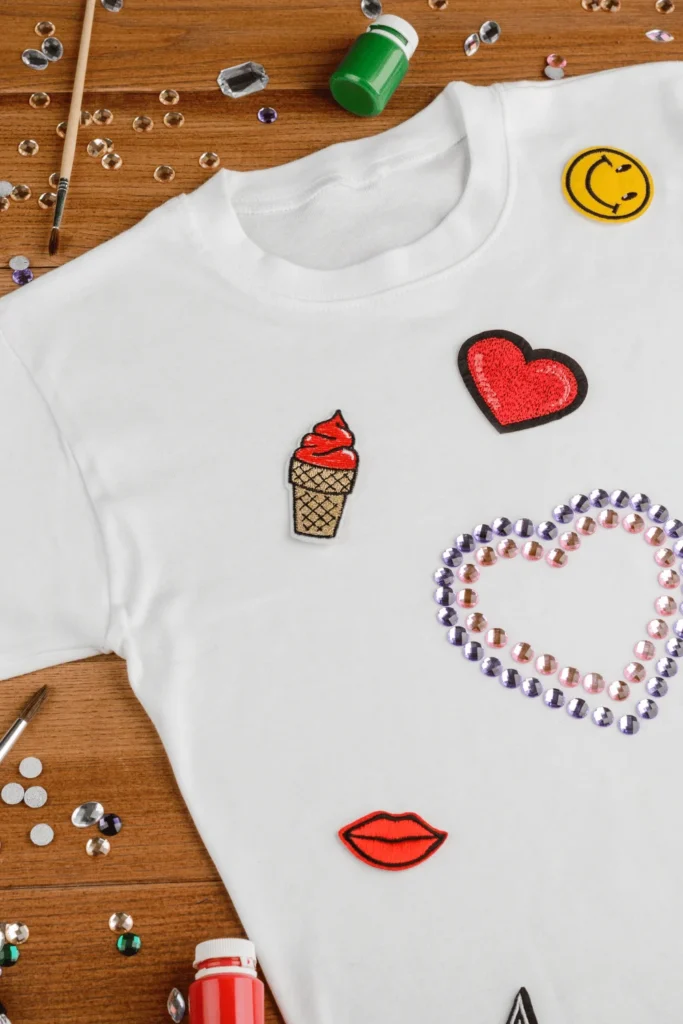
Fabric patches. They’re eye-catching, durable, and can convey a message or aesthetic in a compact form.
Learning how to create custom patches is a fantastic way to express your creativity, promote your brand, or add a personal touch to your clothing and accessories!
Whether you’re looking to create a custom patch for your business, organization, or personal use, the process of making your own patches can be both rewarding and cost-effective.
Create Custom Patches
Materials Needed to Create Custom Patches
When you create your own custom patches, high-quality materials might cost more upfront, but they often result in patches that look better and last longer, providing better value in the long run.
Fabric Options
When knowing how to create custom embroidered patches, you have several choices of the types of fabric options, each with its own set of pros and cons. Some popular fabric choices include twill, felt, and canvas.
- Twill is a durable, tightly woven fabric that’s excellent for detailed embroidery. It’s resistant to wear and tear, making it ideal for patches that will see frequent use.
- Felt, on the other hand, has a softer texture and is great for creating a vintage or handcrafted look. It’s easy to work with but may not be as durable as twill.
- Canvas is another sturdy option that can handle intricate designs well, but it may be a bit stiffer than other fabrics.
Your choice of fabric will impact the embroidery process. Tightly woven fabrics like twill and canvas can handle more detailed stitching without puckering, while felt might require a lighter touch to avoid distortion. Consider the level of detail in your design when choosing your fabric.
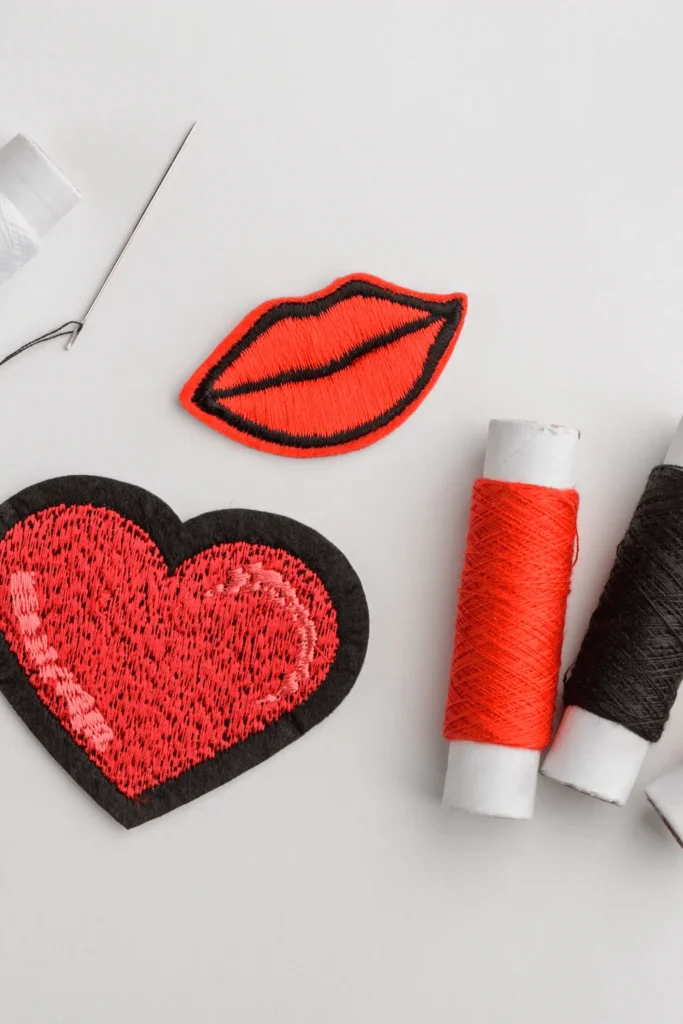
Embroidery Threads
The type of embroidery thread you choose can make a significant difference in the appearance and durability of your patches. The three main types of embroidery threads are polyester, rayon, and metallic.
- Polyester threads are strong, colorfast, and resistant to fading, making them an excellent choice for patches that will be washed frequently.
- Rayon threads have a beautiful sheen and are available in a wide range of colors, but they’re not as durable as polyester.
- Metallic threads add a touch of sparkle and glamour to your patches but can be more challenging to work with and less durable than other options.
Color selection is crucial when it comes to thread choice. The colors you choose will bring your design to life, so take time to consider how different shades will work together.
Remember that embroidery thread colors may look slightly different when stitched than they do on the spool, so it’s often helpful to do a test stitch before committing to a full design.
Backing Materials
The backing material you choose for your patch will determine how it’s attached to clothing or other items. Common backing options include iron-on, velcro, and adhesive backings.
- Iron-on backings are popular because they allow you to create custom iron on patches that are easy to apply and provide a secure attachment. However, they may not be suitable for all fabric types and can come loose over time with frequent washing.
- Velcro backings allow for easy removal and reattachment, making them great for patches that you want to move between different items.
- Adhesive backings are simple to use but may not provide as strong a bond as other options.
Tools and Equipment
To create custom patch designs, you’ll need a few essential tools:
- Sharp scissors for cutting fabric and thread
- Embroidery needles (if you’re hand-stitching)
- Embroidery hoops to keep your fabric taut while working
If you want things to be easier, an embroidery machine is a game-changer for patch creation, allowing you to produce precise, professional-looking designs quickly and consistently.
While it’s possible to create patches by hand, learning how to create a custom patch with a machine can significantly speed up the process and handle more complex designs with ease.
Optional tools that can enhance your patch-making process include fabric markers for transferring designs, a heat press for applying iron-on backings more evenly, and a light box for tracing designs onto fabric. While not essential, these tools can make your work easier and more professional-looking!
Different Techniques for Creating Custom Patches
Machine Embroidery
Machine embroidery is a popular choice for when you create custom patches, especially when producing them in larger quantities. This technique offers several benefits, including speed, precision, and consistency.
Machine embroidery works best for designs with clean lines and well-defined areas of color. It’s particularly good for text, logos, and intricate patterns that would be challenging to recreate by hand. However, very small details or gradients might be difficult to achieve with machine embroidery.
While machine embroidery can produce professional-looking results quickly, it does require an initial investment in equipment and time to learn the technique. You’ll need to familiarize yourself with your embroidery machine and software, which can take some practice.
However, once you’ve mastered the basics, you’ll be able to create high-quality patches efficiently.
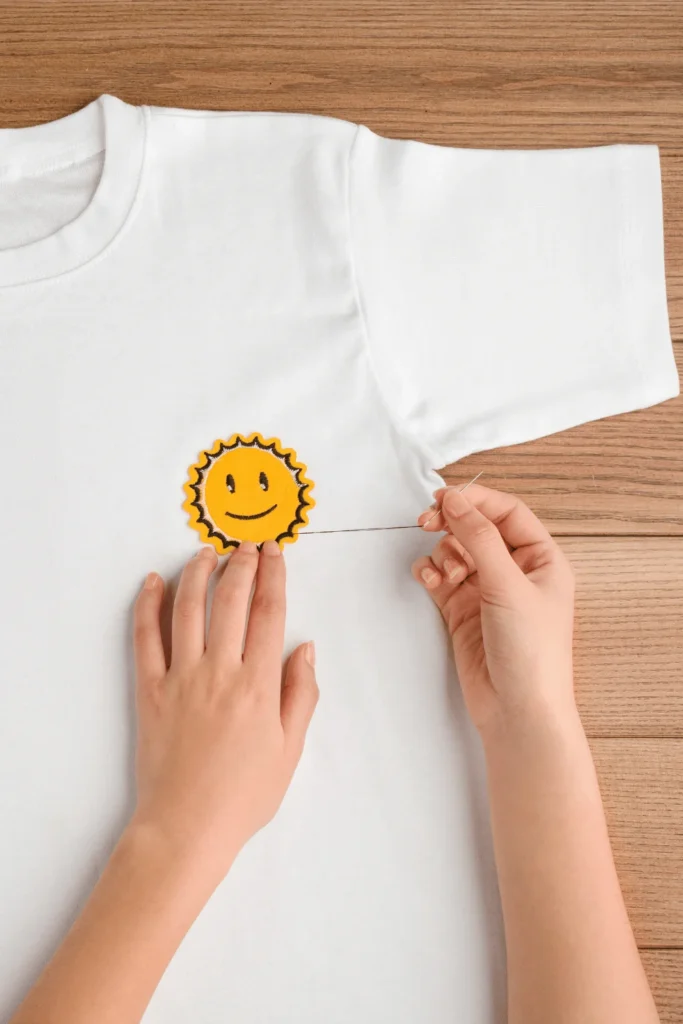
Hand Embroidery
Hand-embroidered patches have a unique, artisanal appeal that many people find attractive. This technique allows for a high degree of customization and can create effects that are difficult to achieve with a machine.
Hand embroidery is well-suited to designs that require a softer, more organic look. It’s also great for creating texture and dimension in your patches. However, it does have some limitations. Very small text or extremely intricate designs can be challenging to execute by hand.
One of the main considerations with hand embroidery is the time investment required. Hand-stitching a patch can take several hours, depending on the complexity of the design. It also requires a certain level of skill and patience. However, many people find the process meditative and enjoyable, and the results can be truly unique and special.
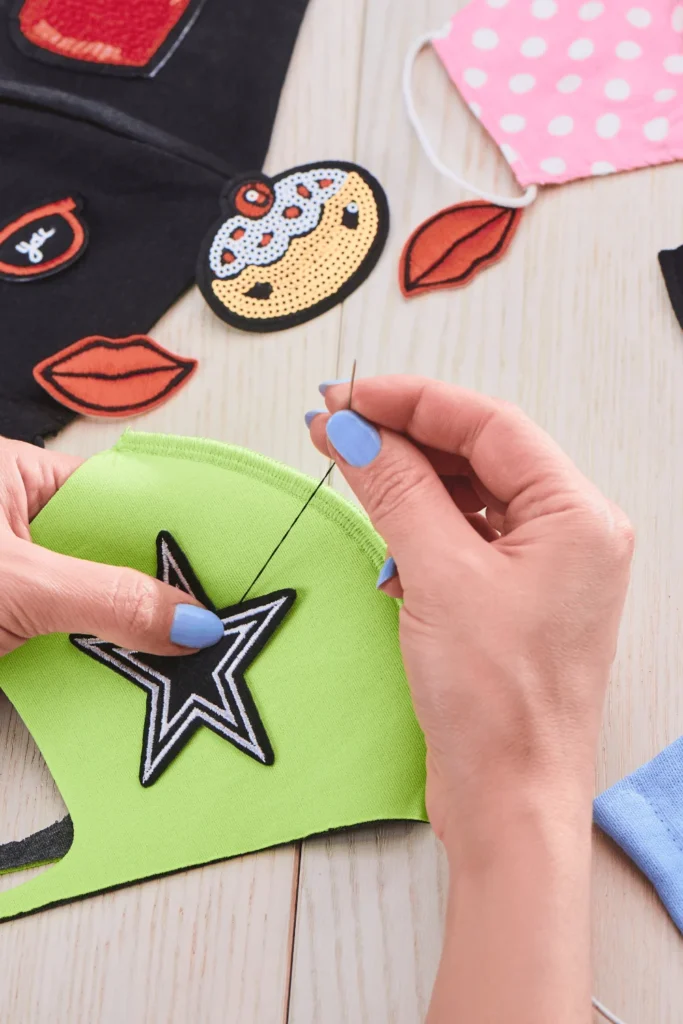
Appliqué Method
The appliqué method involves attaching pieces of fabric to a base fabric to create a design. This technique can create interesting textures and dimensional effects in your patches.
Appliqué works well with bold, graphic designs and can be combined with embroidery for added detail. For example, you might use appliqué to create the main shapes of your design, then add embroidered outlines or details for a more polished look.
When choosing fabrics for appliqué patches, consider how they will work together. You’ll want fabrics that complement each other in terms of color and texture. Felt is a popular choice for appliqué patches because it doesn’t fray, making it easier to work with.
Create Custom Patches: A Step-by-Step Guide
Preparing Your Fabric
Start by choosing a fabric that suits your design and intended use. Cut your fabric to size, leaving a bit extra around the edges to allow for fraying or finishing.
For most embroidery techniques, you’ll need to stabilize your fabric to prevent puckering and ensure clean stitching. This usually involves using an embroidery stabilizer, which can be ironed onto the back of your fabric or placed in the hoop beneath it. The type of stabilizer you use will depend on your fabric choice and design complexity.
Some fabrics may require pre-treatment before embroidery. For example, you might need to pre-wash certain fabrics to prevent shrinkage later, or you might need to apply a water-soluble topping to fabrics with a high pile to prevent stitches from sinking into the fabric.
Setting Up Your Embroidery Machine
If you’re using an embroidery machine, proper setup is crucial for achieving good results. Start by threading your machine with your chosen embroidery thread. Make sure to use the correct type of needle for your thread and fabric.
Next, you’ll need to load your design into the machine. This usually involves transferring a digital file from your computer to the machine, either via a USB drive or direct connection. Many embroidery machines come with built-in designs, but for custom patches, you’ll likely be creating your own designs using embroidery software.
Choose the right hoop size for your patch and secure your stabilized fabric in the hoop. Make sure the fabric is taut but not stretched, as this can cause distortion in your final design.
Embroidering the Design
When it comes to the actual embroidery process, there are a few key things to keep in mind for achieving clean, professional-looking results. First, always start with a test stitch on a scrap piece of fabric. This allows you to check that your tension is correct and that the design is stitching out as expected.
Monitor the embroidery process closely, especially at the beginning. Watch for any issues like thread breaks or looping, which can indicate problems with tension or needle position. Most issues can be quickly resolved if caught early.
For multi-color designs, you’ll need to change threads as the design progresses. Many embroidery machines will stop automatically when it’s time to change colors. Take care not to pull on the fabric when changing threads, as this can distort your design.
Cutting and Finishing the Patch
Once your design is fully embroidered, it’s time to cut out your patch. Use sharp scissors and cut carefully around the edge of your design, leaving a small border if desired. If you’re worried about fraying, you can use a product like Fray Check on the edges before cutting.
For a professional finish, many patch makers use a technique called merrowing, which involves using a special sewing machine to create a tight overedge stitch around the perimeter of the patch. If you don’t have access to a merrowing machine, you can create a similar effect by doing a dense zigzag stitch around the edge of your patch.
Finally, it’s time to attach your chosen backing. For iron-on backings, use a heat press or iron to apply even heat and pressure. For adhesive backings, make sure the patch is clean and dry before applying the adhesive. If using velcro, stitch it securely to the back of your patch.
Unleash Custom Patch Creativity with Ricoma!
Ready to create custom patches yourself? Ricoma offers a range of sewing and embroidery machines perfect for patch-making, from compact models ideal for hobbyists to industrial-grade machines for high-volume production.
Browse through all our sewing machines, fit for the established and beginner crafter to bring your patch designs to life.