Even the most experienced embroiderers have to learn how to remove embroidery for one reason or another. Or, maybe you want to repurpose a thrifted garment and re-design it into something you love!
Here’s how to go through the process and extra tips for a smooth removal!
Tools and Materials Needed
Seam Ripper
When you’re learning how to remove embroidery, you’ll definitely need a seam ripper!
This is a small tool with a sharp point on one end and a curved hook on the other. The sharp point is perfect for carefully cutting threads, while the hook helps you lift and remove them without damaging the fabric.
Embroidery Scissors
While a seam ripper is your go-to for most of the removal process when learning how to remove embroidery, a pair of embroidery scissors is also essential.
These little scissors are sharp and precise, allowing you to snip threads close to the fabric without accidentally cutting your base material.
Tweezers
Tweezers are super handy when it comes to how to remove embroidery. Those pesky little threads can be tricky to grab with your fingers, especially if they’re short or tightly woven.
Pro tip: Angled tweezers are especially useful for this task. They have a slanted tip that makes it easier to see and grab those hard-to-reach threads.
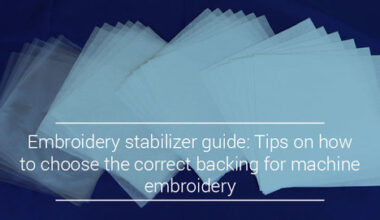
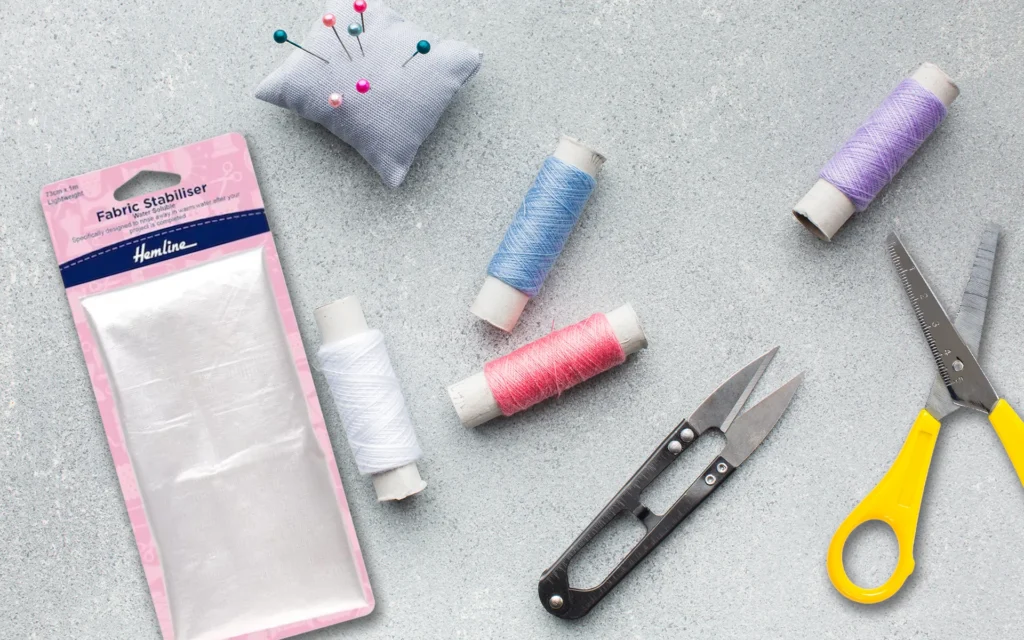
Fabric Stabilizer (optional, depending on fabric type)
If you’re working with a delicate or stretchy fabric, you might want to call in some backup. Fabric stabilizer is a special material that helps keep your fabric from stretching or warping while you’re removing the embroidery.
You can find different types of stabilizers, like wash-away or tear-away, depending on your fabric and needs. Just make sure to follow the instructions on the stabilizer packaging for the best results.
Assessing the Embroidery
Before you start snipping and ripping, take a minute to examine the embroidery you want to remove.
- Is it machine-embroidered or hand-stitched?
- Are you trying to learn how to remove embroidery from a shirt or maybe a hat?
- What kind of fabric is it on?
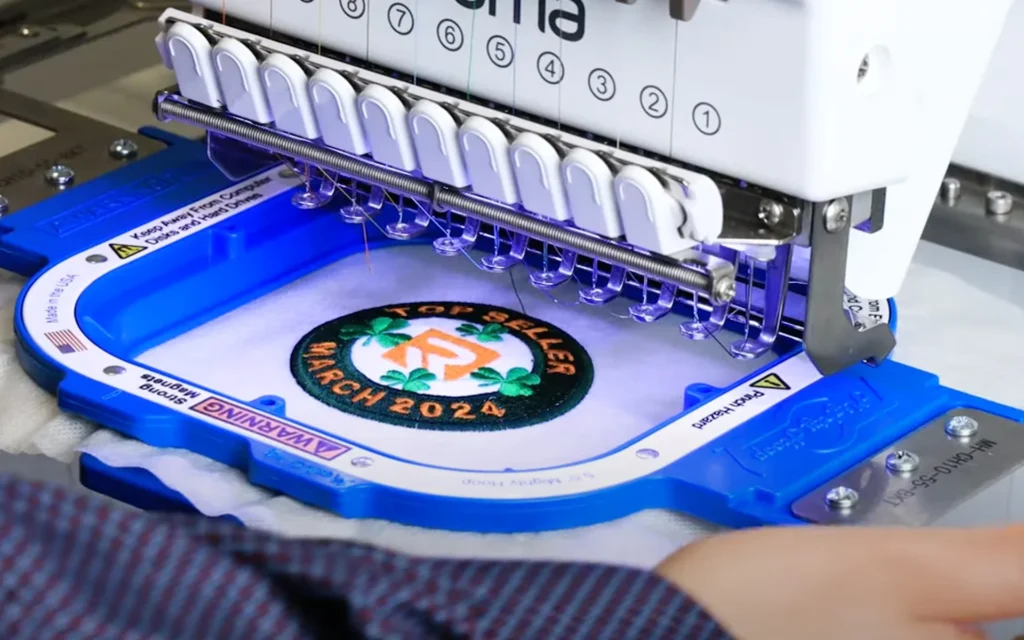
If you’re dealing with machine embroidery, you might have an easier time, as the stitches are often more uniform and easier to pick apart.
Hand embroidery, on the other hand, can be a bit trickier, especially if the stitches are very small or tight. Delicate fabrics like silk or lace require a gentler touch, while sturdier fabrics like denim or canvas can handle a bit more force.
Every project is different, so it’s always a good idea to test your removal method on a hidden area of the fabric first. This will help you avoid any unpleasant surprises and ensure that you don’t accidentally damage your garment.
Step-by-Step Guide to Removing Embroidery
Step 1: Preparing the Fabric
Turn your garment inside out, you’ll do this whether you’re trying to learn how to remove an embroidery patch or any other type of embroidery. This way, you’ll be working on the back of the embroidery, where all the messy threads are hiding.
Now, take a closer look at your fabric. If it’s a bit delicate or prone to snagging, you might want to give it some extra protection. Grab some masking tape or painter’s tape and carefully cover the right side of the fabric (the side with the embroidery you want to keep).
This will act as a shield, preventing the fabric from getting caught or damaged while you work on the back.
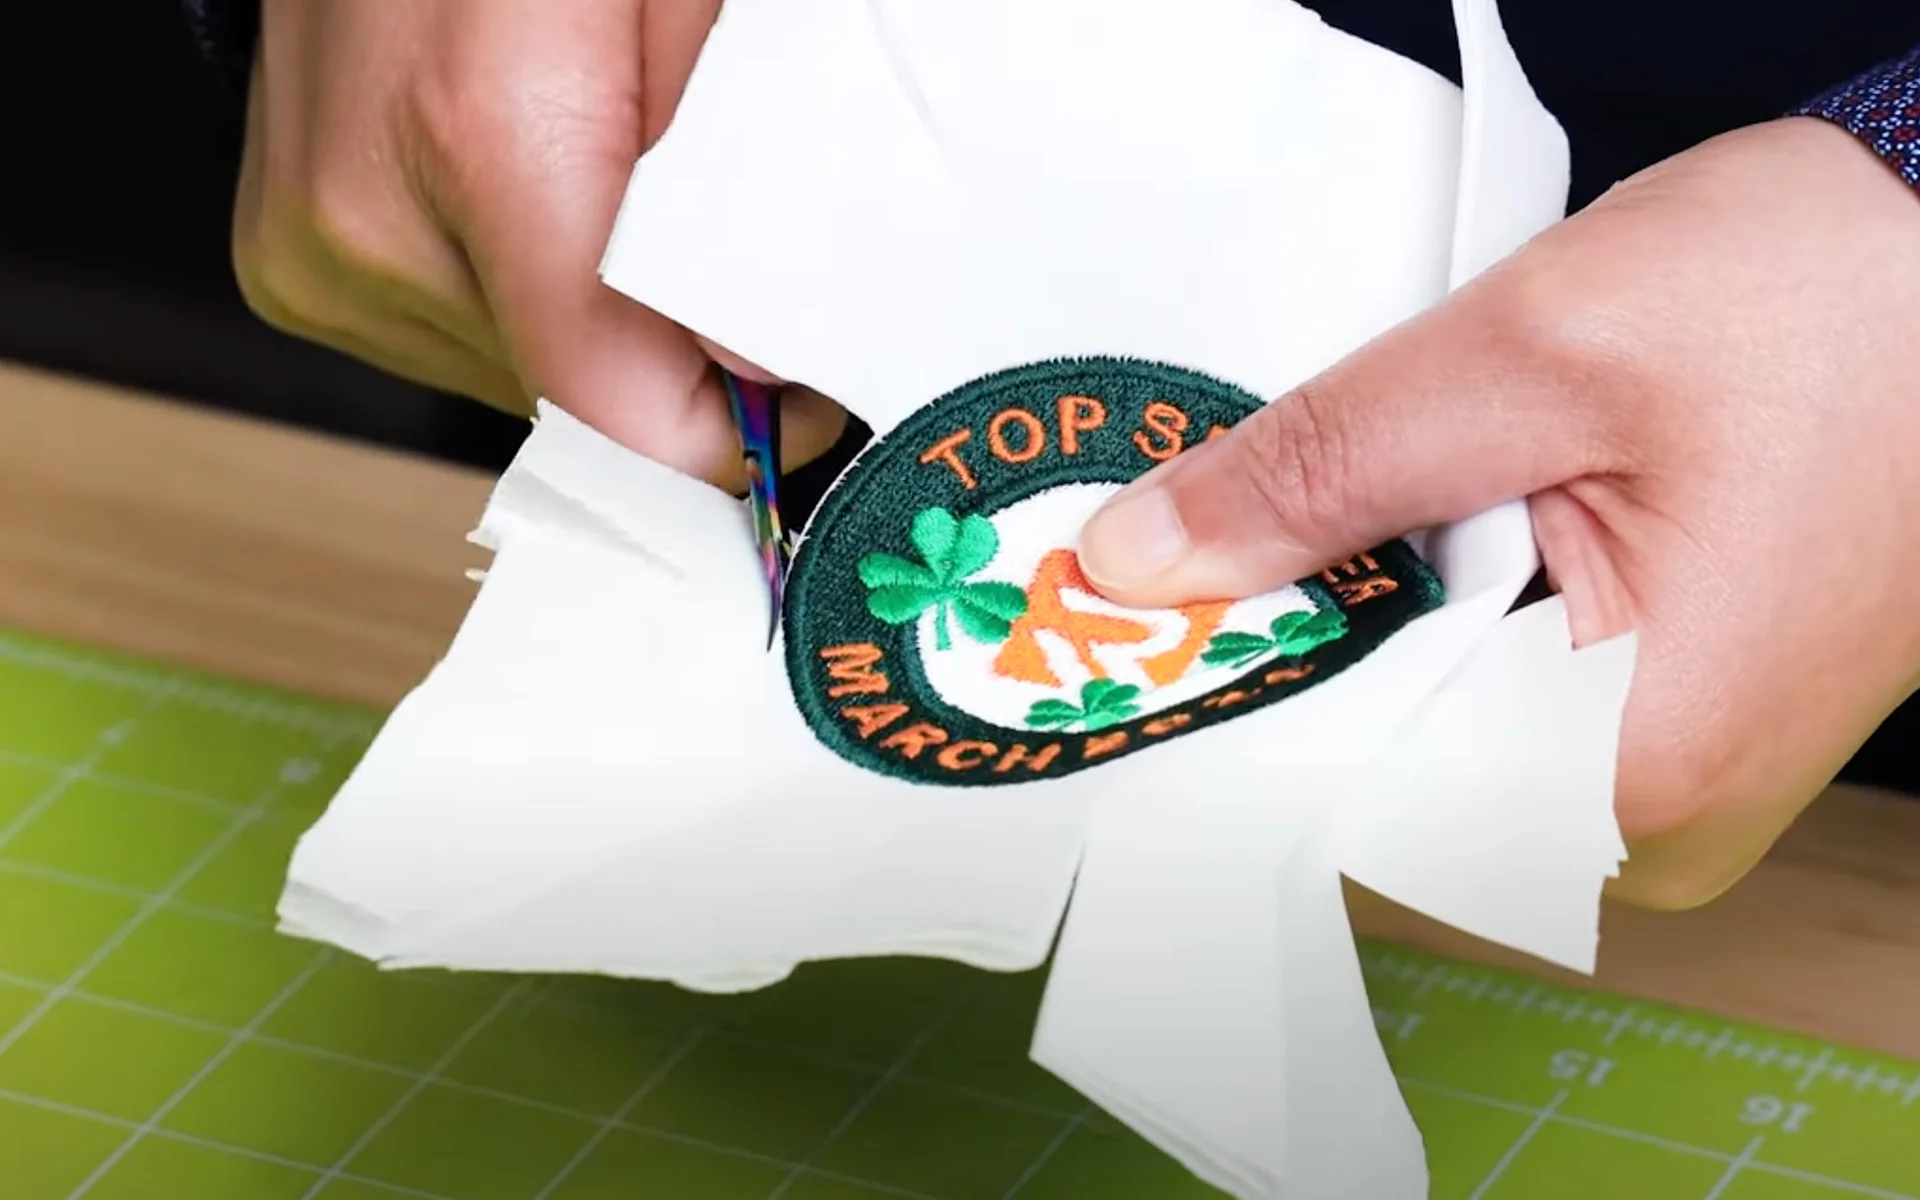
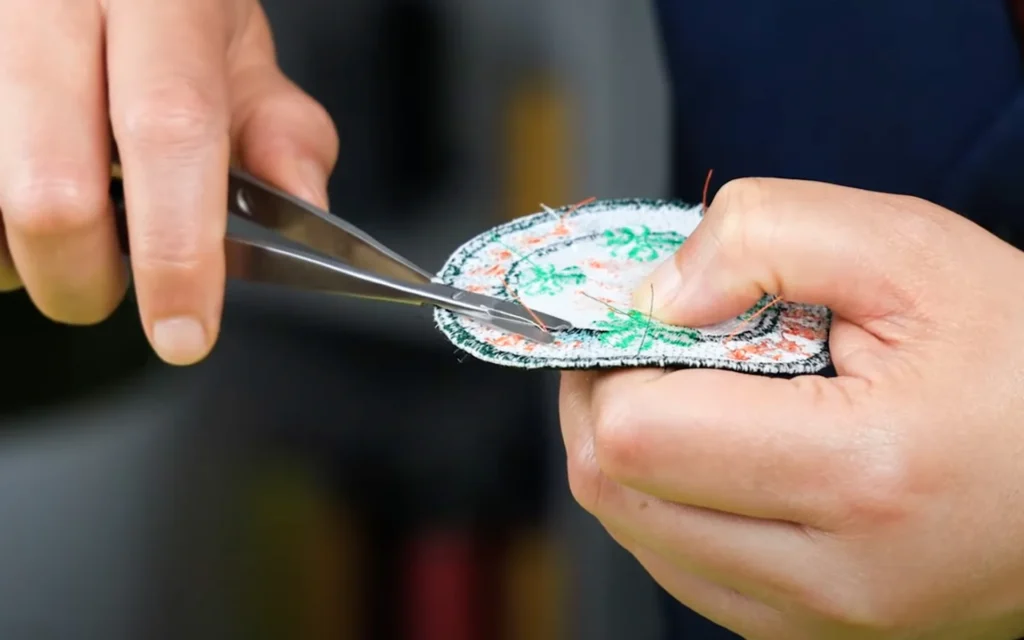
Step 2: Cutting Threads
Now that your fabric is prepped and ready, it’s time to break out the seam ripper or embroidery scissors! These are your trusty tools for this mission.
When learning how to remove embroidery with backing you’ll start by gently sliding the sharp point of the seam ripper or the tip of your scissors under a thread on the back of the embroidery. Carefully lift the thread and snip it. Take your time and work in small sections to avoid accidentally cutting the fabric.
If you’re dealing with machine embroidery, you might be able to cut multiple threads at once. But if it’s hand embroidery, you’ll probably need to cut each thread individually. Just keep snipping away until all the threads in that section are cut. Then, move on to the next section and repeat the process.
Before you know it, you’ll have a pile of thread scraps and a garment that’s ready for a new look!
Step 3: Removing Stitches
Alright, you’ve successfully snipped all the threads on the back of your fabric. Now, it’s time to tackle the front. Flip your fabric back over and grab your tweezers.
Gently grab the cut ends of the threads and pull them through to the back of the fabric. When learning how to remove embroidery stitches it’s important to be careful not to tug too hard, as you don’t want to damage the fabric. If the threads are short and hard to grab, you can use the sharp point of your seam ripper to loosen them up a bit.
Once you’ve removed all the visible threads, you might notice some tiny bits of thread still clinging to the fabric. No problem! A lint roller or some sticky tape can easily remove these little stragglers.
Step 4: Finishing Touches
Congrats, you’ve successfully removed the embroidery! But before you start celebrating, there are a few finishing touches you’ll want to take care of.
Give your fabric a good once-over to make sure you haven’t missed any threads. If you’re happy with the results, give it a wash according to the care instructions to remove any stray fibers or dust.
Then, if your fabric is looking a little wrinkled or creased, you can iron or steam it to give it a fresh, smooth finish.
Removing Embroidery from Delicate Fabrics
Delicate fabrics like silk or lace require a little extra TLC during the removal process. You’ll want to be extra gentle to avoid damaging the fabric. Start by stabilizing the area around the embroidery with a piece of fabric stabilizer. This will help prevent the delicate fabric from stretching or tearing as you remove the stitches.
When it comes to cutting and removing the threads, it’s best to use a smaller seam ripper or even a needle to avoid snagging the fabric. Take your time and work slowly, gently teasing out each thread.
Removing Embroidery from Thick Fabrics
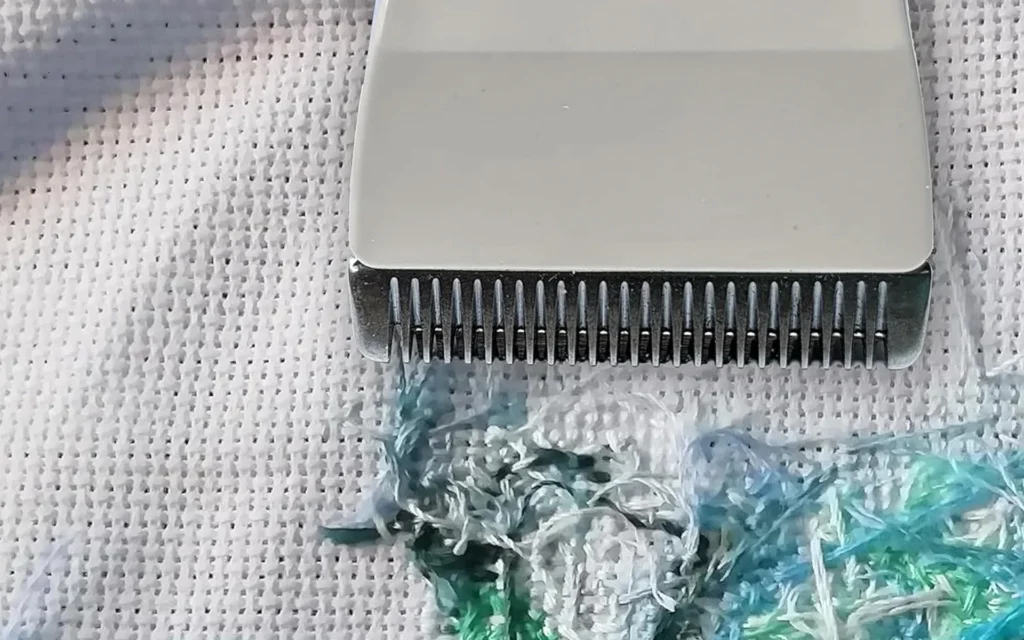
Thick fabrics, like the tough denim of your favorite jeans or the sturdy canvas of a tote bag, can pose a bit of a challenge when it comes to removing embroidery. The thicker threads and denser weave of these fabrics can make the stitches more difficult to cut and remove.
When tackling thicker fabrics, you might find that a standard seam ripper isn’t quite up to the task. Instead, consider using a larger seam ripper or a specialized tool called a stitch eraser. These tools are designed to handle tougher threads and can make the removal process a bit easier.
Even with the right tools, it’s important to be extra careful when removing embroidery from thick fabrics. You’ll want to take your time and work slowly, making sure to avoid leaving any holes or marks on the fabric.
Alternative Methods for Removing Embroidery
While seam rippers and scissors are the most common tools for removing embroidery, there are a few alternative methods you might have heard about.
Some folks use a razor blade to carefully shave off the stitches, but this can be tricky and requires a steady hand to avoid damaging the fabric.
Others might suggest using chemical removers, but these can be harsh on fabrics and are best avoided.
It’s important to remember that embroidery removal should be done with care and patience. The goal is to remove the unwanted stitches without causing any harm to your fabric.
Start Your Embroidery Journey with Ricoma!
Now that you’ve mastered the art of removing embroidery, it’s time to unleash your creativity and craft breathtaking designs of your own!
Whether you’re just starting out or you’re a seasoned pro, Ricoma offers everything you need to turn your ideas into reality. Their user-friendly SWIFT embroidery machine and powerful Chroma digitizing software ensure that every stitch is perfect.
Don’t hesitate—compare our embroidery machines, start your embroidery journey with Ricoma today, and watch your creativity take flight!