Finishing your embroidery hoop is like putting the final touches on a masterpiece. It not only makes your work look more polished and professional, but it also helps protect your stitches and keeps your fabric nice and taut.
Let’s dive into the basics of how to finish an embroidery hoop and make your project ready to display!
How to Finish an Embroidery Hoop: The Basics

1. Choosing the Right Fabric and Hoop Size
Step number one when learning how to finish an embroidery hoop is choosing the right fabric! The fabric you use for backing your embroidery should be a good match for your main fabric, both in terms of color and texture. You’ll also want to make sure it’s a sturdy fabric that won’t easily tear or fray over time. After all, you want your creation to last!
Choosing the right hoop size is equally important when learning how to finish an embroidery hoop. The hoop should be big enough to hold your entire design comfortably, with a little extra space around the edges.
If you’re not sure what size to choose, a good rule of thumb is to leave about an inch of fabric around your design on all sides.
2. Mounting Your Embroidery in the Hoop
Now that you’ve got your fabric and hoop ready, it’s time for the fun part of learning how to finish an embroidery hoop — putting it all together!
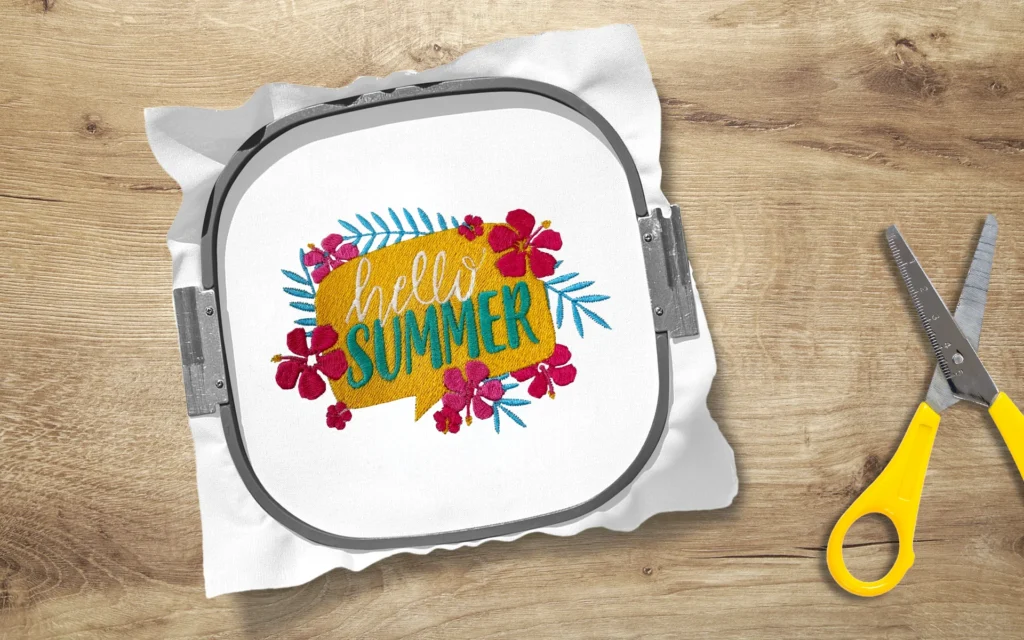
First, separate your hoop into two rings. The inner ring is the smaller one, and the outer ring has the screw or fastener. Lay the inner ring on a flat surface, then place your fabric right on top of it. The “pretty” side of your fabric with all your stitching should be facing up.
Now, gently place the outer ring over the fabric and inner hoop, making sure everything is lined up nicely. Start tightening the screw, but don’t crank it down all at once! Go little by little, pulling the fabric taut as you go until it’s nice and smooth like a drum.
If you have a hoop stand, this is where it comes in handy. It holds the hoop for you, so you can use both hands to adjust the fabric and get it perfectly positioned.
3. Securing the Back of the Hoop
Now it’s time for how to finish the back of an embroidery hoop! You can trim the excess fabric close to the hoop, but be careful not to snip any of your stitches. Or, if you want a more polished look, you can use fabric glue to secure the edges to the inside of the inner hoop.
Another option is to use a running stitch to gather the fabric edges and create a neat little bundle on the back of the hoop. This method is a bit more time-consuming, but it gives your project a lovely handmade touch.
4. Adding a Backing or Finishing Touch
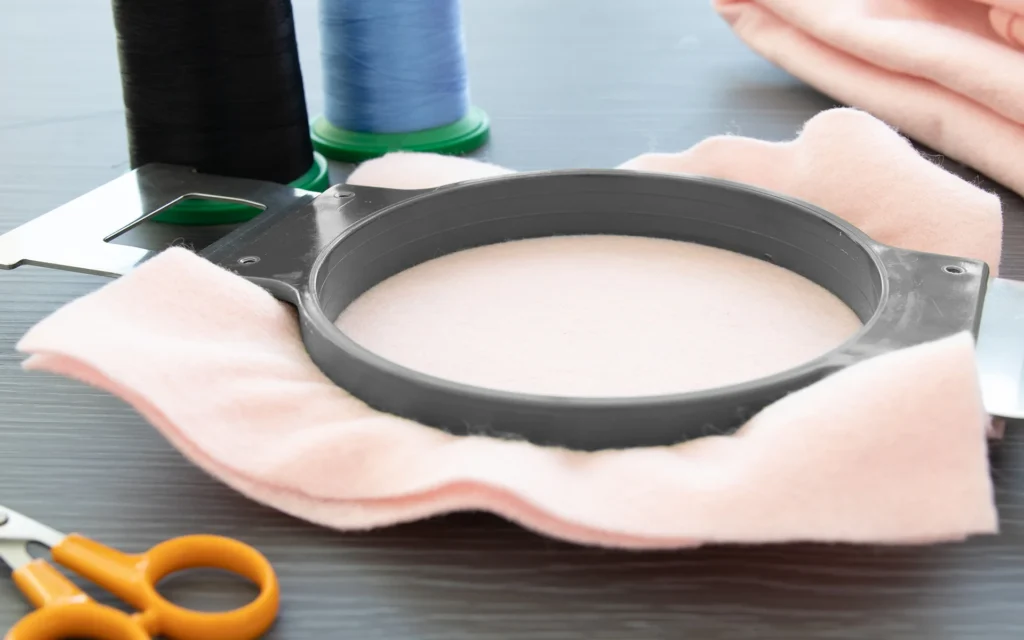
Now that the back of your hoop is looking tidy, you might want to add a backing to give your project a more finished look. You can use a variety of materials for this, like felt, fabric, or even cardboard. The backing not only hides the messy back of your work but also adds an extra layer of protection for your stitches.
To attach the backing, you can use glue, stitching, or a combination of both. Felt is a popular choice because it’s soft, doesn’t fray, and comes in a variety of colors to match your project. If you’re feeling fancy while learning how to finish off the back of an embroidery hoop, you could even add some decorative stitching or embellishments to the backing to give it a little extra pizzazz.
5. Finishing Techniques for Display
Congratulations, you’ve successfully learned how to finish off an embroidery hoop! Now, it’s time to show off your masterpiece. There are so many fun ways to display your embroidery hoop, like…
- Adding a cute ribbon or piece of string to the top for a touch of whimsy
- Creating a hoop gallery wall by arranging them in a fun pattern or layout
- Display on a decorative easel or stand
- Stitching it onto a tote bag or pillow
Additional Tips
Steam or Press the Embroidery
After all your hard work, you want your embroidery to look its best, right? A quick and easy way to do this is to give it a little steam or a gentle press to help smooth out any wrinkles and make your stitches look even more neat and tidy.
Just remember to use a low heat setting and a pressing cloth to protect your delicate threads.
Use a Stabilizer
Without a stabilizer, your fabric might get wonky, and your stitches could end up all over the place! Cutaway stabilizer stays in place after you’re done stitching, providing a sturdy base for your design, while tearaway stabilizer can be ripped away once you’re finished.
Secure with Tape
If your fabric is being a little fussy and won’t stay put in the hoop, don’t worry! A bit of masking tape or painter’s tape can be a lifesaver. Just stick it around the edges of your fabric to hold it securely in place while you’re stitching.
And the best part? You can easily remove the tape when you’re done without any sticky residue left behind.
Trim Excess Fabric Carefully
Once your masterpiece is complete, you’ll probably have some extra fabric hanging out around the edges of your hoop.
Take your time and carefully trim the excess fabric as close to the hoop as possible without cutting your precious stitches. This will give your finished hoop a clean and polished look.
Finish with a Backing
Felt is a popular choice because it’s soft, comes in a rainbow of colors, and doesn’t fray, so you don’t have to worry about any messy edges.
You can also use fabric scraps or even a sturdy piece of cardboard if you want to give your hoop a bit more structure.
No matter what material you choose, simply cut it to the size of your hoop and attach it to the back using glue or stitching. If you’re using fabric, you can even get creative and add a decorative stitch around the edge for an extra touch of flair.
Add Embellishments
You can embellish your hoop in a variety of ways to give it that extra wow factor. Try adding…
- Colorful beads
- Sparkling sequins
- Funky buttons
- Fabric markers or paint to add fun details or patterns
Use Fray Check or Fabric Glue
One of the most frustrating things about working with fabric is that it has a tendency to fray. But don’t let those little loose threads dampen your embroidery enthusiasm!
A little Fray Check or fabric glue can go a long way in preventing your fabric edges from unraveling. Just dab a small amount along the edges of your fabric, and you’re good to go!
Add a Hanging Mechanism
Tie a ribbon or piece of string to the top of the hoop and hang it on a nail or hook. If you want something a little more secure, you can attach a sawtooth hanger to the back of the hoop. Or, for a more rustic look, you can use a piece of twine or leather cord to create a hanging loop.
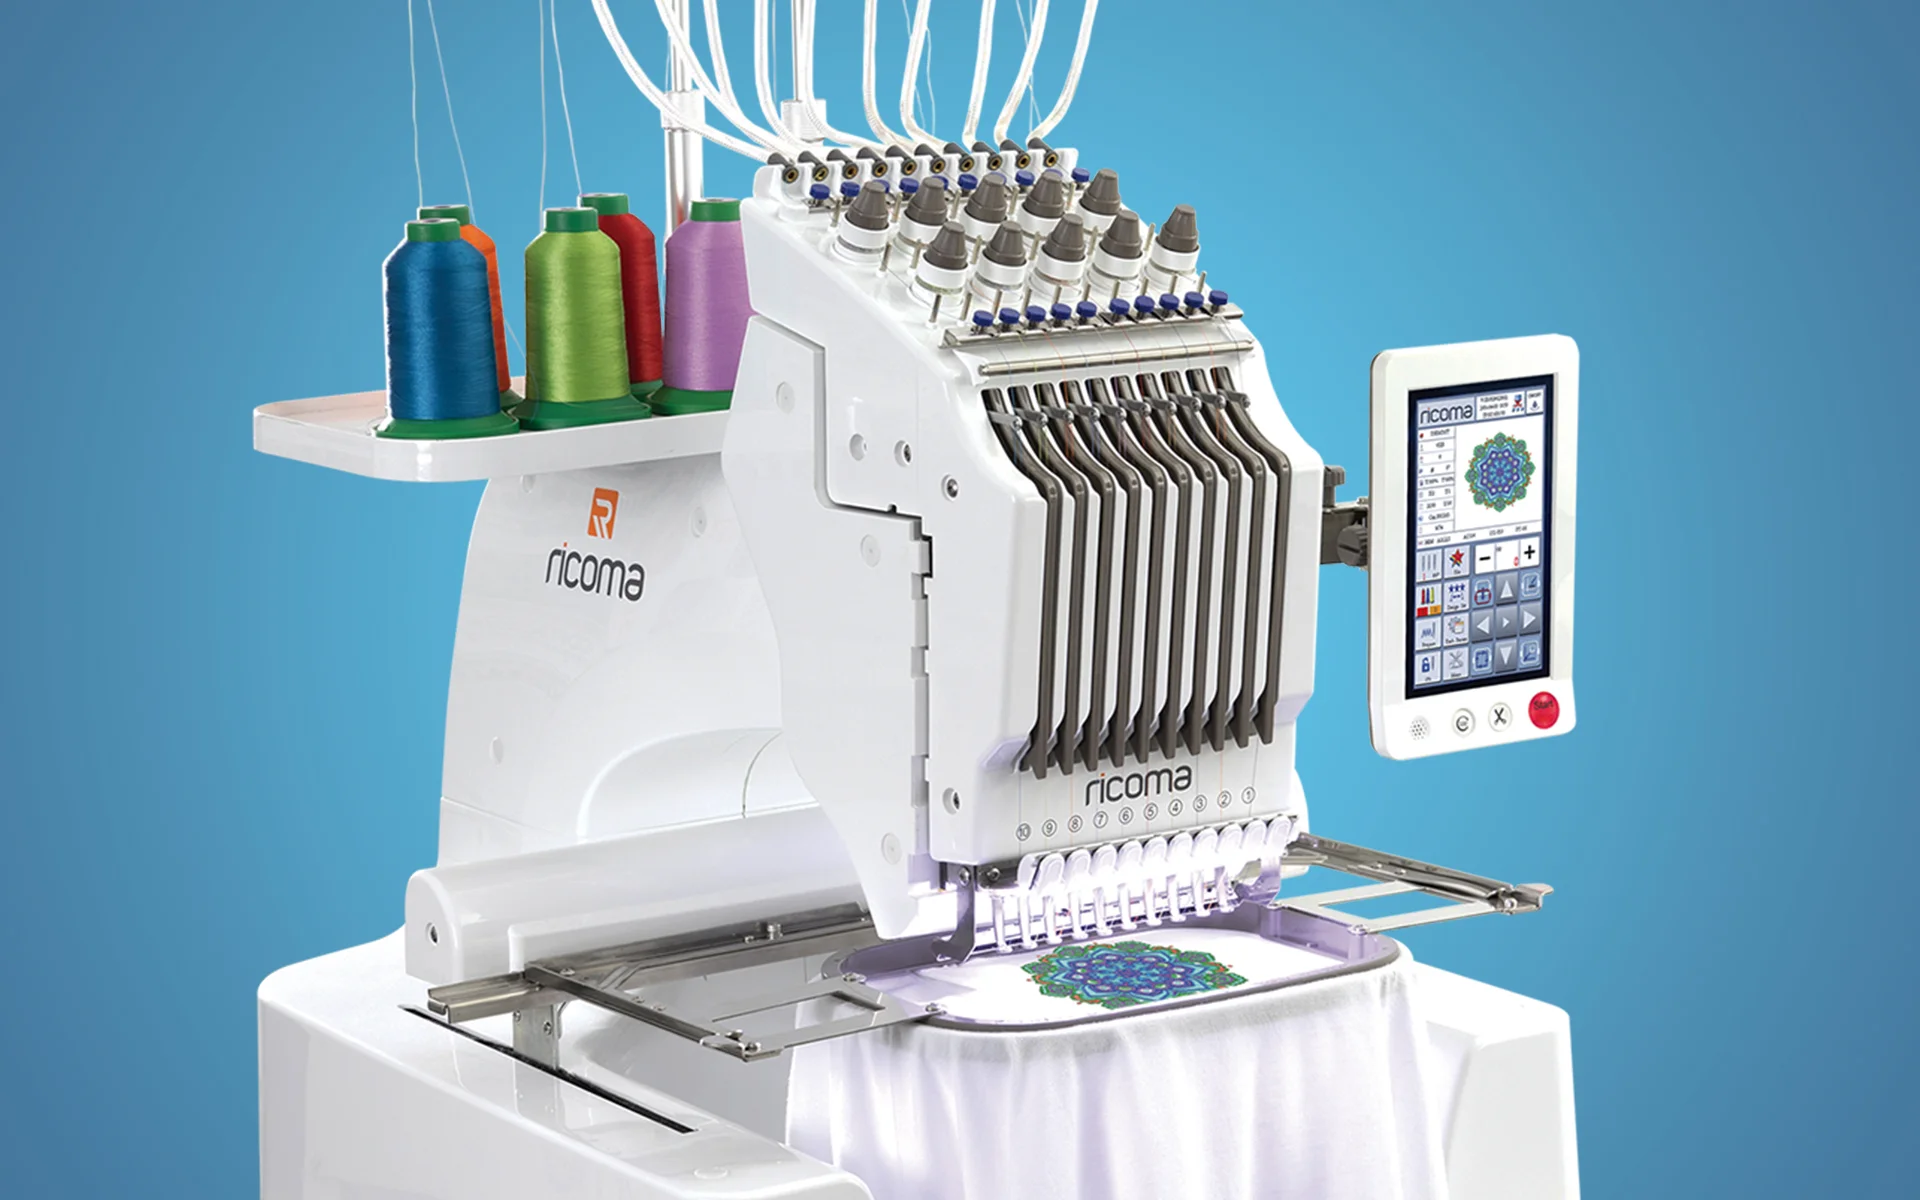
Start Your Embroidery Journey Right with Ricoma!
Now that you’re a pro with the hoop and ready to take on any project, why not elevate your creations with the best tools available? Starting your embroidery business should be fun and exciting, so why not have a community to help you?
Browse through the perfect embroidery machines for you, like our Marquee 2001, and start the business of your dreams!