Embroidery hoops are essential tools for anyone crafting beautiful, detailed embroidery designs.
In order to create your beautiful fabrics, you’ll want to make sure your fabric is taut and smooth during the creation process. With embroidery hoops, you’ll be able to achieve even and consistent stitching, which is crucial for both aesthetics and durability.
Especially when you’re just getting started, learning how to use embroidery hoops correctly can significantly enhance the embroidery experience, making it easier to produce impressive results right from the start. So, let’s dive into it!
What is an Embroidery Hoop?
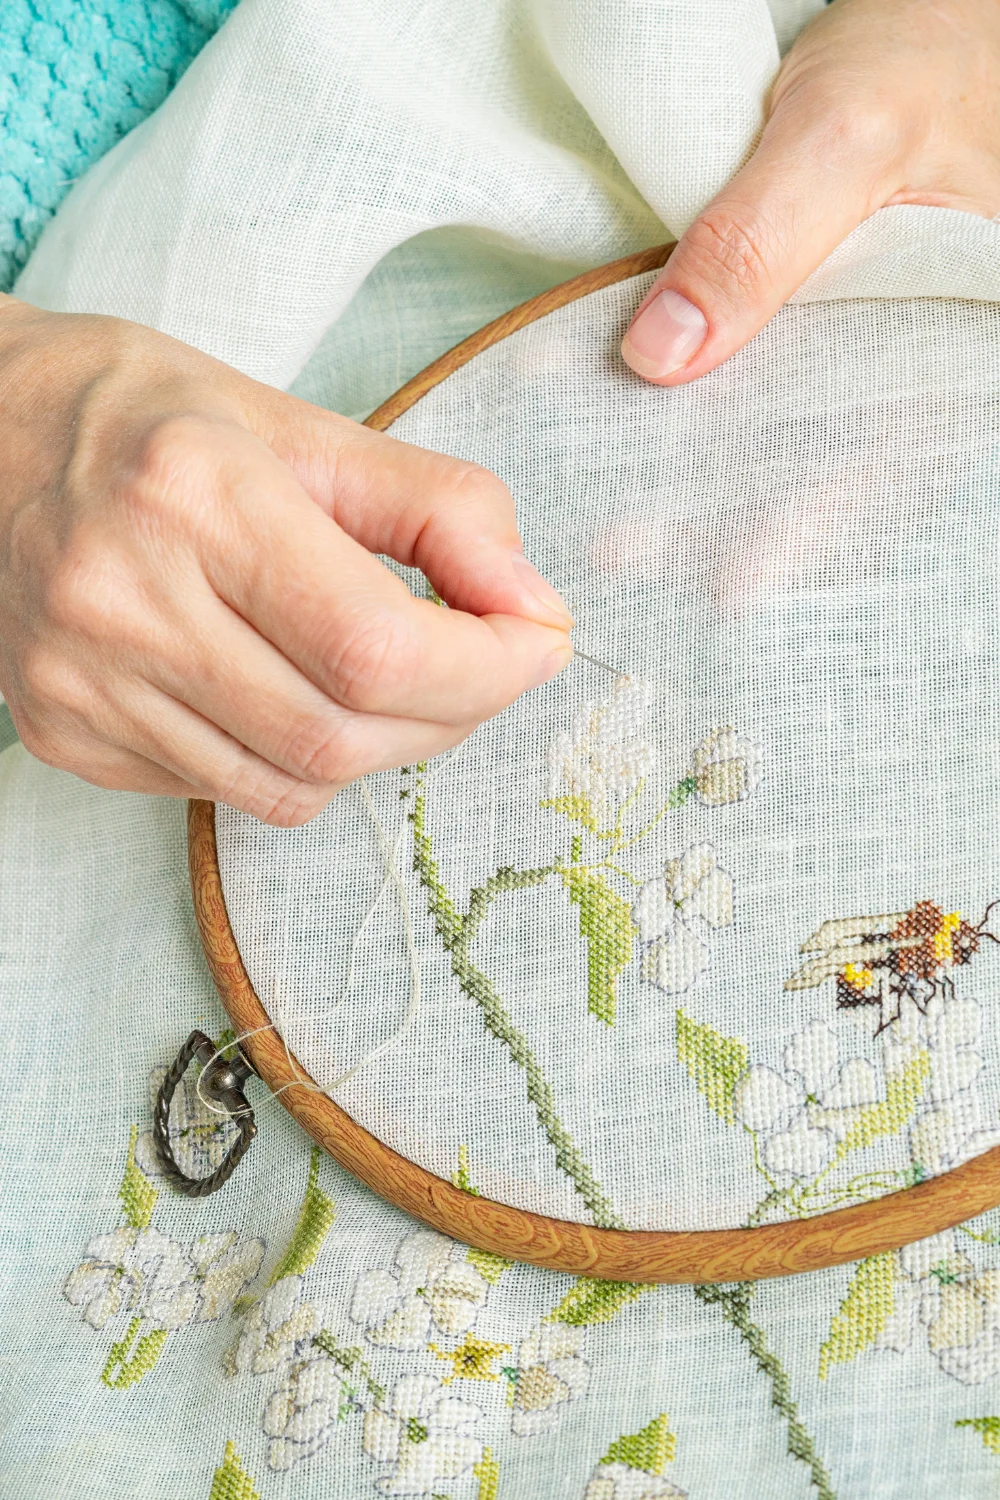
An embroidery hoop is a tool used in both hand and machine embroidery. It consists of two concentric circular rings—the inner and outer rings. The fabric is placed between these rings, which are then tightened to hold the fabric securely in place.
This setup helps stretch the fabric, creating a smooth surface that makes it easier to embroider intricate designs accurately.
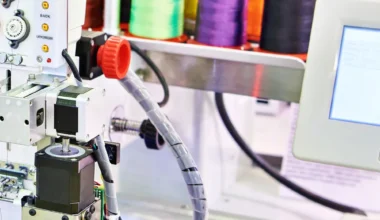
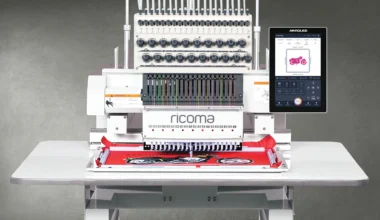
*Embroidery hoops come with your Ricoma embroidery machine, the quantity depends on what type of machine you’ve purchased. Commercial embroidery machines will have Mighty Hoops, which are magnetic and help hoop thicker fabric.
Choosing the Right Embroidery Hoop
Material
When learning about how to use embroidery hoop, you’ll realize embroidery hoops come in various materials, each offering distinct advantages.
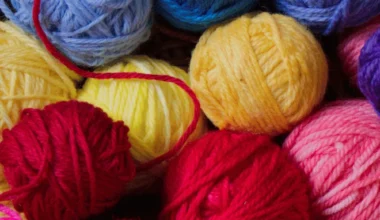
Bamboo hoops are popular for their lightweight and environmental friendliness, while plastic hoops offer durability and resistance to warping. Metal hoops are less common but provide exceptional tension control.
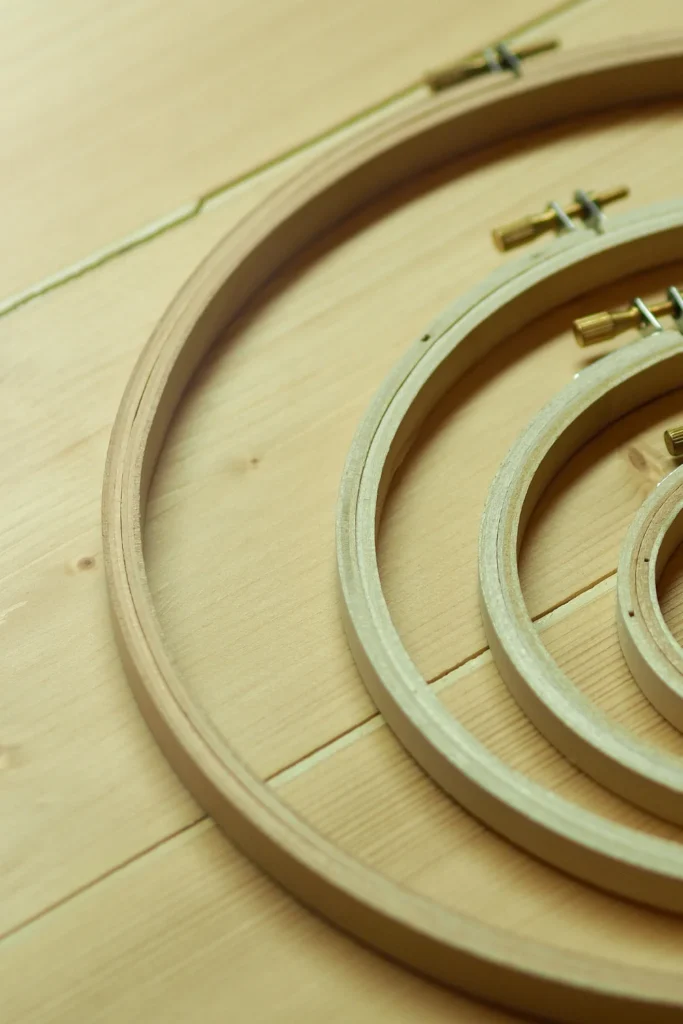
Size
The size of the hoop should match the size of your embroidery project. Smaller hoops are great for detailed work on small pieces, while larger hoops can accommodate bigger pieces of fabric. It’s always helpful to have a few different-sized hoops on hand to be prepped for any size project.
Expert tip: always ensure that the hoop is slightly larger than the area you plan to embroider to avoid repositioning the fabric frequently.
Shape
While most embroidery hoops are circular, you can also find them as ovals or even squares or rectangular. The shape you choose can affect how you handle the hoop and access the fabric during your work, especially for larger or unusually shaped projects.
Adjustability
Most hoops have a screw that allows you to adjust the tension. This feature is important for helping you keep your fabric tight enough for precise stitching without distorting the fabric.
Learning how to adjust the tension properly might feel a little like a learning curve, but it will help you boost the quality of your embroidery.
Comfort and Grip
For those who spend many hours embroidering, ergonomics will be important to you! These are hoops that will fit comfortably in your hand and reduce strain so your embroidery process doesn’t feel uncomfortable.
Understanding these elements when learning how to use an embroidery hoop can transform your embroidery projects, making them more enjoyable and yielding better results. Whether you’re brand new to how to use embroidery hoops or an experienced embroidery business owner, the right hoop can make all the difference for you!
Want to embroider speciality items? You’ll love our 8-in-1 device!
How to Set Up Your Embroidery Hoop
Prep Your Fabric
Properly preparing your fabric is the first step to be successful while learning how to use embroidery hoop. Ironing it to remove any wrinkles or folds that could distort your design.
Once it’s smooth, mark the center and boundaries of your design on the fabric using a fabric marker or tailor’s chalk. This ensures that your design is perfectly aligned and centered when you place it in the hoop.
Make sure to use an embroidery stabilizer under your fabric before hooping to provide extra support and prevent puckering during stitching. Ensure your fabric is flat and free of wrinkles to provide a smooth surface for embroidery.
Use fabric-friendly markers to lightly sketch your design or mark the center. This helps in positioning the fabric accurately within the hoop.
Adjust the Tension
Adjusting the tension of your embroidery hoop is a crucial step with even the best embroidery hoops to keep the fabric taught.
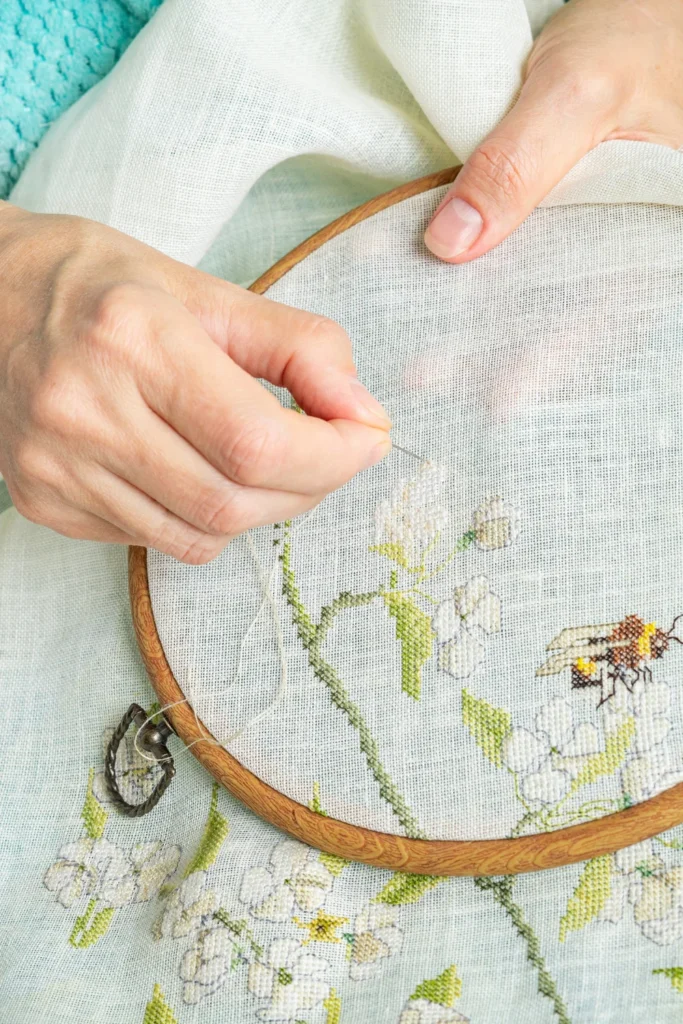
After you place fabric over the smaller, inner ring of your hoop, you’ll want to press the larger, adjustable ring over it and tighten the screw gently. Pull the edges of the fabric to stretch it as tight as possible without distorting the weave.
Loosen the screw, place the fabric and inner hoop on a flat surface, then press down the outer hoop. Tighten the screw and pull the fabric edges until tight like a drum.
(Be careful not to over-tighten the screw as it might damage the fabric or the hoop!)
Maintain Hoop Grip
Maintaining a steady grip on your hoop can make your stitching more precise and less straining on your hands. Use non-slip tapes on the hoop’s edges or invest in a hoop stand or grip, especially for larger projects that require more handling.
You could also wrap non-slip tapes around the hoop’s edges to prevent it from slipping while you embroider.
Consider also using a hoop stand to keep your hands free and maintain consistent tension throughout your work.

Basic Embroidery Techniques Using a Hoop
Running Stitch
The running stitch is one of the simplest embroidery stitches and is perfect for beginners. It involves passing the needle in and out of the fabric at regular intervals.
Start with a simple line drawing on your fabric and use the running stitch to follow the line. Keep your stitches even in length and spacing.
Backstitch
The backstitch provides a solid line and is excellent for outlining embroidery designs. Begin by making a single stitch forward, then stitching backward to the start of your first stitch, and repeating.
You can practice on a simple curve or angle to get comfortable with the technique.
Satin Stitch
Crafters use the satin stitch to fill large areas with smooth, glossy lengths of thread. Keep your stitches close together and parallel to create a full, rich texture.
Practice maintaining consistent tension and stitch length across the area you are filling to prevent puckering and ensure a smooth finish.
Caring for Your Embroidery Hoop (Wood, Plastic, and Metal)
Loosen the Screw When You’re Not Using It
This practice prevents the hoop from exerting continuous pressure on the fabric, which can lead to stretching or distorting the fabric over time.
Additionally, loosening the screw helps maintain the hoop’s integrity, preventing the screw and the hoop itself from becoming warped or misshapen due to prolonged tension.
Rotate Your Hoops
To ensure even wear and extend the life of your embroidery hoops, it’s a good idea to rotate their use, especially if you have multiple hoops.
Regular rotation prevents any single hoop from undergoing excessive wear and tear, maintaining the functionality and appearance of all your hoops. This is particularly important for those who embroider frequently or work on various types of projects.
Check for Damage
Regularly inspect your embroidery hoops for any signs of damage, like cracks, splinters (especially in wooden hoops), or warping (common in plastic hoops).
Explore Ricoma’s Embroidery Machines!
Our embroidery machines, cater to both casual crafters and seasoned professionals. Our machines are designed to be user-friendly, reliable, and versatile, making them suitable for a wide range of embroidery projects.
No matter what your skill level or project may be, we guarantee we’ve got the perfect machine for you!