Are you thinking of printing t-shirts from home but can’t decide which printing method to use?
Then keep reading!
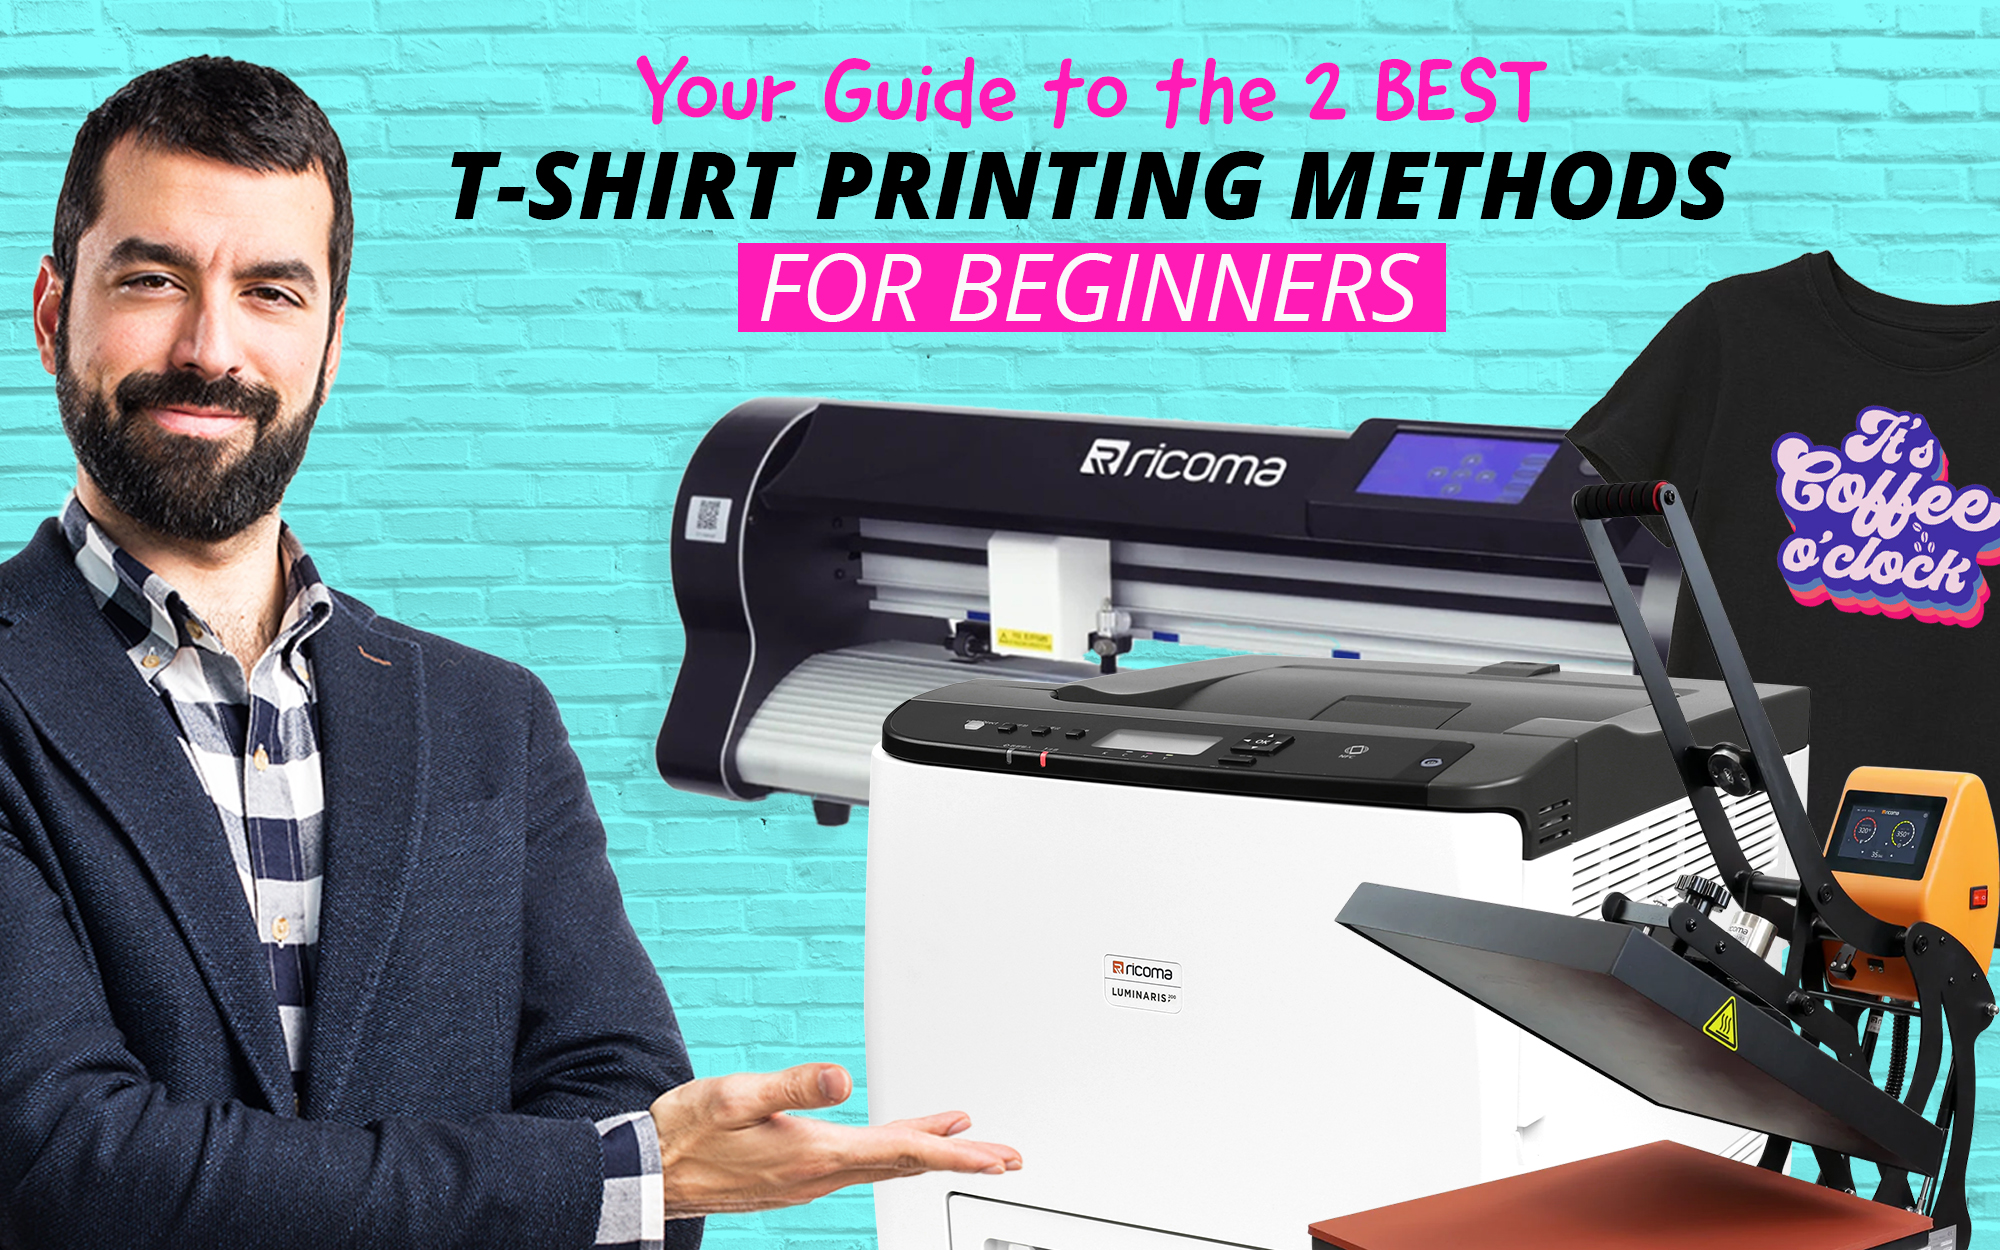
We know how easy it is to get overwhelmed with information when you’re first starting out. That’s why in this blog we’re going to do a deep dive into two of the most popular t-shirt printing methods on the market: Heat Transfer Vinyl and 2-Step Heat Transfer.
We’ll go over…
- Why You Should Use Heat Transfer Vinyl and 2-Step Heat Transfer
- The Secret to Decorating with Heat Transfer Vinyl
- Everything You Need to Know About 2-Step Heat Transfer
- BONUS: Free Resource To Help You Become a Master T-Shirt Printer
So, let’s start by looking at what makes these two printing methods stand out from the rest.
1) Why You Should Use Heat Transfer Vinyl and 2-Step Heat Transfer
Now, we all know that graphic tees are popular.
They’re stylish, they’re comfortable, and they’re a great way for people to show off their unique personalities and interests.

In fact, according to a recent study, the graphic t-shirts industry is worth an estimated 4.3 billion dollars globally. Over the next 10 years, that number is expected to grow to over 9.18 billion dollars.
It’s no wonder then why so many apparel decorators get their start in the industry by printing t-shirts.
Click here to learn about the benefits of starting your own printing business from home.

However, the methods for printing a t-shirt are many and myriad, and vary wildly in terms of difficulty and expense.
Heat Transfer Vinyl and 2-Step Heat Transfer are both widely considered to be two of the easiest decorating methods for new decorators to learn.
Not only that but they also have relatively low entry costs while still allowing decorators to create high quality merchandise that they can easily sell for a huge profit.
Now that you know why you should be printing t-shirts, let’s talk about the different printing methods you can use – starting with heat transfer vinyl.
2) The Secret to Decorating with Heat Transfer Vinyl
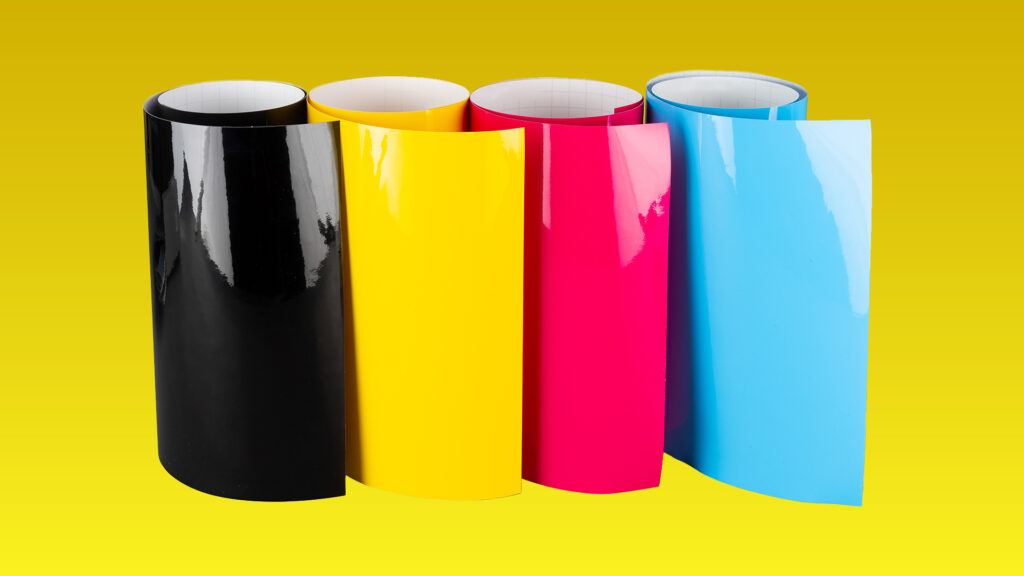
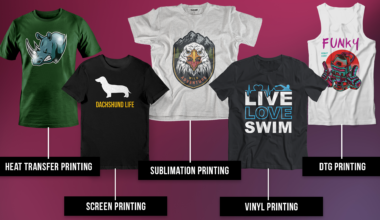
Heat transfer vinyl, also known as HTV, is one of the easiest and most cost-effective decorating methods in the industry – making it particularly popular with new or less experienced printers.
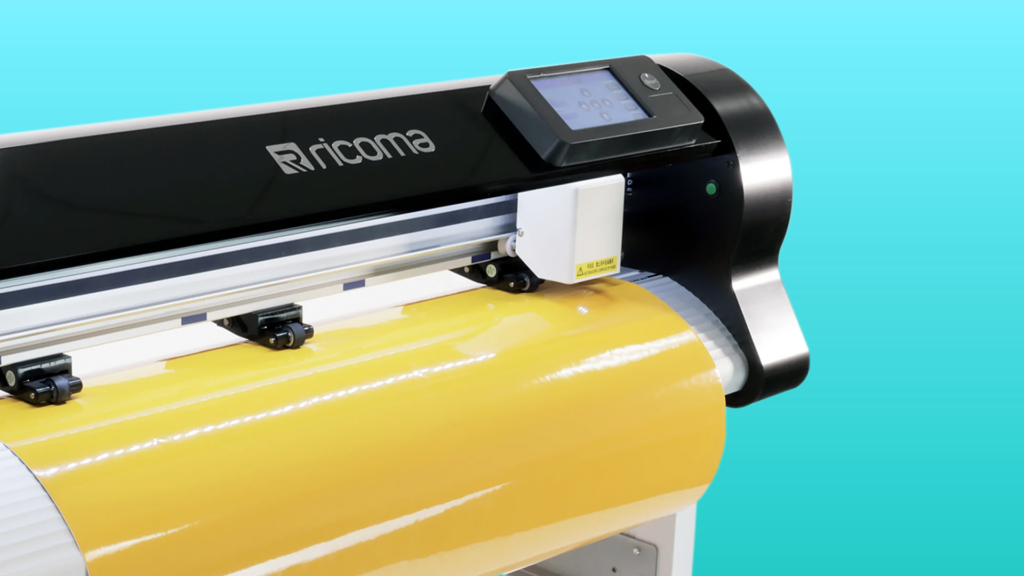
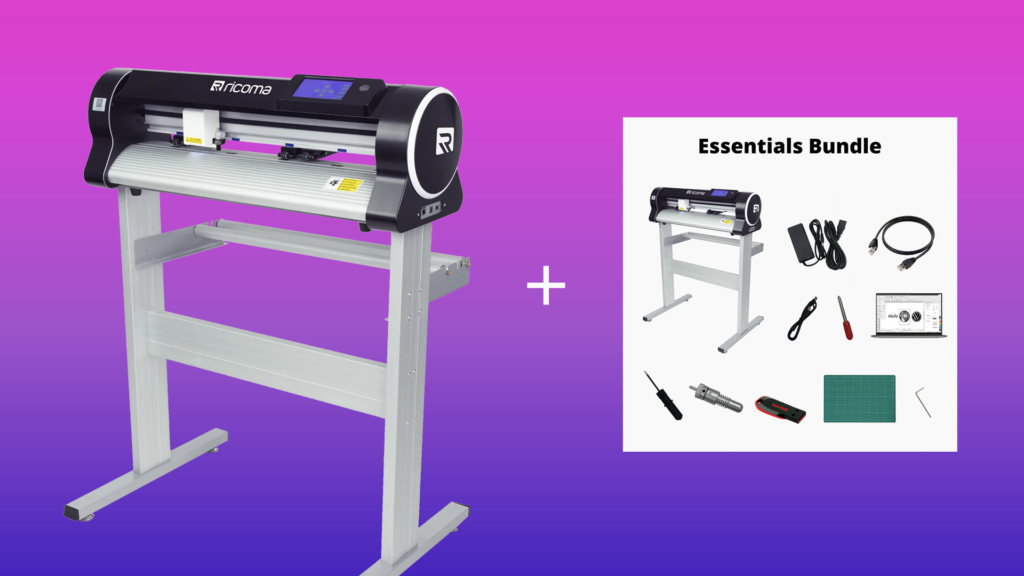
The HTV process begins with creating or uploading a design in a vinyl cutter software, like the SignMaster CUT+ARMS Software that comes as part of our all-inclusive vinyl cutter package.
From there, the design is cut into a vinyl sheet using an automatic vinyl cutter.
After the design is cut, you will then use a weeding tool to remove any excess vinyl. Afterward, the design is transferred onto the fabric using a heat press and allowed to cure for 24 hours.
Now that you have an understanding of the Heat Transfer Vinyl process, let’s take a look at how it stacks up in terms of durability and feel.
Durability/Feel
On average, a design applied using heat transfer vinyl will last for around 30-40 washes in a standard washing machine. However, the garment will need to be turned inside out before every wash.
This is because HTV works by applying a layer of vinyl directly to the top of a t-shirt. If it’s not turned inside out, the design will begin to crack and deteriorate over time.
Design Complexity

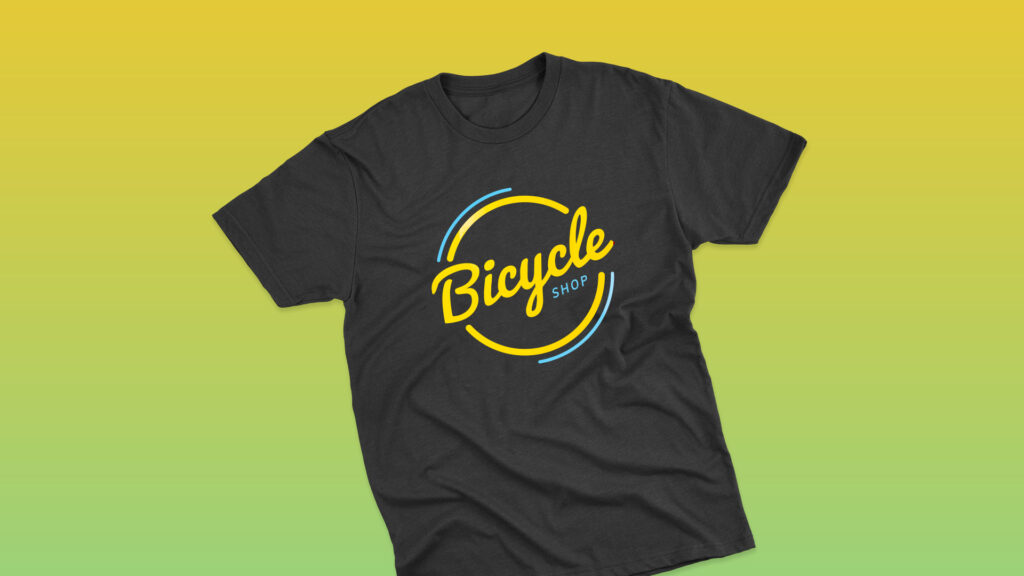
With heat transfer vinyl, decorators are limited to a single color of vinyl per design layer – making it better suited for printing simple designs or logos.
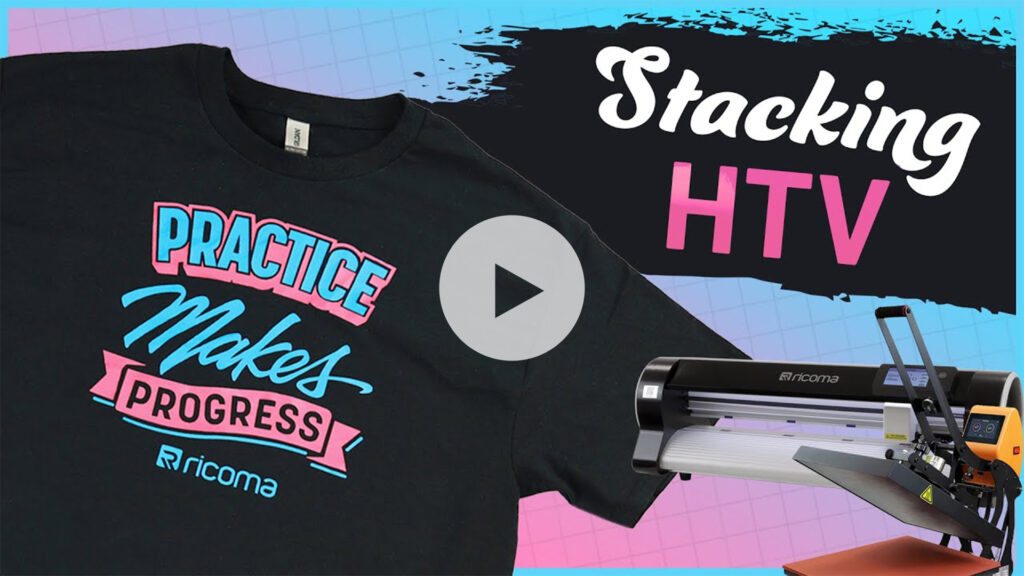
However, you can create more complex, multi-colored designs by stacking multiple layers of vinyl on top of each other.
This allows you to add multiple colors as well as a sense of depth to any cut design. However, you will need to plan and arrange these stacked designs in your vinyl cutting software to ensure that the designs line up properly.
Click here to learn the secret to layering vinyl the right way.
In addition to a wider variety of substrates, HTV also provides decorators with the option to decorate their garments with a myriad of vinyl material – including matte, metallic, glitter, and more.
If you’re interested in learning more about the different types of vinyl, then be sure to check out this episode of Print Pros where we go into greater detail on some of the most popular vinyl on the market today.
Now, let’s talk about the cost!
Cost

In terms of dollars and cents, Heat Transfer Vinyl is one of the most inexpensive decorating methods available.
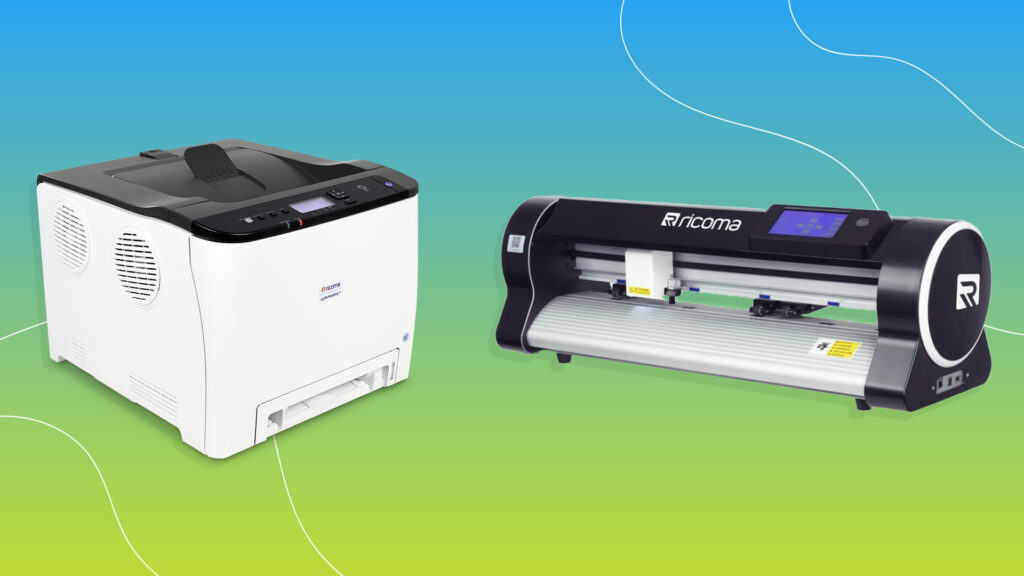
That’s because the upfront cost of a digital vinyl cutter – like Ricoma’s RCP-6301 25” Vinyl Cutter – is significantly less expensive than equipment for other printing methods, such as screen printing.
As we’ve already discussed, heat transfer vinyl requires a vinyl cutter and heat press, both of which come included as part of our all-inclusive premium vinyl cutter bundle for under $2000.
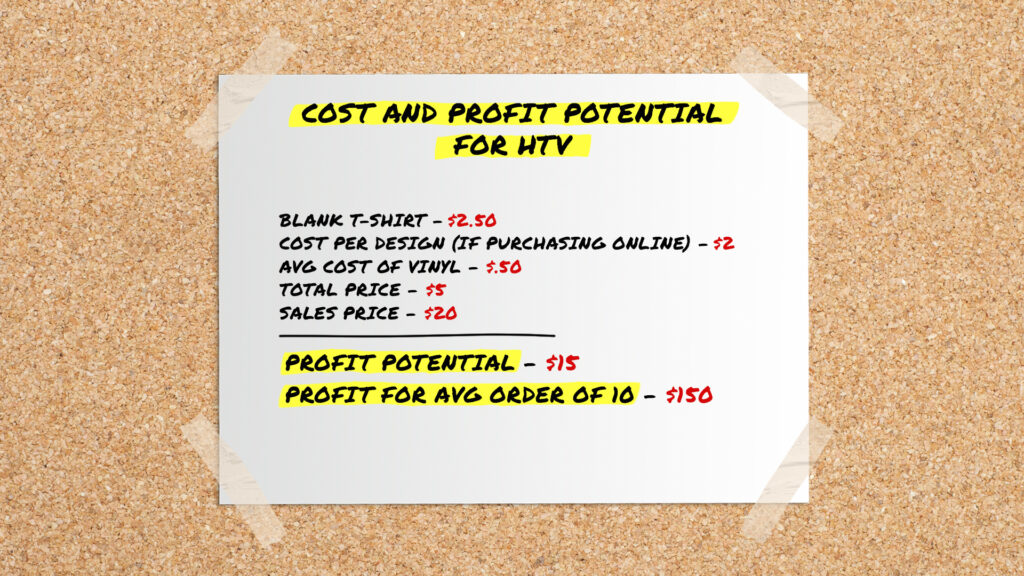
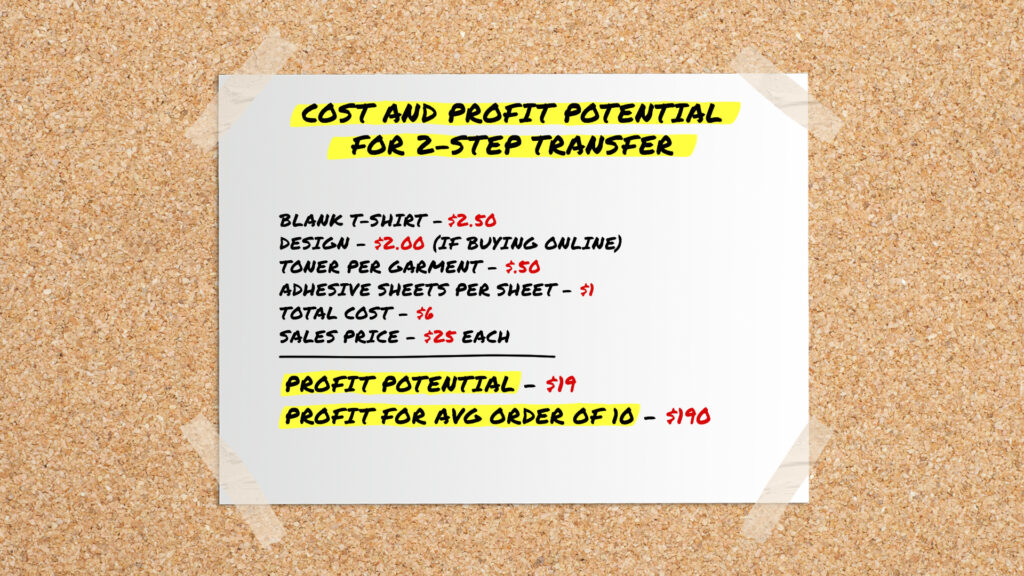
Apart from that, you’ll also need vinyl – which costs around $5 per 12×5 ft roll – and a blank wholesale t-shirt – which costs about $3-$4. Lastly, you’ll also need a weeding tool, which is a relatively inexpensive tool averaging out at about $10.
The material cost for the average HTV printing project – excluding the upfront cost of the vinyl cutter and printing press – will typically be around $5. However, once complete, you can easily sell your garment for as much as $20!
However, the true cost of HTV isn’t measured in money, but time.
Both the weeding and curing process for HTV take some time – making HTV better suited for custom one-off orders or a small batch of similar designs that you can sell on Etsy or another online shop.
Fortunately, HTV is one of easiest decorating methods to learn. As such, the amount of time it will take for you to learn will be far less compared to other more complex decorating methods.
3) Everything You Need to Know About 2-Step Heat Transfer
Now let’s talk about our second printing method – 2-Step Heat Transfer.
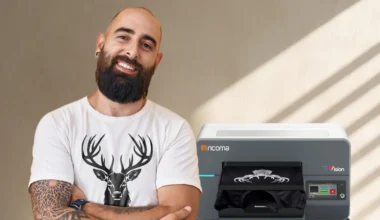
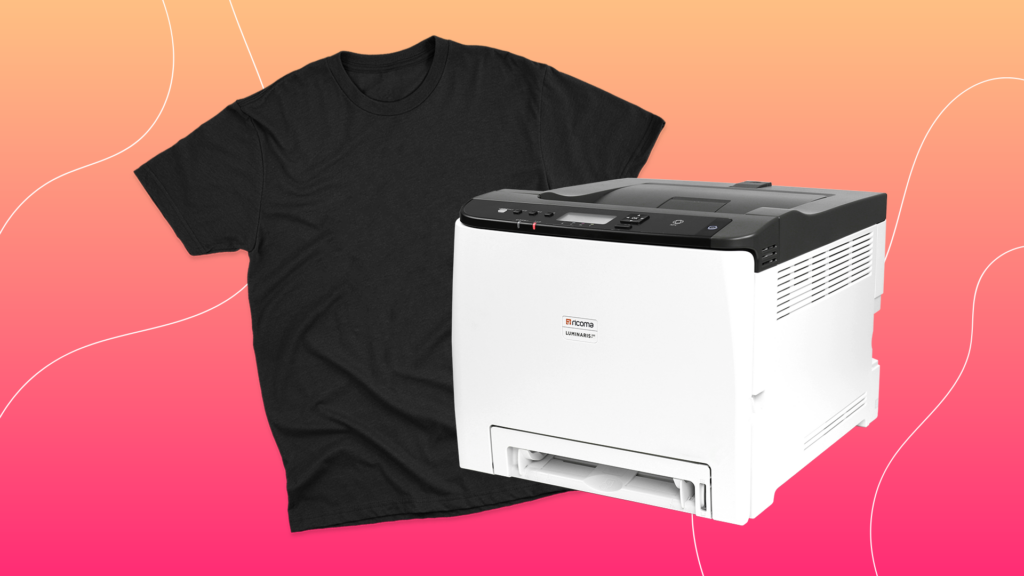
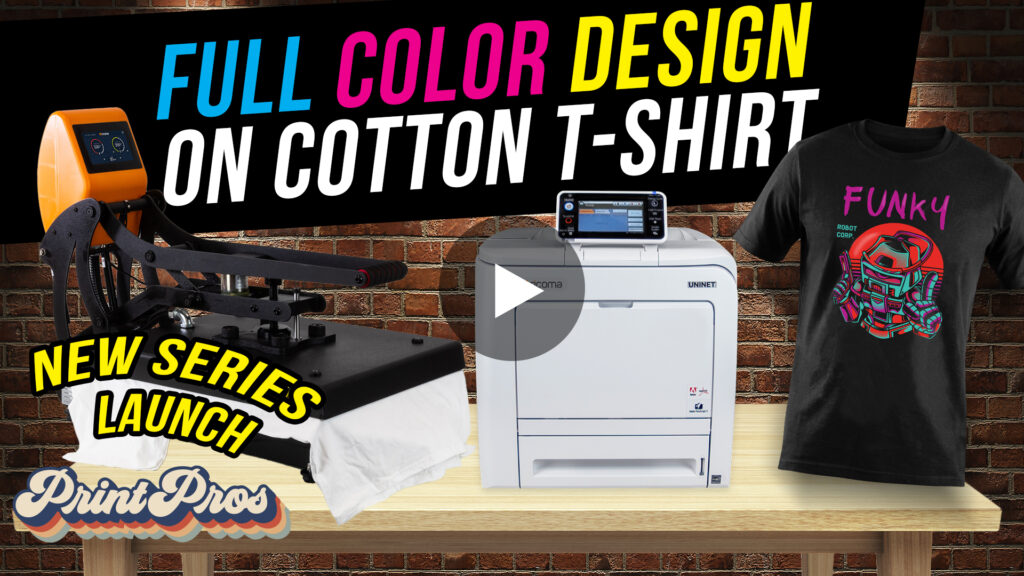
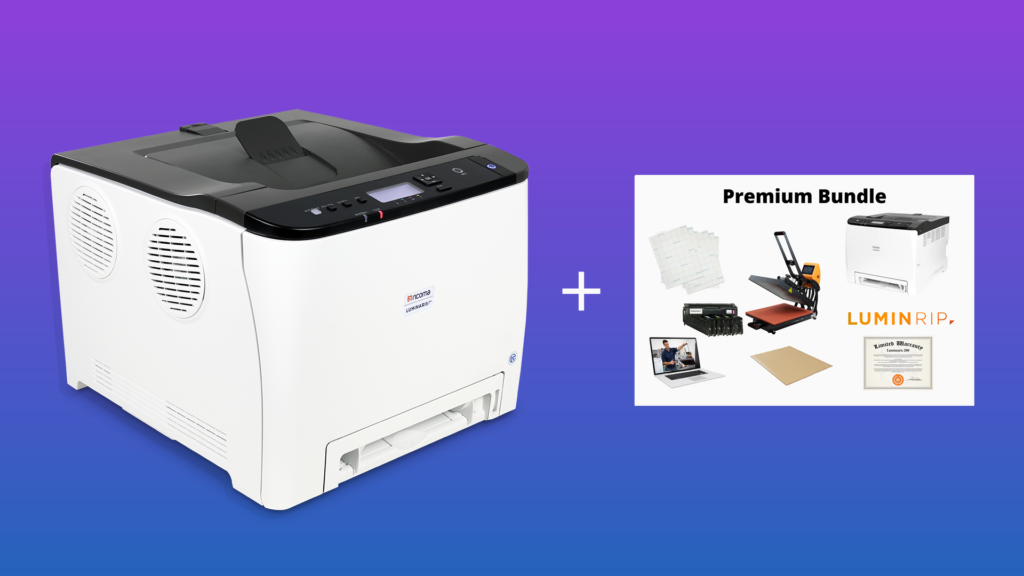
2-Step Heat Transfer first involves creating or uploading a design into a specialized printing software – like the LuminRIP Software that comes included as part of the Luminaris 200 all-inclusive printer package.
Afterwards, the image is printed onto a sheet of transfer paper and then transferred onto an adhesive transfer sheet using a heat press.
Click here to learn more about the 2-step heat transfer process.
Once the design is printed onto a transparent transfer sheet, the second step is to use a heat press to transfer the image from the transparent adhesive sheet onto the garment itself. That is why this method is referred to as “2-step” heat transfer.
You’ll then peel away the transfer sheet and reveal your design.
Now that you have a basic understanding of how the method works, let’s break it down to see how 2-Step Heat Transfer stacks up in terms of durability and feel.
Durability/Feel
In terms of durability, a design applied using heat transfer printing will last for about the same amount of time as a Heat Transfer Vinyl design – 30-40 washes give or take.
However, unlike heat transfer vinyl, there is no need to turn a t-shirt inside out when washing.
What’s more – while Heat Transfer Vinyl and 2-Step Heat Transfer both involve adding a layer to the surface of a garment, a design applied using 2-Step Heat Transfer will feel less noticeable compared to a design applied using Heat Transfer Vinyl.
This is because when you set up the design in your printing software, you can actually create small spaces in the design using a process known as rasterization. This allows for more breathability and a softer feeling design.
Now, let’s look at design complexity.
Design Complexity

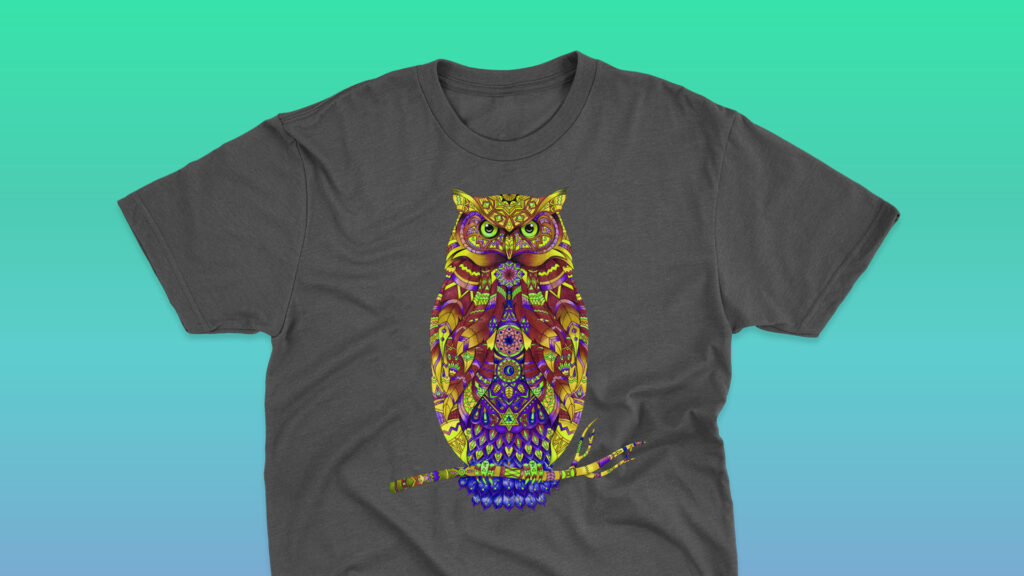
In terms of design complexity, your creative potential is virtually limitless when using heat transfer printing.
2-Step Heat Transfer allows you to print vibrant multi-colored designs with varying shades and hues. What’s more, thanks to the wide array of features in the LuminRIP Software – you can easily edit the various components of the design including color saturation, brightness, grayscale, and more.
What’s more, heat transfer printing can also be applied to a variety of different substrates – including light and dark colored garments, cotton, polyester, ceramic, and even hard surfaces like wood and metal.
Now for the cost.
Cost

If you are planning to print your own designs using a white toner transfer printer, your initial upfront costs are going to be slightly higher than heat transfer vinyl because of the difference in equipment cost.
Click here to check out our Luminaris White Toner Transfer Printer Bundles on shop.ricoma.com.
Click here to shop the 25” Vinyl Cutter.
This is why many t-shirt printers just starting out will buy printed transfer designs and simply apply them using their heat press. This technique – known as the Buy, Print, and Go Method – allows you to quickly and easily decorate t-shirts without having to shell out that initial investment for your own white toner transfer printer.
However, doing this will limit your creative capabilities. You won’t be able to create and print custom designs. You will have to rely on the pre-printed designs that are available for purchase on sites like Etsy.
Click here to learn more about the Buy, Print, and Go Method.
However, if you do choose to invest in your own transfer printer, you’ll be happy to know that in addition to receiving the innovative Luminaris 200 Transfer Printer – you’ll also receive a Ricoma Auto Open 16” x 20” Flat Heat Press, 200 sheets of 2-step transfer paper, printing software, and everything else you’ll need as part of our all-inclusive printing bundle.
And there is one more expense to consider.
While the upfront financial cost of 2-step heat transfer printing is more expensive than HTV, heat transfer printing takes much less time to decorate! Heat Transfer Printing requires neither a lengthy weeding process nor a 24-hour curing process.
As a result, Heat Transfer Printing can easily be used for both custom one-off orders, and larger bulk orders.
4) Bonus: The Ultimate Heat Press Cheat Sheet
Well, you made it to the end.
Now, as promised, we’ve got a very special gift that will come in handy as you embark on the t-shirt printing journey with a heat press.
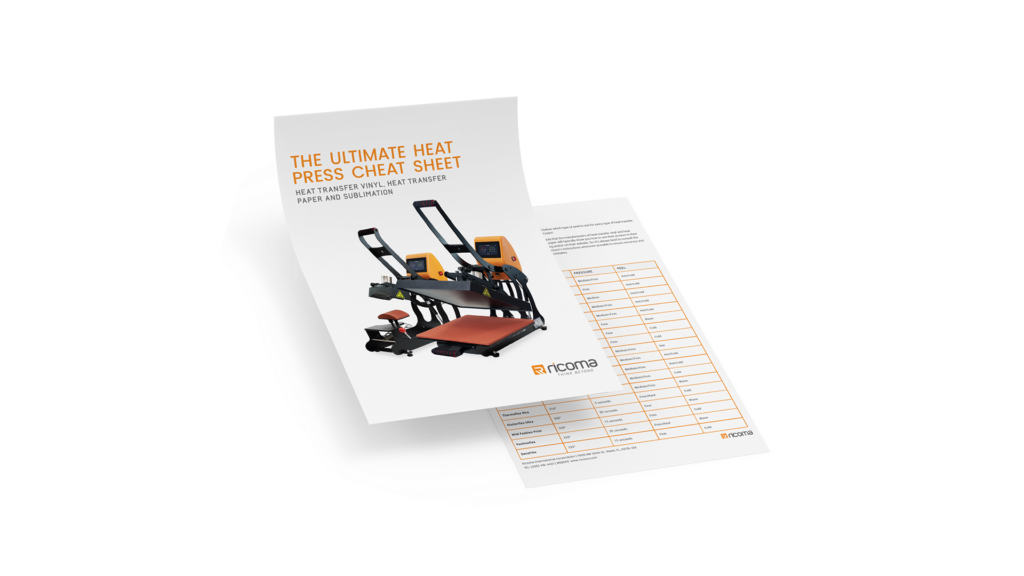
And that resource is the Ultimate Heat Press Cheat Sheet.
Click here to download the Ultimate Heat Press Cheat Sheet!
We know how hard it can be to keep track of all the different factors that go into a heat transfer project.
That’s why we’ve put together the Ultimate Heat Press Cheat Sheet to help you find out the recommended time, temperature, and peeling directions for the materials you’re using.
Everything You Need to Know to Get Started on Your T-Shirt Printing Journey
So, there you have it.
Both HTV and Heat Transfer Printing have their own unique strengths, as well as a few challenges to consider.
HTV has low upfront costs and is a phenomenal option for printing custom, one-off designs on a variety of substrates. While 2-Step Heat Transfer printing on the other hand is faster, less labor intensive, and allows for greater complexity in the printed design.
The printing method you ultimately choose will come down to your unique business model and goals.