During these uncertain times, it’s important for everyone to take all the necessary precautions in order to stay safe and healthy. One of the ways to protect yourself is by wearing a mask when you’re out in public.
But what if you want to look cool and stylish while staying safe? That’s where we can help!
As a company that devotes itself to educating its customers and providing resources for the embroidery community, we’ve put together this step-by-step reusable face mask tutorial and FREE design downloads.
In addition, this blog will walk you through each step of the process so that you can easily make your very own in-the-hoop mask. You will only be using your embroidery machine and materials that you probably already have at home.
Lastly, you can download the embroidery design for this mask right here to get started right away!
Here’s what you’ll need to begin:
- Face mask embroidery design
- Tape
- Scissors
- Snips
- Tape measure
- Elastic cord for the straps of the mask
- Lighter
- Fabric
- One sheet of tearaway backing
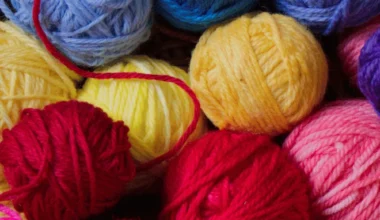
This project is simple, easy and fun. You can even get creative with the fabric patterns and the colors of the thread and string. You’ll find three .DST downloads available for this design in small, medium and large so that you can make a mask that fits perfectly.

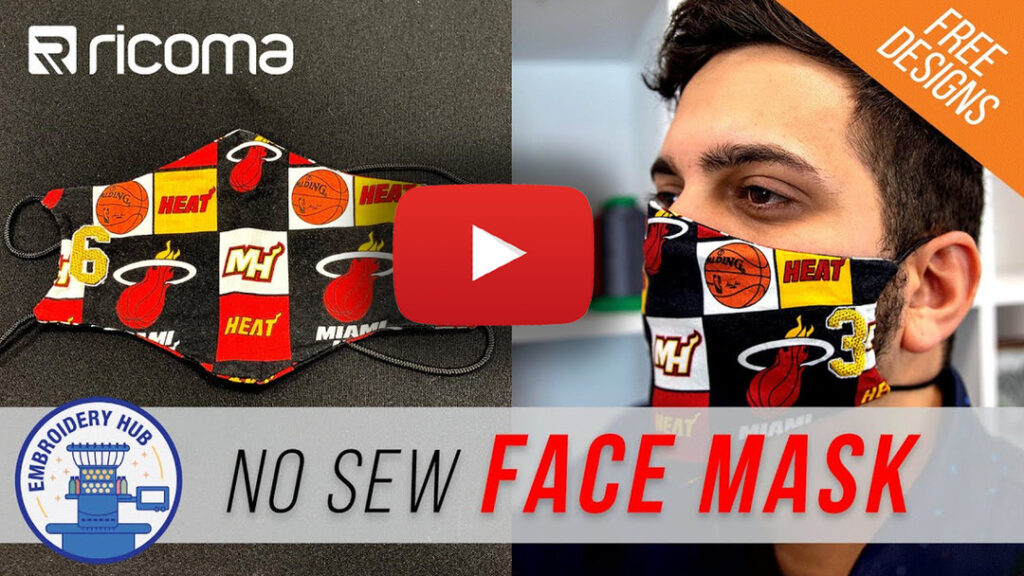
Watch our tutorial in this Embroidery Hub episode here!
You can also click here to download a PDF version of this step-by-step guide.
Step 1:
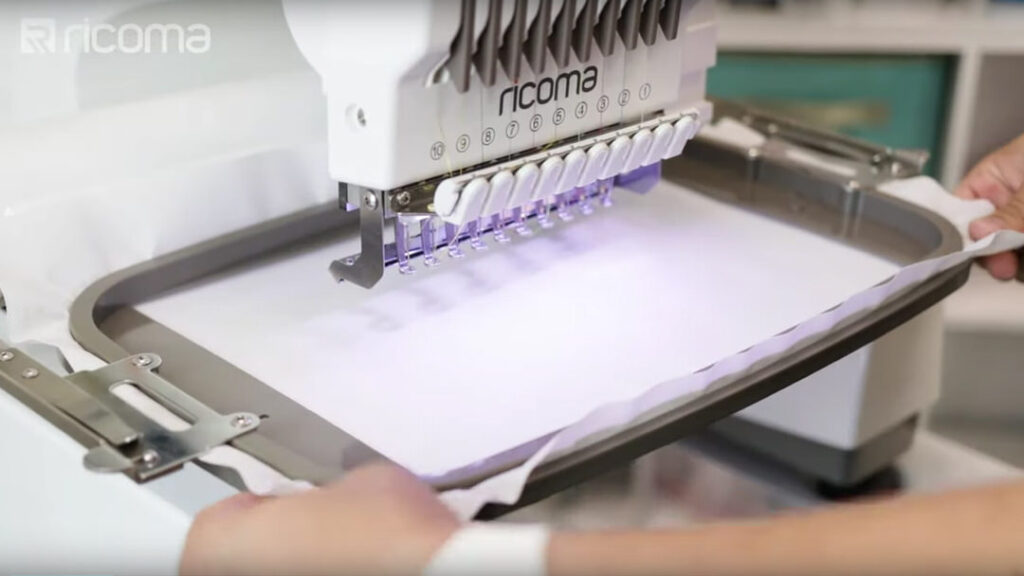
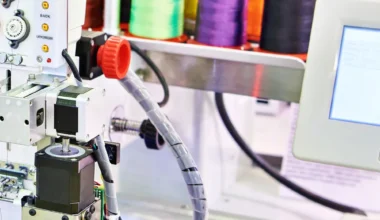
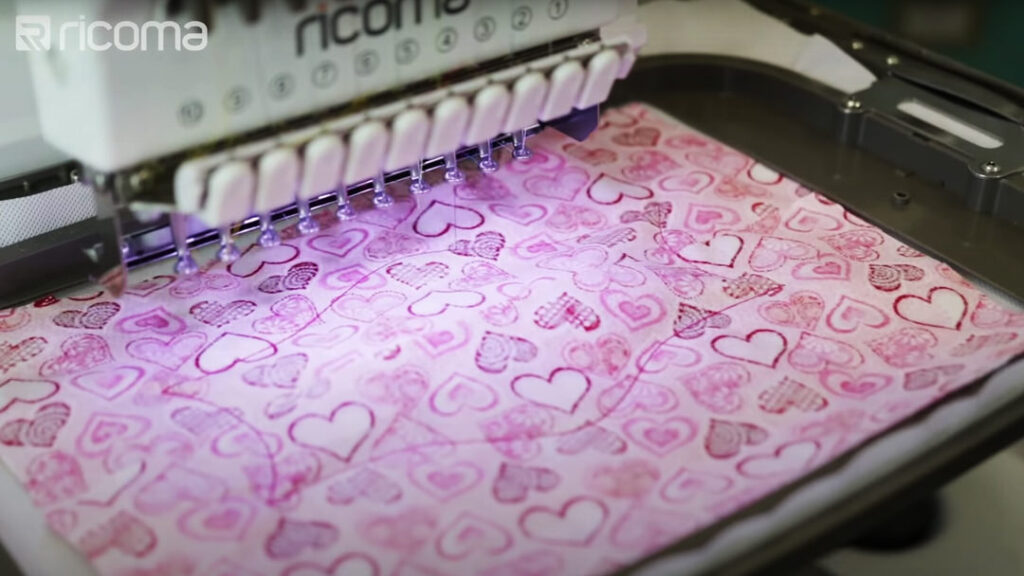
Since this is an in-the-hoop project, there is no need for a sewing machine; the embroidery stitches will hold the mask together. So, only hoop the one sheet of tearaway backing and place your hoop into your embroidery machine.
Interested in more in-the-hoop projects? Watch another tutorial here!
Step 2:
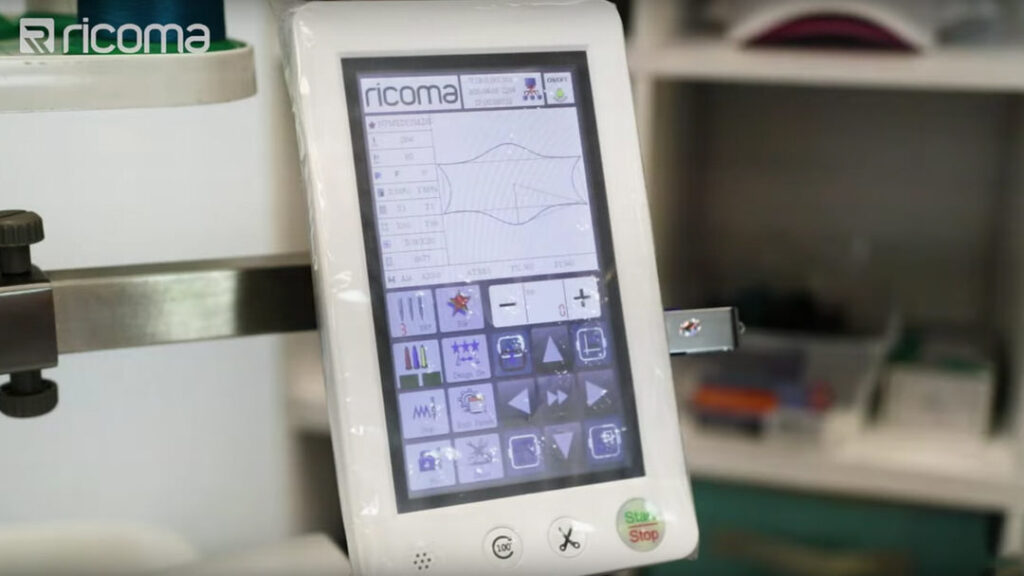
Download the .DST file to your machine and choose a hoop size based on the size of the mask and the design.
Step 3:
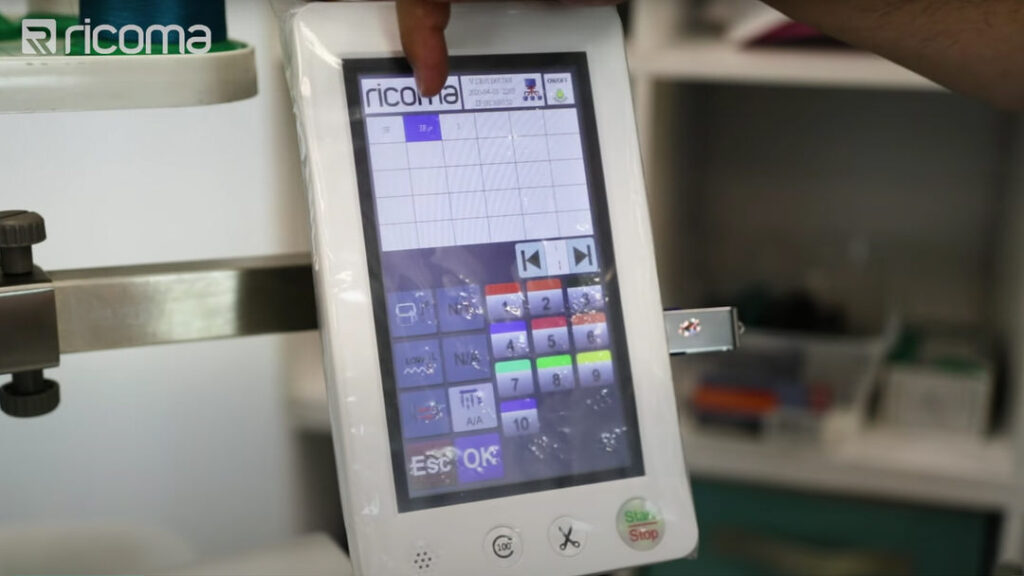
Choose a color and select “frame out” for the first two steps. You can find this option in the color sequence screen on your machine. This means that each time the design gets to a color stop, the hoop will move away from the needle bar so you can place the next piece of your face mask in the hoop.
Step 4:
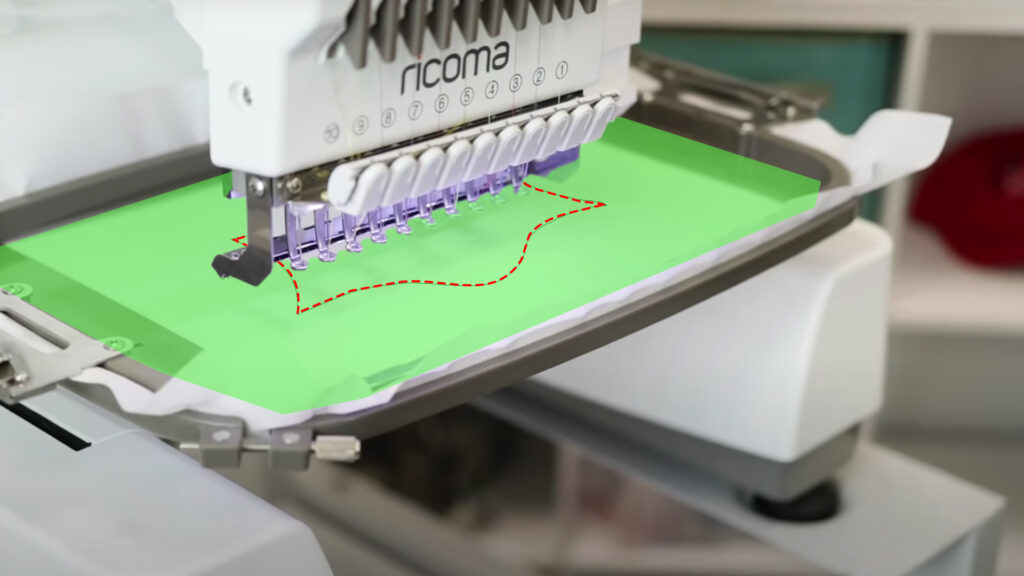
Make sure to lock your machine and run a quick trace to ensure your design will fit within the boundaries of your hoop.
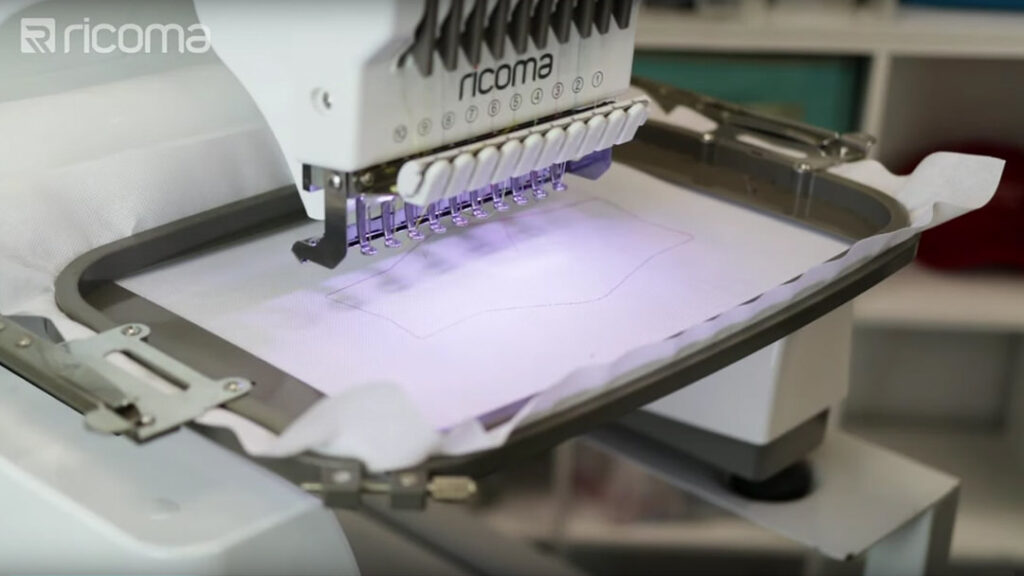
Once you’ve checked that your design fits, start your trace stitch! This part will embroider the outline of your design. That way, once the hoop frames out, you’ll be able to see the exact shape and size of your mask outlined on your backing.
Need to create masks in bulk? Watch this video to learn how.
Step 5:
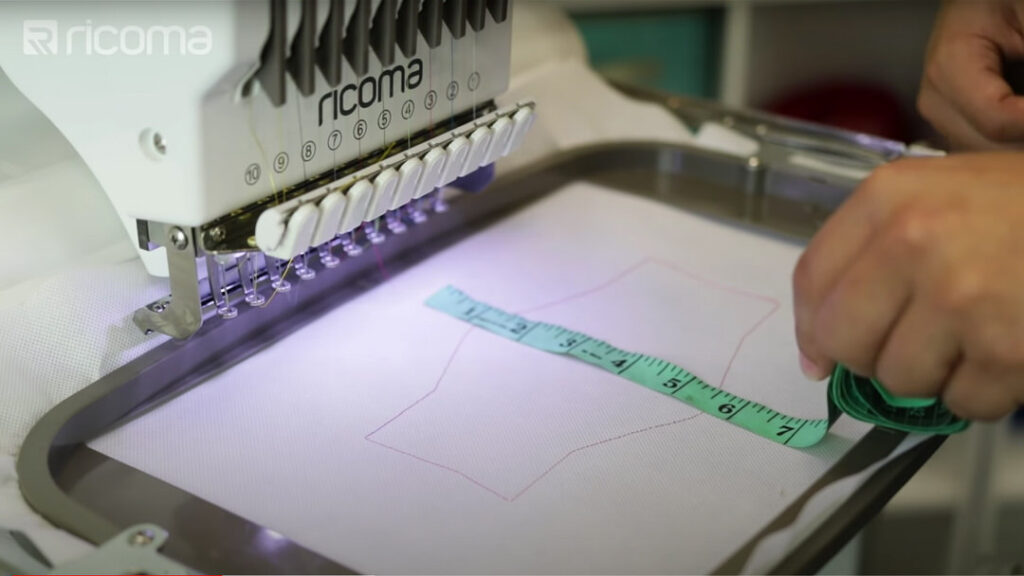
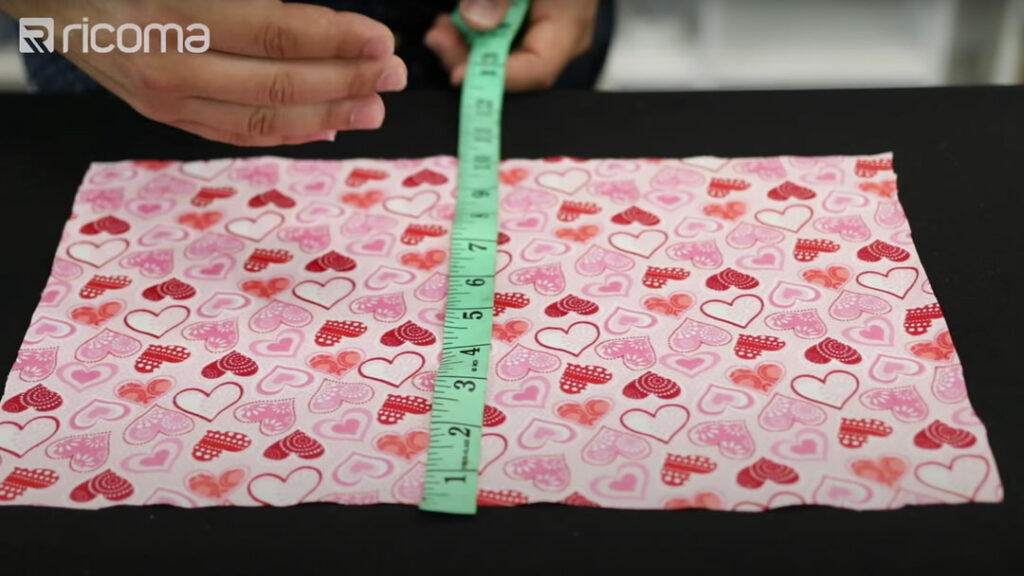
Use your measuring tape to take measurements of your mask.
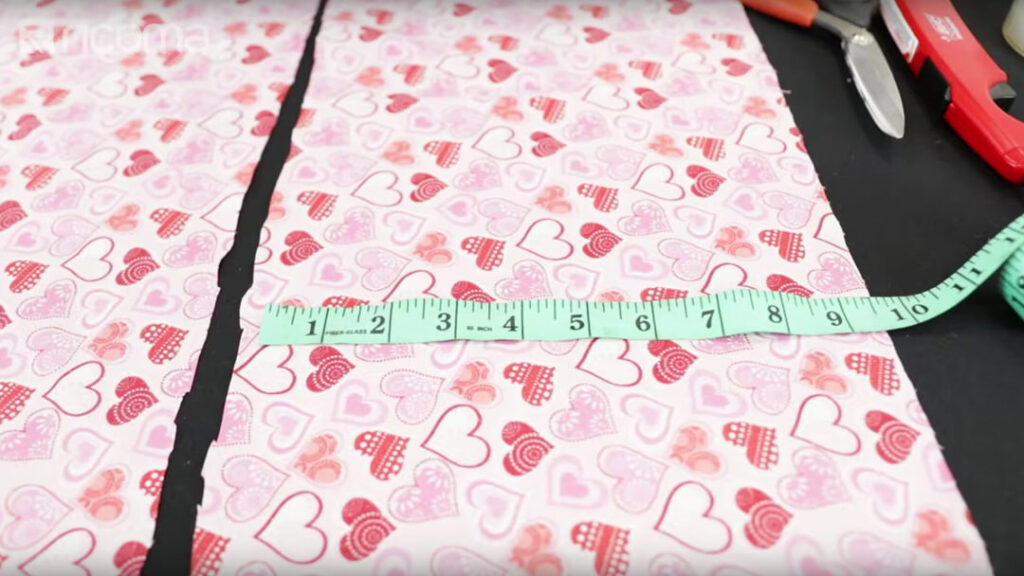
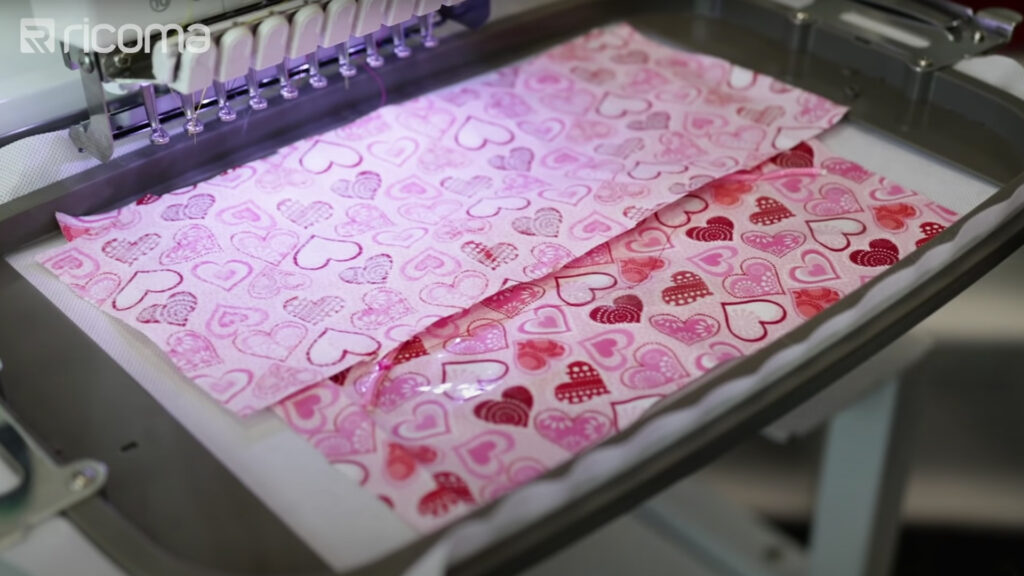
After measuring your mask design, cut out a piece of fabric that is larger than the design to place over the trace stitch.
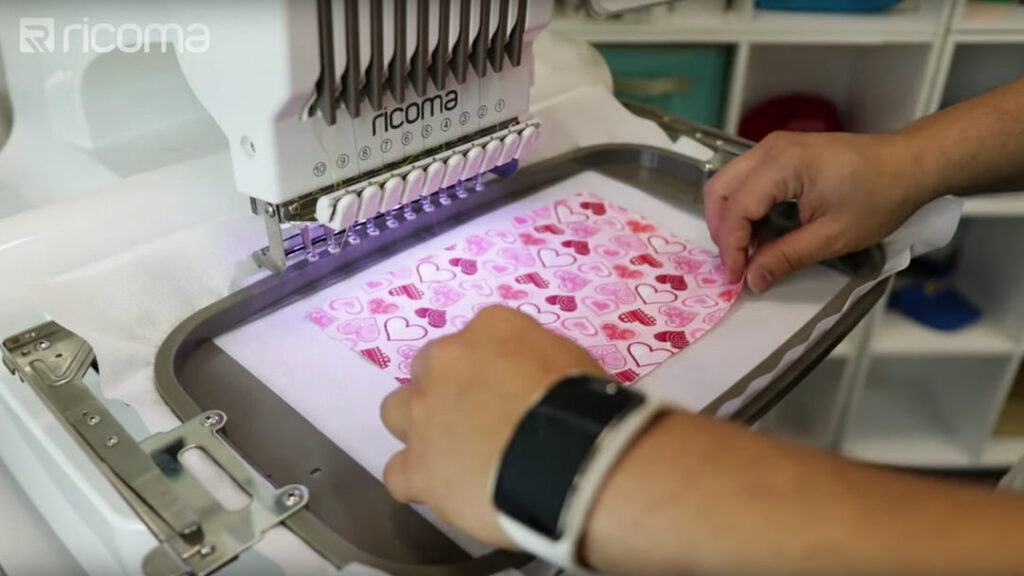
Place the main fabric on top of the trace stitch with the design facing up.
Pro tip: Double check your work and make sure your fabric is covering the entire space of your trace stitch.
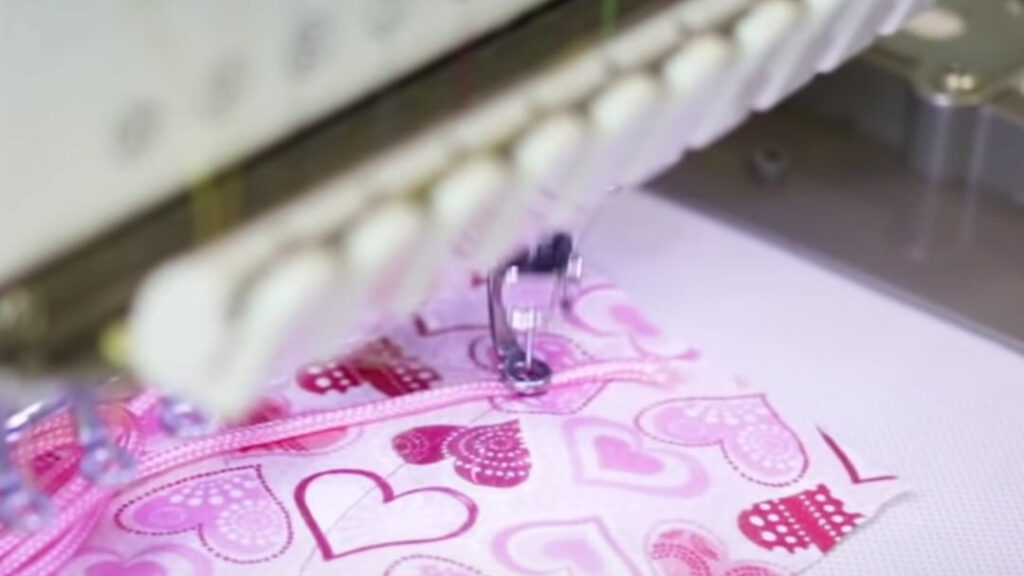
Press start. Watch as your embroidery machine doubles as a sewing machine for projects like these as it stitches both fabrics together.
Step 6:
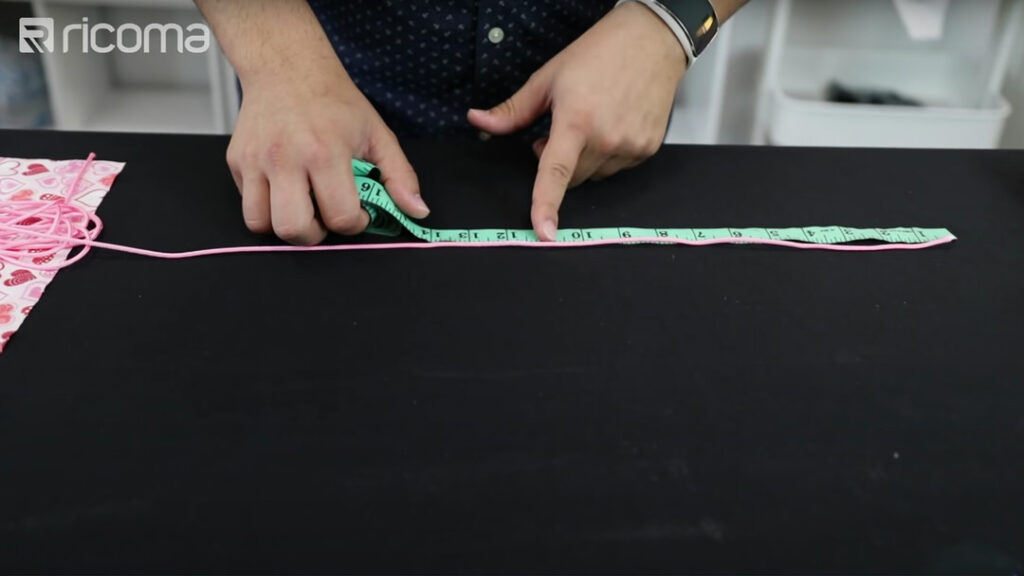
Measure the strings to ensure they’re long enough to be tied around your head. Once you have the right size, cut four identical pieces.
Step 7:
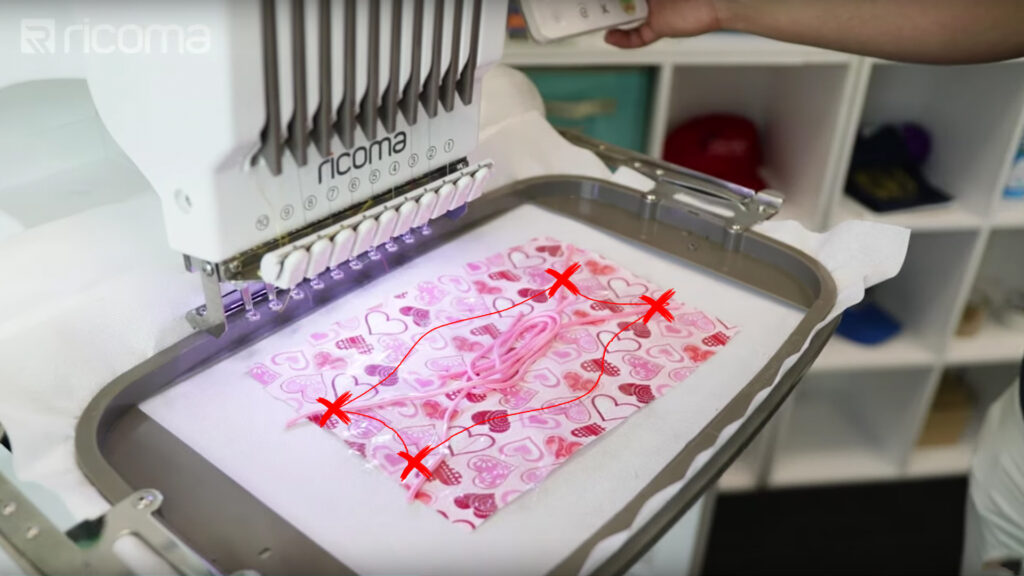
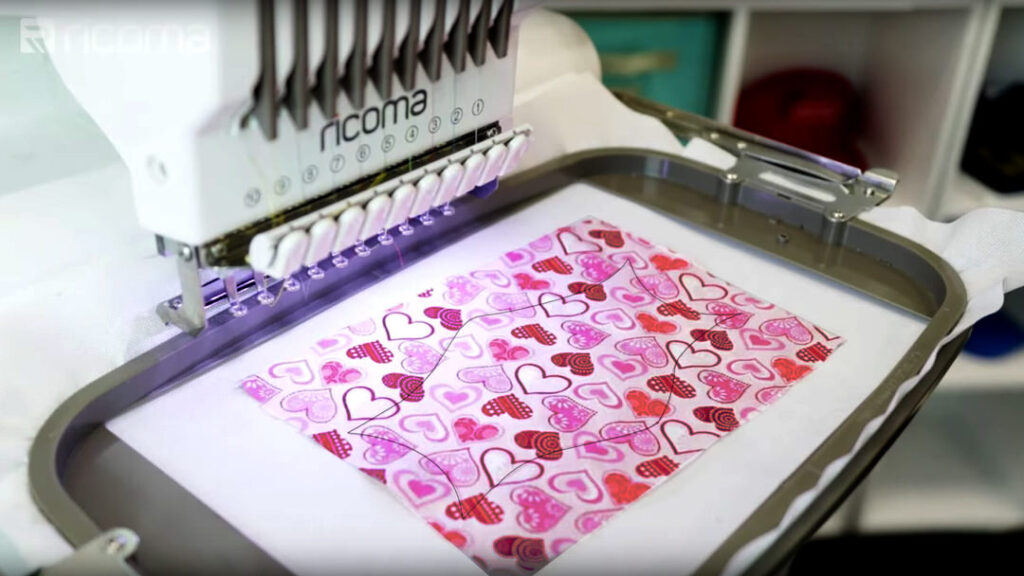
Take each piece and place it on each corner of the design outline, making sure to leave the very tip of the string off the fabric and the rest of the string lying diagonally towards the center of the mask.
Press start. The machine will now stitch the straps in place at each corner point. After the string is stitched in place, you will need to cut an additional piece of fabric to place on top.
Step 8:
This second piece of fabric is going to act as a holder for whichever filter you decide to insert in your mask. Cut an additional piece of fabric the same size as the first piece and add 2 inches to the height.
Step 9:
Cut the fabric in half and horizontally to create 2 identical strips.
Need to see how it’s done? You can watch us create this mask on this episode of Embroidery Hub.
Place your two new strips of fabric on top of your mask with the design facing down. Make sure they are covering the mask completely and that they are overlapping each other. This shouldn’t be an issue since you cut your full piece with an extra two inches, so you have more fabric to work with.
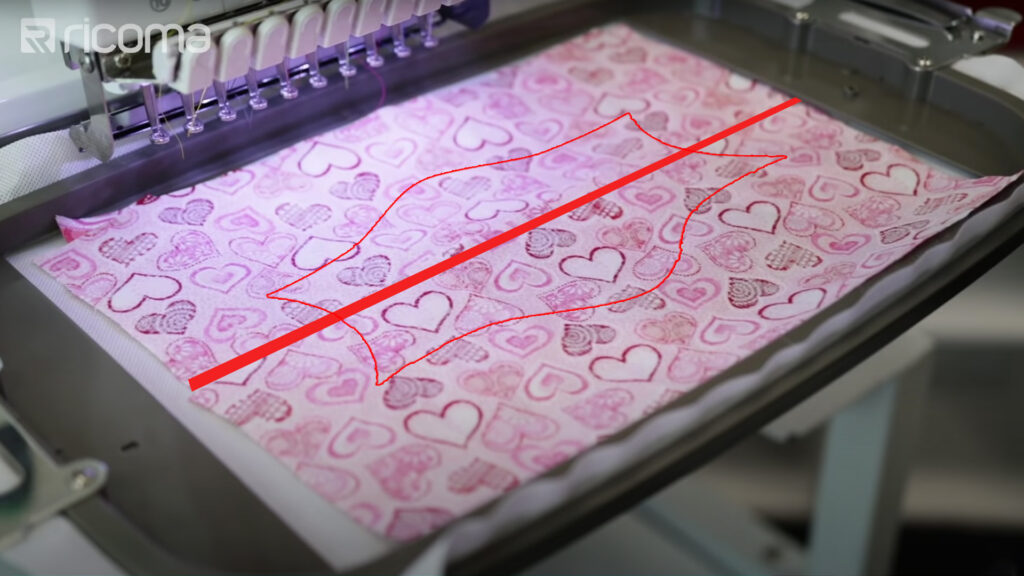
Arrange the pieces of fabric so that the slit between the strips is centered down the middle of the mask.
Step 10:
Now you’re ready to put the whole mask together! Press start on your machine and the mask will be sewn together inside out, with the straps neatly taped and tucked away inside.
Step 11:
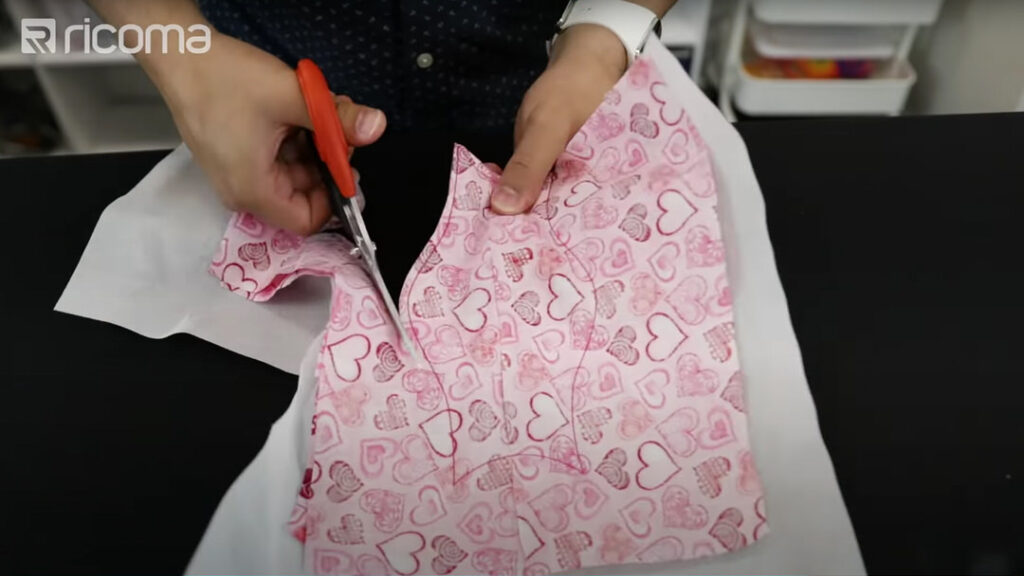
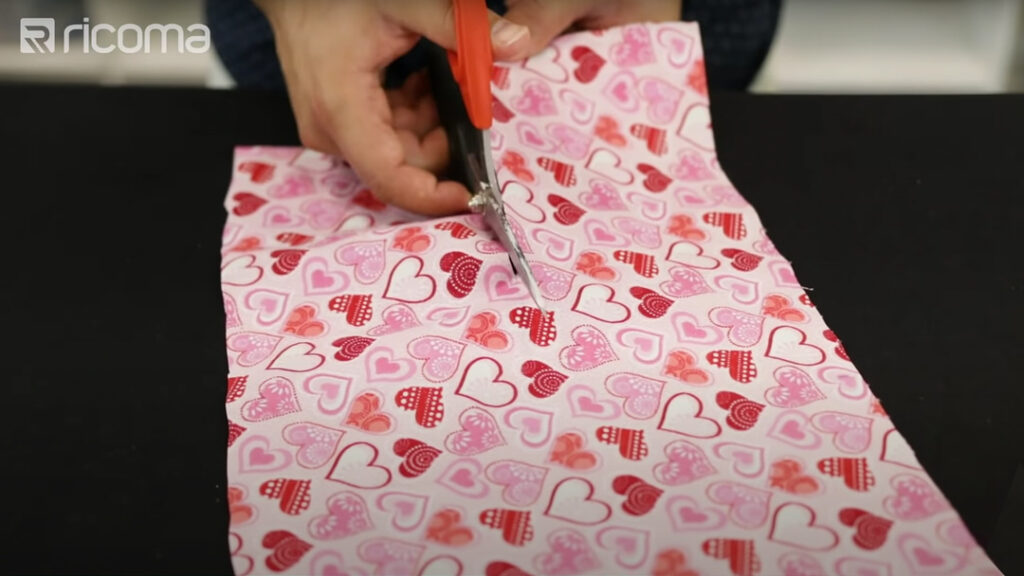
Un-hoop the final product and cut around the edge of the stitches to cut out your mask.
Pro tip: Be careful not to cut too close to the stitches. Doing so may cause it to tear apart.

Click here to watch our tips on cutting out your in-the-hoop projects.
Step 12:
Use your snips to clean up the excess thread on the back of your mask (the side with the stabilizer) and carefully snip a piece of the tear-away to make a hole. Be careful not to poke through the mask fabric.
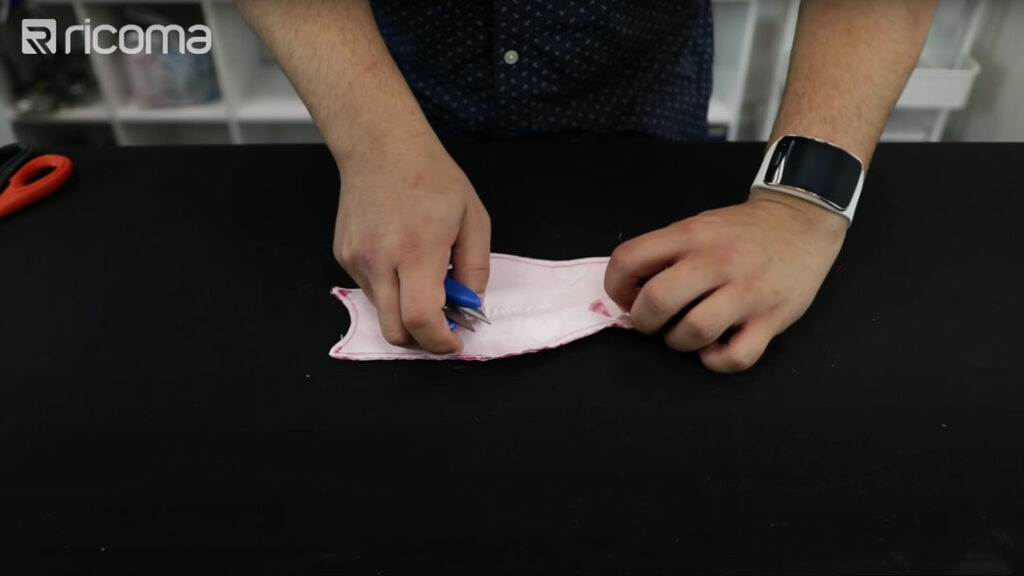
Lastly, tear off the rest of the stabilizer.
Step 13:
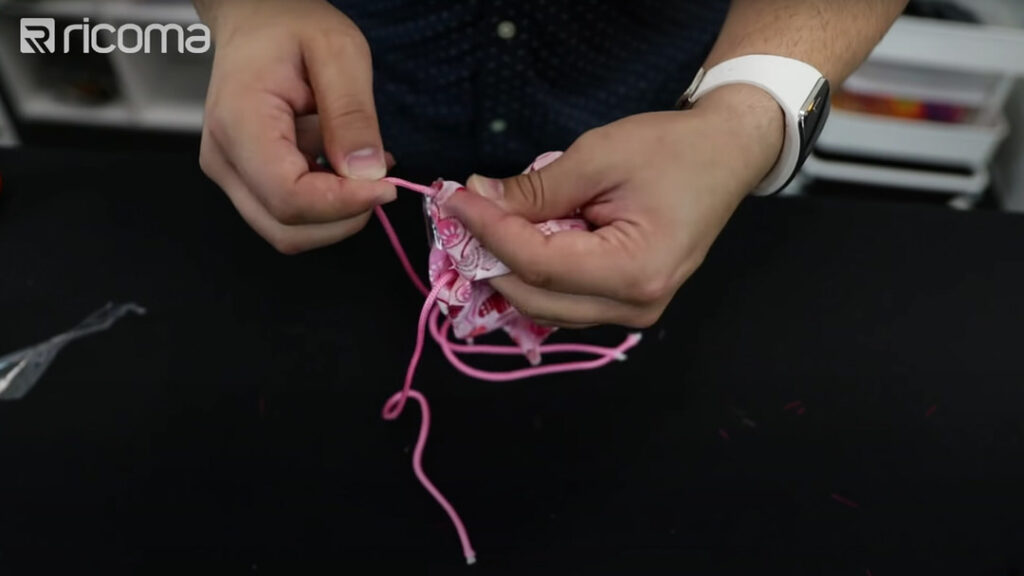
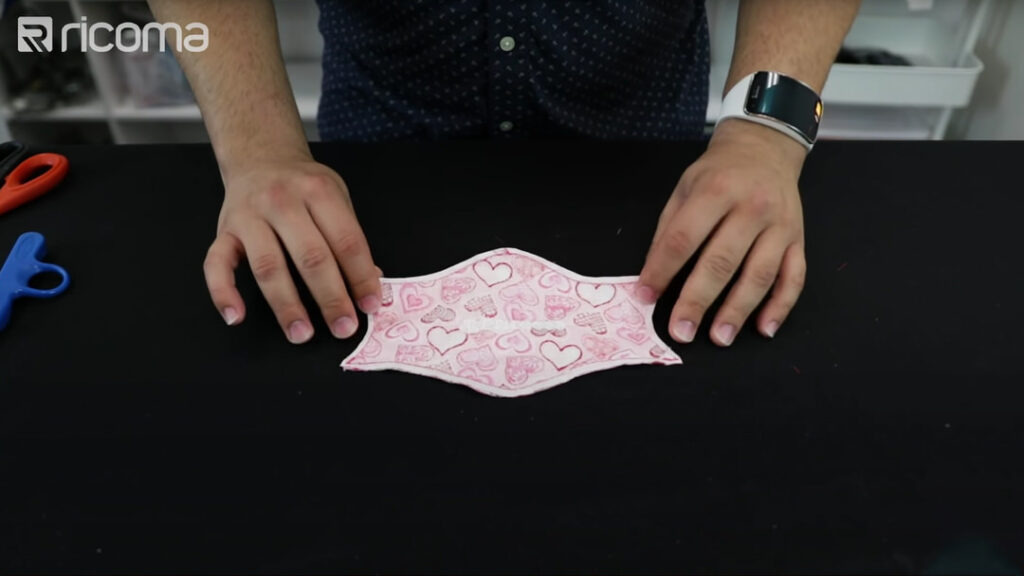
Flip the mask once again and pull the mask inside out, using the filter slit you created with your secondary fabric. Remove any tape and release the straps, tugging on them as you go to reinforce the stitches and the mask as a whole.
Step 14:

Now that your mask is complete, we recommend taking your lighter and burning the tips of the straps to avoid any fraying in the future.
Congrats! You’ve just made your own custom face mask.
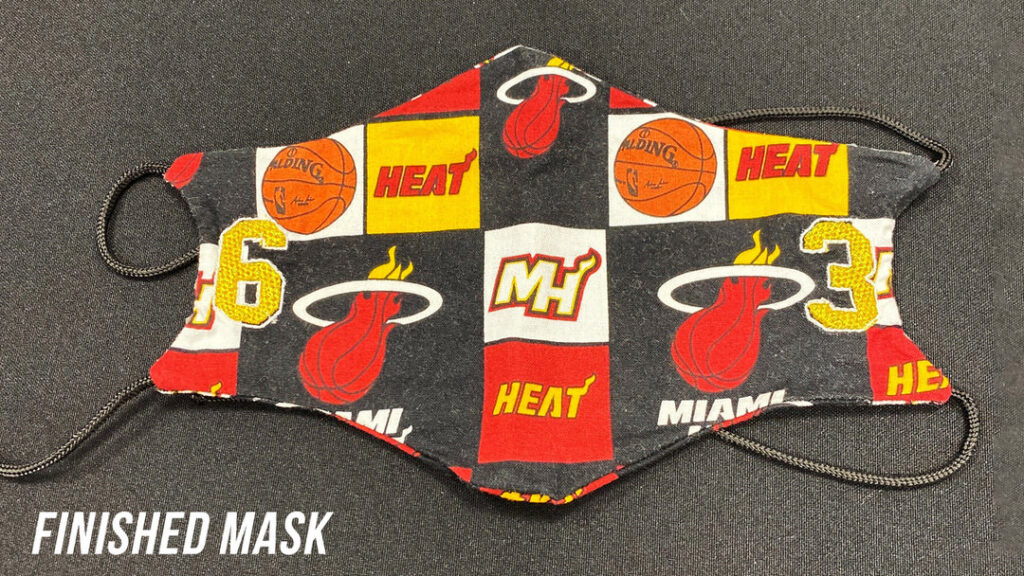
Bottom Line:
Not only is your new face mask reusable and washable, it also looks pretty stylish! And the best part about this project is that you made it with materials that almost every embroiderer has in their supply kit.

Whether you’re going to turn this into a fun family project or you’re going to start selling these masks, we encourage all our readers to take COVID-19 precautions seriously.

Read our 7 tips for staying productive while living in quarantine.

Finally, send us a picture of your masks once completed and tag us on Instagram @Ricomahq. That way, we can see and share your creations with the embroidery community!
Stay safe and healthy!
Ultimate Embroidery Cheat Sheet: 50 Popular Fabrics & How-To Embroider Them for Best Quality
Did you know that you can improve the quality of your embroidery no matter which fabric you’re embroidering on?
To guarantee your embroidery success, we’ve put together a cheat sheet of 50 of the most popular fabrics used for embroidery and the combination of materials that you’ll need to give you the best possible results for your projects.