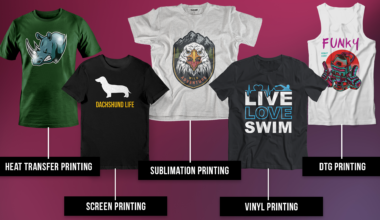
Direct-to-film (DTF) transfers are a popular choice for creating vibrant, long-lasting designs on t-shirts. But, there may be times when you need to remove a DTF transfer, whether due to a printing error, a change in design preferences, or to repurpose the shirt!
Learning how to remove a DTF from shirt can be challenging, as these transfers are designed to withstand regular wear and washing.
Let’s walk you through 3 effective methods on how to remove DTF from shirt: heat application, chemical removal, and the freezing technique. Each method has its strengths, and the best choice depends on your specific situation and available tools within your crafting business.
How to Remove DTF From Shirt: The Challenges of Removal
But firstly – the challenges. Because to be frank, there’s a reason we have a guide for this. It’s not easy.
DTF transfers are known for their durability and longevity, which is great for everyday wear but can pose challenges when you want to remove them. The adhesive used in DTF transfers is designed to bond strongly with fabric fibers, making it resistant to peeling and fading.
So, when attempting to remove a DTF transfer, you risk damaging the fabric if you’re not careful. Aggressive scraping or pulling can lead to fraying, stretching, or even tearing of the shirt material.
Additionally, some removal methods might affect the color or texture of the fabric, especially if the shirt is made from delicate materials.
To minimize risks when learning how to remove DTF from shirt, you need to choose the right removal method based on the transfer type, fabric, and available tools and materials.
Method 1: Heat Application
Setting Up Your Heat Press or Iron
When figuring out how to remove DTF print from a shirt, the heat application method requires either a heat press or a household iron.
A heat press is ideal as it provides more consistent heat and pressure, but an iron can work well too. You’ll also need parchment paper, a flat, heat-resistant surface (if using an iron), and heat-resistant gloves. If using a heat press, set the temperature to 300°F (150°C).
For an iron, use the highest cotton setting without steam. Always prioritize safety by wearing heat-resistant gloves when handling hot equipment, and work in a well-ventilated area to avoid inhaling any fumes that might be released during the process.
Applying Heat to the Transfer
To apply heat to the DTF transfer, start by placing your shirt on the heat press or ironing board with the transfer facing up. Cover the transfer with a sheet of parchment paper to prevent it from sticking to your heat source.
If you’re using a heat press, close it and apply pressure for 10-15 seconds. For an iron, press down firmly and move it in small circular motions for 15-20 seconds. Repeat this process 2-3 times, focusing on different areas of the transfer each time. You’ll know the transfer is ready for removal when you see the edges starting to lift or curl slightly, and the adhesive should feel softer and more pliable.
Peeling Off the Transfer
Once the transfer is heated, it’s time to remove it. While the transfer is still hot, use a plastic scraper or your fingernail (carefully, as it’s hot) to lift one corner of the transfer. Slowly and steadily peel the transfer away from the fabric, keeping it as flat as possible to avoid stretching the shirt
If you encounter resistance, stop peeling and reapply heat to that area before trying again. For stubborn transfers, you can try applying heat for a longer duration or at a slightly higher temperature (but be cautious not to scorch the fabric).
You can also use a combination of heat and gentle scraping with a plastic card to gradually lift the transfer. For extra tough transfers, applying a small amount of rubbing alcohol can help break down the adhesive as you peel. To minimize damage to the fabric during peeling, work slowly and patiently, keep the fabric taut but not stretched, and if you feel excessive resistance, stop and reapply heat rather than forcing the transfer off.
Method 2: Chemical Removal

When heat application doesn’t yield the desired results, chemical removal can be an effective alternative for removing DTF transfers from your t-shirts. This method is particularly useful for stubborn transfers or when you want to avoid using heat on delicate fabrics.
To effectively remove DTF transfer from a shirt, chemical removal involves a 3-step process: choosing the right solvent, applying it safely, and scrubbing and rinsing the treated area.
While this method can be highly effective, it’s important to approach it with caution and follow the steps carefully to avoid damaging your garment.
Choosing the Right Solvent
Selecting the appropriate solvent is crucial for successful DTF transfer removal. The right choice depends on factors such as the fabric type, transfer material, and safety considerations.
Common solvents that work well for this purpose include:
- Acetone
- Rubbing alcohol
- Commercial adhesive removers
When deciding which solvent to use, consider the fabric of your t-shirt – some solvents may be too harsh for delicate materials. It’s always a good idea to check the care label on your garment and research the compatibility of the solvent with your specific fabric type.
Applying the Solvent Safely
Safety should be your top priority when working with chemical solvents. Always ensure you’re in a well-ventilated area to avoid inhaling fumes. Wear protective gloves to shield your skin from direct contact with the solvent, and consider using eye protection as an extra precaution.
Before applying the solvent to the entire transfer, it’s wise to test it on a small, inconspicuous area of the garment. This allows you to check for any adverse reactions or discoloration. To apply the solvent, saturate a clean cloth or cotton swab with the chosen product.
Gently dab the solvent onto the transfer, working from the outside edges inward. Allow the solvent to penetrate the transfer for a few minutes, giving it time to break down the adhesive.
Scrubbing and Rinsing
Once the solvent has had time to work its magic, it’s time to start scrubbing. Use a soft-bristled brush or the edge of a plastic card to gently scrub the transfer. Work in small, circular motions, being careful not to apply too much pressure that could damage the fabric.
Patience is key here – resist the urge to scrub vigorously, as this may cause the transfer to smear or the fabric to fray. As you scrub, you should see the transfer beginning to lift. Continue this process until you’ve removed as much of the transfer as possible.
After scrubbing, rinse the treated area thoroughly with cold water to remove any remaining solvent and transfer residue. Finally, wash the entire garment according to its care instructions to ensure all traces of the solvent are removed.
Method 3: Freezing Technique
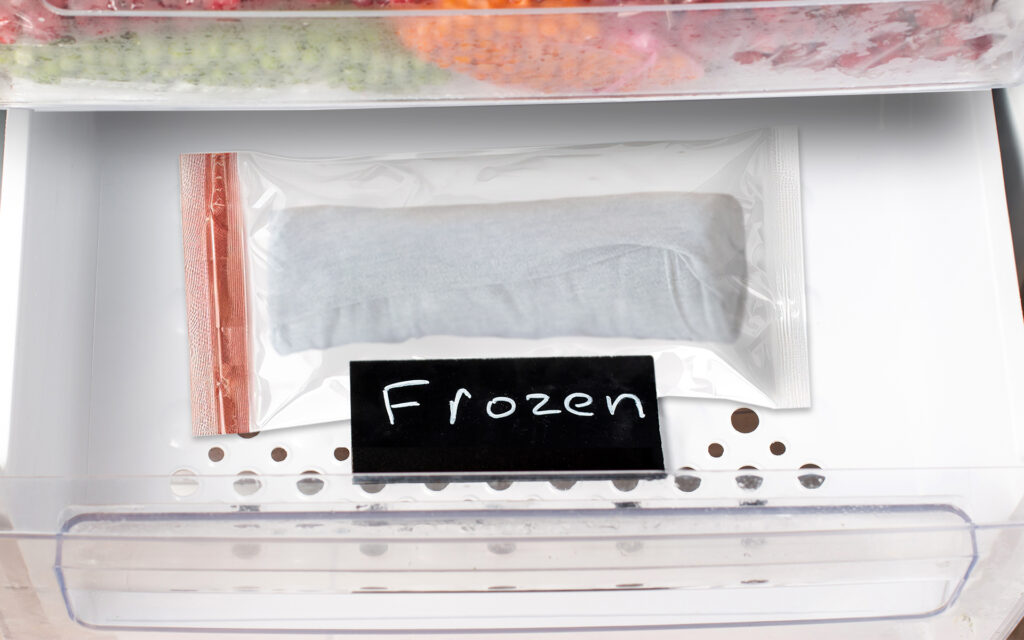
Freezing the Transfer
If you’re wondering how to remove DTF from shirt at home, the freezing technique offers an alternative method, especially useful when heat or chemical methods aren’t suitable.
To prepare the shirt for freezing, first lay it flat with the transfer facing up. Place a damp cloth over the transfer, ensuring it’s slightly larger than the design. This added moisture helps create ice crystals that can aid in the removal process. Next, carefully fold or roll the shirt so the transfer area remains flat, and place it in a plastic bag.
Put the bagged shirt in your freezer for at least 2-3 hours, or ideally overnight. The science behind this method lies in the way freezing affects the adhesive. As the moisture freezes, it expands, potentially weakening the bond between the transfer and the fabric.
Additionally, the cold temperature can make the transfer material more brittle, facilitating easier removal.
Cracking and Removing the Frozen Transfer
Once the shirt is thoroughly frozen, remove it from the freezer and quickly unfold it, keeping the transfer area as flat as possible. Working swiftly before the shirt thaws, use a plastic scraper or credit card to gently crack the frozen transfer.
Start at one corner and work your way across the design, applying firm but careful pressure. As the transfer cracks, you should be able to peel off sections of it. For stubborn areas that resist cracking, you can try applying a bit more pressure or use a butter knife to carefully lift the edges.
If some parts of the transfer remain firmly attached, don’t force them off. Instead, refreeze those sections and try again later. Remember to work quickly but cautiously to avoid damaging the fabric underneath.
Cleaning Up Residue
After removing the bulk of the transfer, you may find some residual adhesive or small pieces of transfer material still clinging to the fabric. To clean this up, start by gently scraping off as much as possible with a plastic card or your fingernail.
For stubborn residue, try using a small amount of rubbing alcohol or adhesive remover on a cloth, dabbing it onto the affected areas. Be sure to test this on a hidden part of the shirt first to ensure it doesn’t affect the fabric color.
To restore the original texture of the fabric, you can use a soft-bristled brush to gently brush the area, helping to lift any flattened fibers. Finally, wash the shirt in cold water with a mild detergent, avoiding heat which could set any remaining adhesive.
Air dry the shirt and inspect it once dry. If needed, repeat the residue removal process for any stubborn spots.
Perfect Your DTF Transfers with Ricoma!
Now that you know how to remove a DTF transfer from a shirt, you might want to learn how to re-apply a new one of your choosing!Our state-of-the-art DTF printers make it easy to create vibrant, durable transfers that are easier to apply and remove when needed.
Explore our roll-to-roll Revel 1202 DTF Printer, built for mass-production so you can create beautiful pieces of art in a flash!