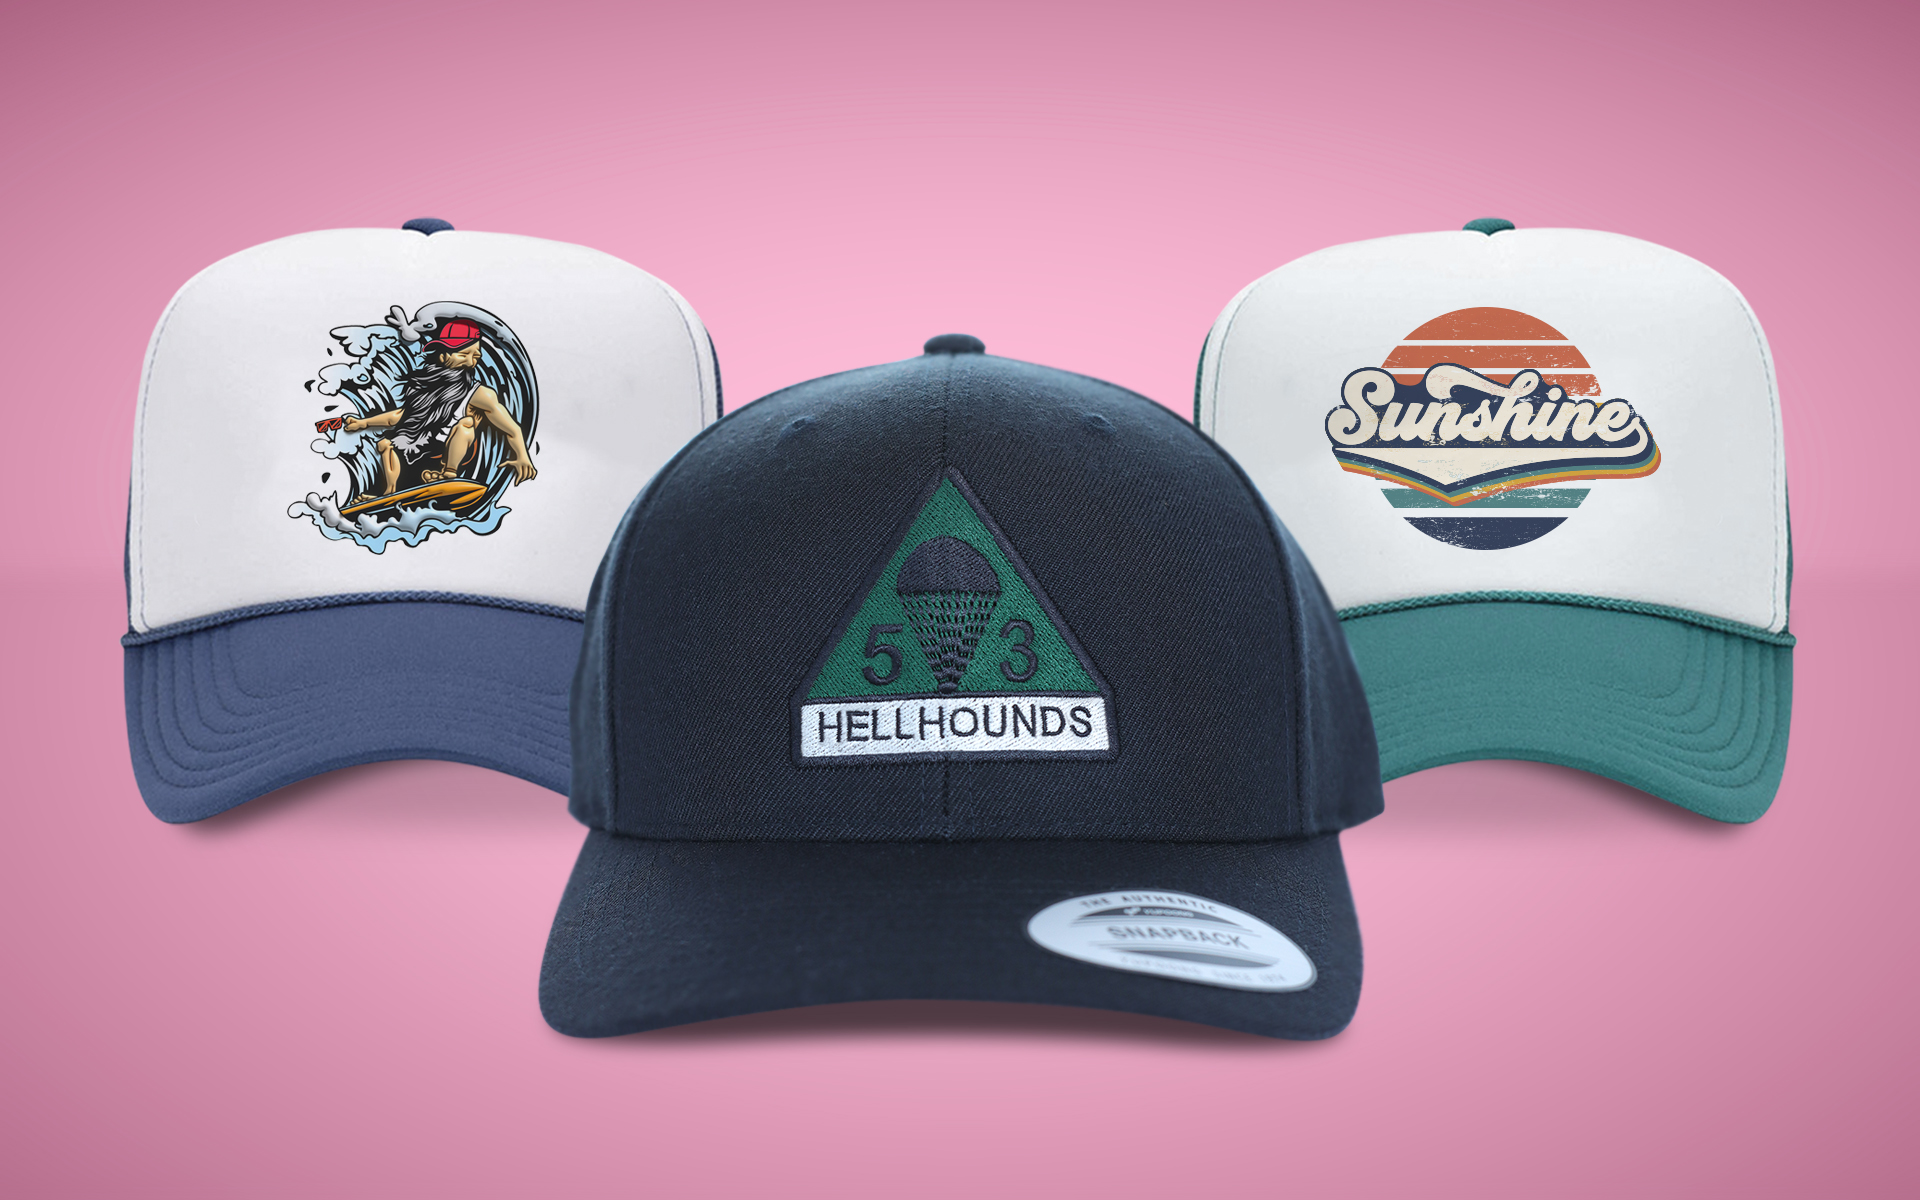
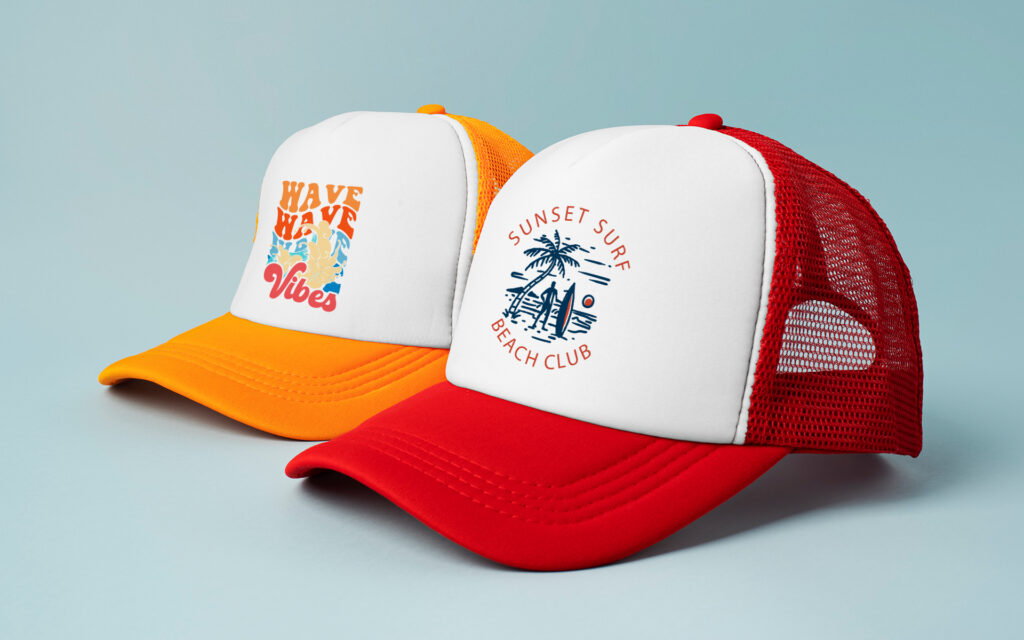
Custom printed hats are a fantastic way to showcase your style or promote your brand effectively. Whether you opt for the bold, durable colors of custom screen printed hats or the textured elegance of embroidery, each method offers unique benefits and possibilities.
From embroidery to heat transfer, here are a few different methods to create unique custom-printed hats for your business!
How to Make Embroidery Hats
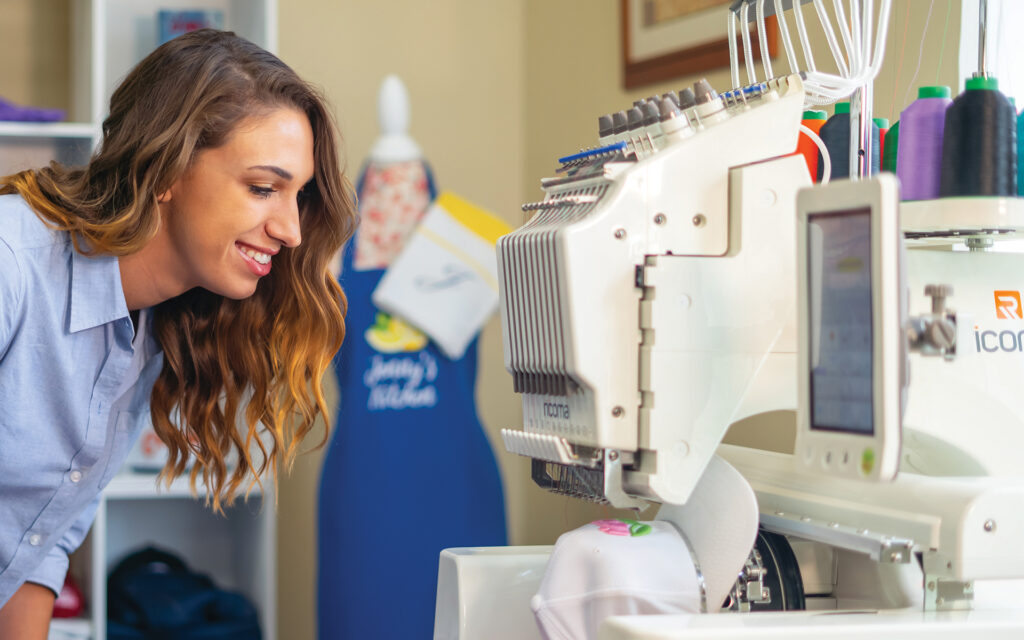
Embroidery adds a sophisticated and textured look to custom print hats, making it perfect for logos and intricate designs. Here’s a step-by-step guide to embroidering your own hats:
Digitize Your Design
To begin, let’s digitize! Digitizing converts your artwork into a format that embroidery machines can understand and stitch out accurately. Use dedicated embroidery digitizing software like Wilcom or Hatch Embroidery, or enlist the help of a professional digitizer if you’re new to the process.
Adjust your designs to fit different hat sizes and materials; what looks great on a baseball cap might need resizing for a beanie.
Hoop the Hat
Next, hoop your hat securely before embroidering your custom printed design. Hooping involves placing the hat on a specialized embroidery hoop designed for hats. This keeps the fabric taut and prevents any shifting during the embroidery process.
Tip: you can use stabilizers inside the hat to maintain its shape and prevent stretching or distortion.
Test and Calibrate Your Embroidery Machine
Before proceeding with embroidery for your custom hat printing, always test your design on a scrap piece of fabric or a similar hat material to ensure proper alignment and tension settings.
Adjust your machine’s settings such as stitch density and speed specifically for hat embroidery. Regular maintenance, including cleaning and oiling your embroidery machine, will ensure optimal performance and longevity.
Embroider Your Hat
Once calibrated, embroider your hat following your design carefully. Use suitable embroidery threads and needles designed for hat materials, typically polyester threads for durability.
Manage thread tension to avoid puckering or loose stitches, and monitor the stitching process closely for quality control.
Trim Excess Threads
After embroidering, trim excess threads meticulously using small, sharp embroidery scissors. Inspect the hat thoroughly to ensure there are no loose threads or imperfections that could detract from the finished look.
Consider adding final touches or embellishments to enhance your embroidered design, adding a personalized touch to your custom hats.
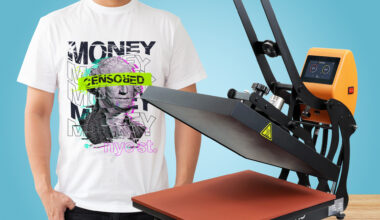
How to Make Heat Transfer Hats
Whether you’re crafting custom-printed hats for a team, event, or personal collection, here’s a step-by-step guide to help you achieve professional-quality heat transfer printed hats!
Consider Your Hat’s Material
Different fabrics and materials can react differently to heat transfer processes, so it’s crucial to choose compatible heat transfer materials.
Opt for heat transfer vinyl (HTV) specifically designed for hats. These vinyl types are often thinner and more flexible, making them ideal for curved surfaces.
Before starting your main project, test the heat transfer vinyl on a small, inconspicuous area of the hat to ensure compatibility and adhesion.
You’ll also want to be cautious with heat-sensitive hat materials such as certain synthetic fabrics or delicate materials like straw. Adjust your heat application accordingly to avoid damage.
Customize and Size Your Design
Next, customize your custom print hat to fit the unique shape and size of hats!
Create or choose designs that are suitable for hats, considering the curved surface. Simple, bold designs often work best. After this, ensure your design is actually appropriately sized for different hat sizes. Consider scaling the design slightly larger to account for any stretching or shrinking during the heat application process.
If your custom-printed hat design requires multiple colors or layers, plan the layering sequence carefully to achieve the desired look without compromising adhesion.
Set Your Heat Application Settings
Set your heat press or iron to the recommended temperature and pressure settings for the specific heat transfer vinyl and hat material you’re using.
Use a heat press designed for hats to ensure even heat distribution and pressure across the curved surface. Fine-tune your settings based on the vinyl type and hat material to achieve vibrant colors and durable adhesion.
Aim for smooth, bubble-free transfers that adhere well to the hat fabric for long-lasting wear.
Peel the Transfer Paper & Make Final Adjustments
After applying heat, carefully peel off the transfer paper after the heat application, following manufacturer guidelines to avoid lifting the vinyl.
Inspect the transferred design for any imperfections or areas needing touch-ups before declaring the project complete. If you do encounter issues like uneven adhesion or wrinkling, troubleshoot by adjusting heat or pressure settings accordingly.
How to Make DTG Hats
Direct-to-Garment (DTG) printing offers a fantastic way to create high-quality, customized hats with intricate designs. Here’s how to get started:
Load to Hat Platen or Jig
Position your hat onto the hat platen or jig to ensure accurate printing. These devices help stabilize the hat during printing, ensuring precise placement of the design.
You can also use clamps or adhesive methods to secure hats on the platen or jig, preventing movement during printing.
Clean and Prep Your Hat
Inspect hats for imperfections such as uneven surfaces or blemishes before printing to ensure smooth printing results.
Once you’ve done so, thoroughly clean hats to remove dust, oils, or residues that could affect print adherence and quality. You may also want to apply pretreatment solutions to the hat material to enhance color vibrancy and print sharpness.
Different hat materials require specific handling techniques during preparation to avoid damage or distortion.
Print (And Use Multiple Colors if Necessary)
Follow your DTG printer’s instructions for loading designs and adjusting settings for hat printing. Utilize multiple colors and layers in your design as needed, ensuring each layer complements the overall look without compromising print quality.
Adjust your printer settings and pretreatment application to achieve vibrant, detailed prints on hats.
Throughout the process, take a look at the print quality throughout the printing process to address any issues promptly and ensure consistent results.
Inspect Printed Hats & Touch-Up
Carefully examine DTG prints for color accuracy, sharpness, and adherence to ensure they meet your expectations. Follow recommended curing methods to set the ink on the hat fabric properly, enhancing durability and washability for yourself or your customers.
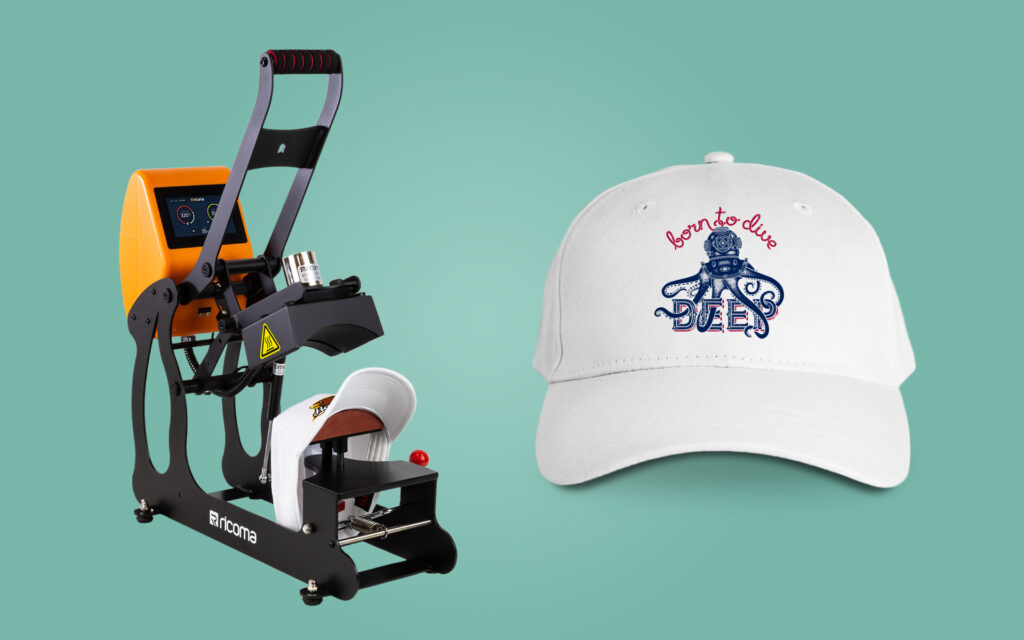
Start Your Custom Hat Printing Journey with Ricoma!
Join our community of passionate printers and creative professionals and explore our Auto-Open Cap Heat Press. This high-pressure clamshell heat press can handle frequent use, perfect for printing bulk custom-printed hats. Start shopping now!