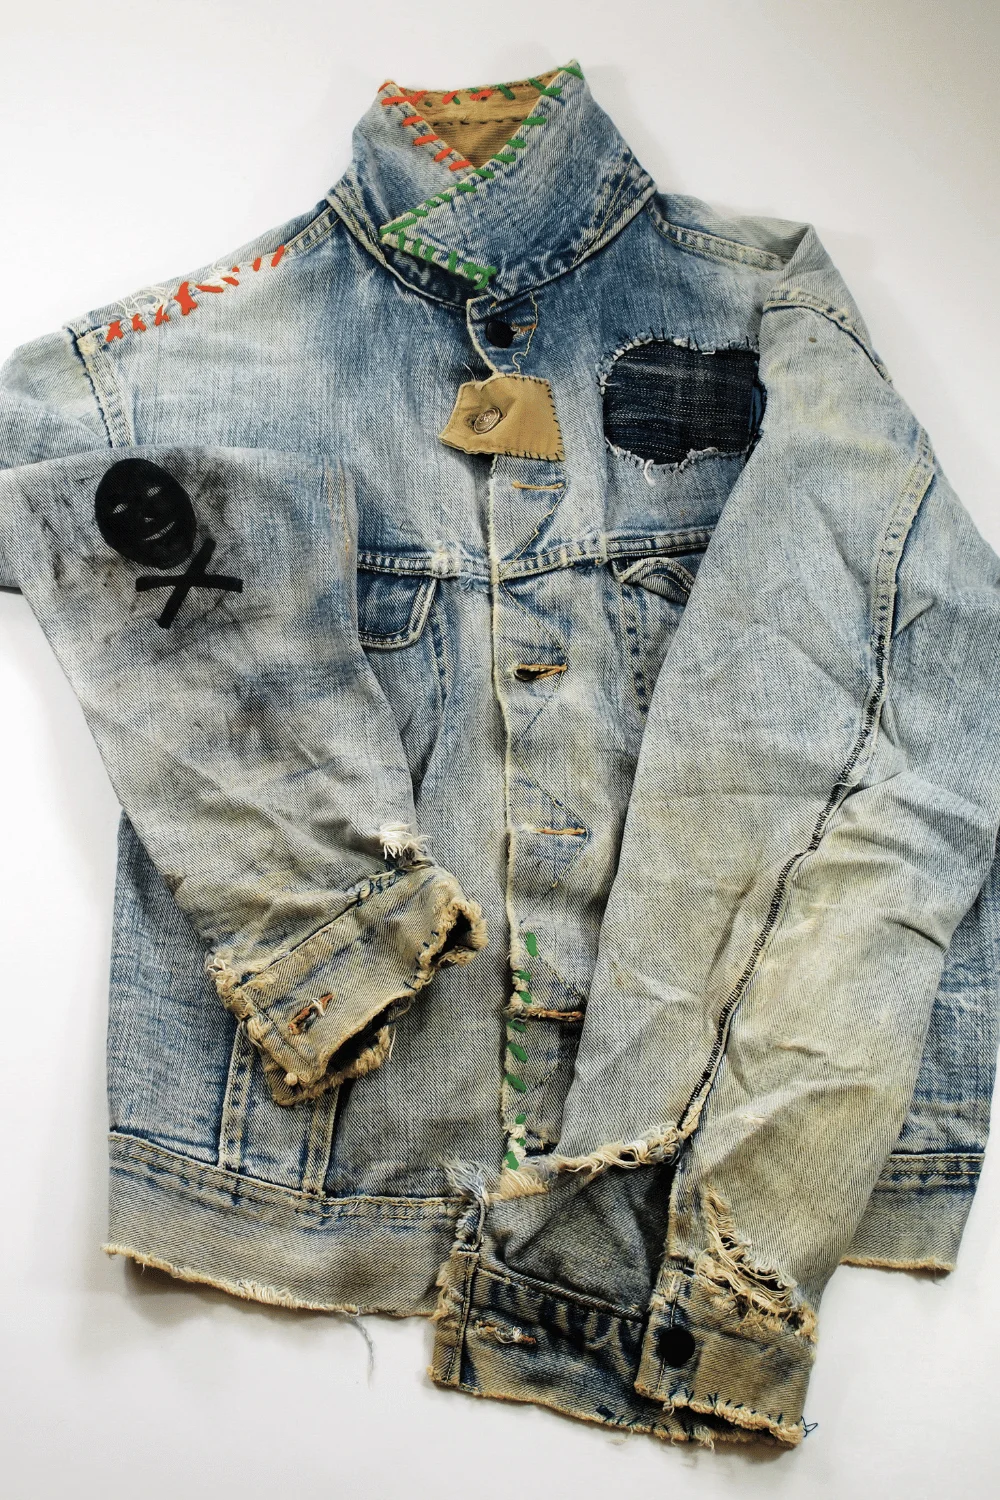
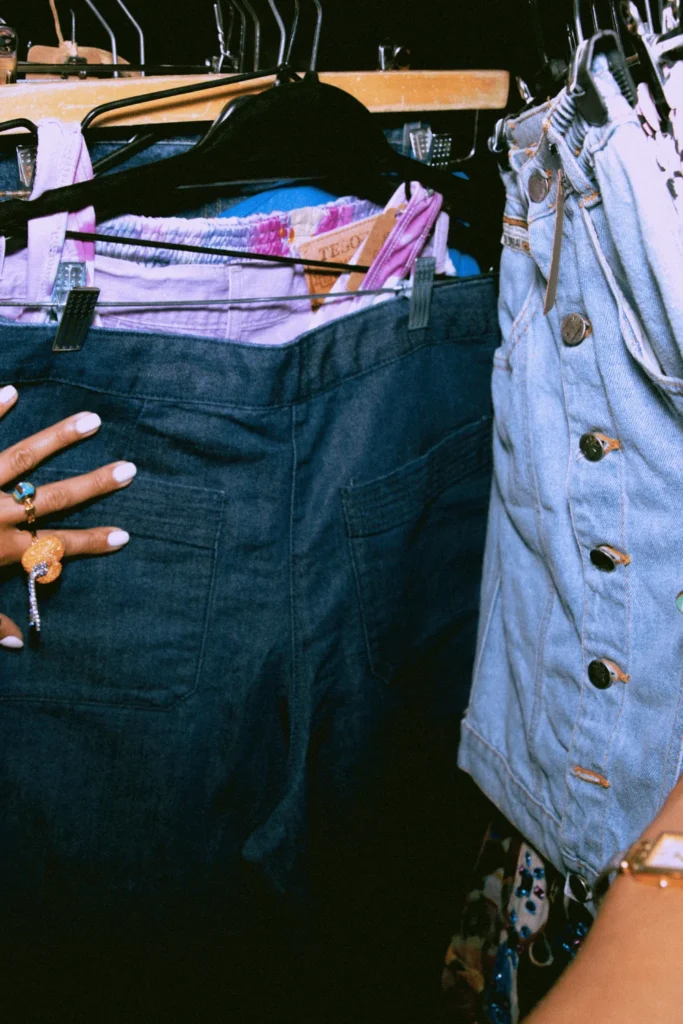
Looking to update your style, refresh an old jacket or give a pair of jeans a new lease on life?
There might be one problem in your way: you need to know how to remove iron-on patches.
Whether you’re looking to update your style, repurpose your clothing, or simply restore a garment to its original state, you probably want to know how to remove iron-on patches in a way that doesn’t ruin your clothing.
In this mini-guide, let’s walk through how to remove iron-on patches safely and effectively, to make sure your clothing remains in great condition!

Why Remove Iron-On Patches?
Fashion is ever-evolving, and what was trendy a few years ago might not align with your current style! By removing old patches, you can…
- Update the look of your garment and keep it in line with current fashion trends.
- Breathe new life into your favorite pieces (sometimes, patches can become damaged or worn out over time, making your clothing look less appealing).
- Repurpose or upcycle clothing— perhaps you’ve found a great thrift store find with a patch that’s not quite your style, or you want to customize a piece with your own choice of embellishments.
- Better appreciate the original aesthetic of a garment, restoring it to its original appearance— this is especially useful for vintage clothing collectors or anyone looking to maintain a classic look!
Tools and Supplies You’ll Need
Before you begin learning how to remove iron on patches, it’s essential to gather the right tools and supplies. You’ll likely need:
- An iron and ironing board: For applying heat to loosen the adhesive.
- Parchment paper: To protect your iron and the fabric from direct heat.
- Tweezers or small scissors: For gently lifting and peeling the patch away from the fabric.
- Adhesive removers: In case there’s residual glue left on the fabric. Look for products specifically designed for fabric use.
- Protective gear: If you’re using chemical adhesive removers, wearing gloves can protect your skin from irritation.
Having these items on hand will make the patch-removal process smoother and more efficient.
How to Remove Iron-On Patches
Here are some methods you can try at home to safely remove iron-on patches without damaging your clothes.
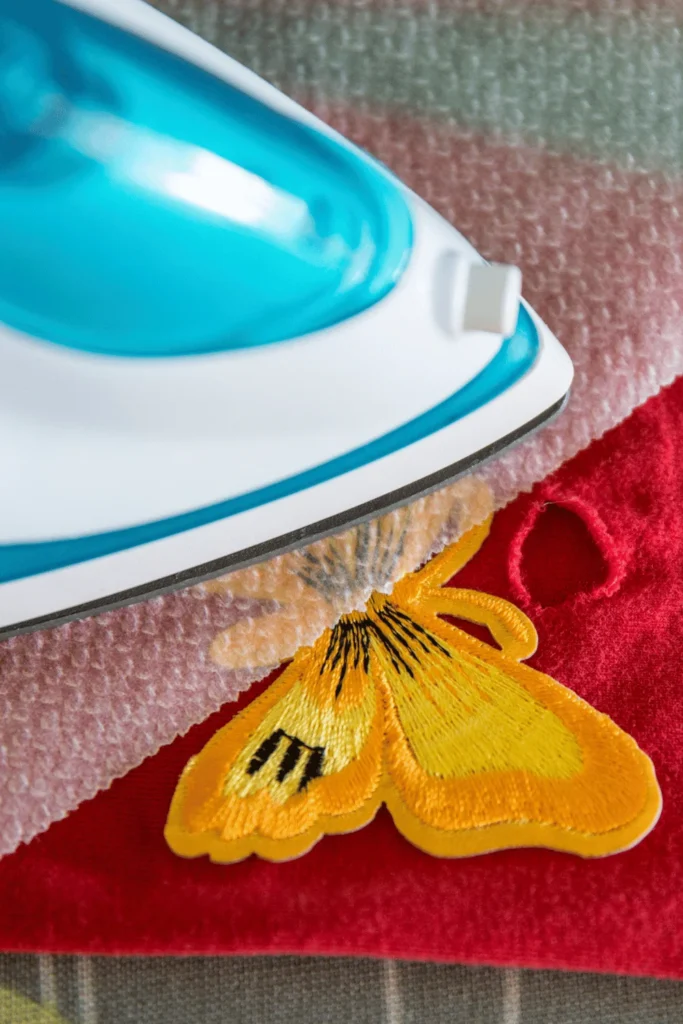
1. Use Heat and Steam
One of the most common methods for removing iron-on patches is using heat and steam. Here’s how to do it:
- Place a clean cloth over the patch to protect the fabric.
- Use a heat press on a low to medium heat setting and press down on the patch for a few seconds to soften the adhesive.
- Gently peel off the patch while it’s still warm. If it doesn’t come off easily, repeat the process until it does.
Important: Always test a small, inconspicuous area first to ensure the fabric can withstand the heat. Be patient and work slowly to avoid damaging the fabric.
2. Apply Cold Treatment
Another method for removing iron-on patches is using cold treatment. Here’s how to do it:
- Freeze the patch: Place the garment with the patch in a plastic bag and place it in the freezer for a few hours. The cold will make the adhesive brittle.
- Peel off the patch: Once the adhesive is frozen, gently peel off the patch. If needed, use a tool like a butter knife to help lift the patch.
- Caution: This method may not be suitable for all fabrics, so be sure to check the fabric care label before attempting.
3. Use the Chemical Solvent Method
Removing iron-on patches with chemical solvents can be effective but requires caution. Here’s how to do it safely:
- Work in a well-ventilated area and wear protective gloves and a mask to avoid inhaling fumes.
- Look for solvents specifically designed to dissolve the adhesive. Acetone or nail polish remover can work but may damage certain fabrics.
- Apply a small amount of solvent to a clean cloth and gently dab it onto the adhesive. Avoid soaking the fabric.
- Allow the solvent to work for a few minutes, then gently peel off the patch. Repeat the process if needed.
- Thoroughly wash the garment according to its care instructions to remove any remaining residue.
Additional Removal Types
Removing residual glue and dealing with different fabrics and adhesives can be tricky. Use a glue remover or adhesive dissolver specifically designed for fabric. Follow the manufacturer’s instructions carefully.
For delicate fabrics, consider using a gentler method like heat or cold treatment when going through the process of how to remove iron-on patches. Test any solvent or method on a hidden area first. For stubborn adhesive or unique fabrics, consider seeking professional help to avoid damaging the garment.
How to Remove Iron-On Patch Adhesive from Fabric
Here’s how to remove iron-on patch glue from fabric:
- Use a cotton swab or soft cloth to apply a small amount of solvent to the glue residue.
- Use a gentle rubbing motion or a plastic scraper to lift the glue. Avoid using anything too abrasive that could damage the fabric.
- Launder the garment according to its care instructions to remove any remaining solvent and glue residue.
- Always test the solvent on a hidden area of the fabric first to ensure it won’t cause damage.

Removing Patches from Delicate Fabrics
Using heat or chemicals can pose risks, so opting for gentler methods is advisable. One approach is to carefully hand-sew around the edges of the patch to loosen the adhesive, taking care to avoid tearing the fabric. For valuable or irreplaceable items, seeking the assistance of a professional cleaner experienced with delicate fabrics is recommended.
When handling delicate fabrics, minimize manipulation to prevent damage, and use slow, gentle movements.
Removing Patches from Leather and Suede
Similarly, when learning how to remove an iron-on patch from leather and suede, it’s important to avoid using heat or water-based methods that could harm these materials.
Instead, opt for a leather-safe adhesive remover to dissolve the adhesive. If unsure, seek professional assistance to ensure the patch is safely removed. After removing the patch, condition the leather or suede to restore its appearance and prevent drying or cracking.
If the removal process leaves marks on the leather or suede, consider patching or covering them with a matching piece to maintain the item’s aesthetic appeal.
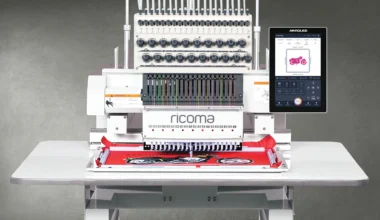
Reapply Your New Patches with Your Ricoma Embroidery Machine!
Once you’re finished removing your patch and know how to remove iron-on patch glue from fabric, use your Ricoma machine to apply a new one, move it onto another clothing item, or do another craft with it! Our embroidery and sewing machines are perfect for any of your clothing projects, whether you’re just starting a small shop or looking to scale to the next level.
Explore our machines, printers, and more for seamless (no pun intended) clothing customization!