Ready to learn the secret behind flawless embroidery (with no puckering)? Two words:
Embroidery stabilizers.
If you’re new to the game, you’re in the perfect place, because learning how to use embroidery stabilizers will help you make your embroidery machine projects look more polished and professional.
Let’s dive in and explore the world of embroidery stabilizers together!
What is Embroidery Stabilizer?
Embroidery stabilizers’ main job is to support and strengthen the fabric you’re embroidering on and help keep your fabric in shape during the stitching process.
One of the coolest things about stabilizers is how they prevent puckering, or that annoying wrinkling or bunching up of fabric that can happen when you’re embroidering. Stabilizer will keep your fabric nice and smooth, making your finished embroidery look polished and tidy.
When it comes to choosing a stabilizer, you’ve got many different options, like in rolls, sheets, or pre-cut shapes. Different fabrics and designs have different needs, so choosing the right stabilizer is key to achieving top-notch results.
What Are the Different Types of Stabilizers?
As we mentioned, there are three main types of stabilizers: cut-away, tear-away, and water-soluble stabilizers. Each type has its own superpowers and specific uses, so let’s break them down.
Cut-away stabilizers are the most stable and provide long-lasting support, best for designs with high stitch counts, dense designs, or stretchy fabrics. Specifically, cut-away stabilizers work really well for items that will frequently get washed or heavily worn, like garments and accessories.
Tear-away stabilizers are easy to remove and great for designs with lower stitch counts or less dense designs. They’re also great for projects where the back of the embroidery will not be visible, like patches or appliques.
Water-soluble stabilizers dissolve in water, leaving no residue behind. They are ideal for delicate fabrics, like lace or organza, where it is important that no stabilizer remains visible. They can also be used as a topping to prevent stitches from sinking into the fabric.
There are also other speciality stabilizers, like heat-away stabilizers that disappear when heat is applied, making them suitable for fabrics that cannot get wet.

How To Use Them & What They’re Best For
Let’s explore the different types of embroidery stabilizers, how to use them, and what they’re best for.
Tear Away
Using tear-away stabilizers requires you to hoop the stabilizer along with your fabric, helping keep everything nice and steady while you work your magic. Then, stitch your design like you normally would.
Once your embroidery is complete, just grab hold of the edges and gently tear them away from your stitches.
A pro tip for using a tear-away stabilizer is to grab yourself a pair of sharp embroidery scissors. After you’ve torn away the excess stabilizer, you can use these scissors to carefully trim any leftover bits close to your stitches to ensure a clean finish without any pesky remnants peeking through.
Tear-away stabilizers are perfect for lightweight fabrics like cotton or linen, providing just the right amount of support without weighing them down. And overall, one of the best things about tear-away stabilizers is that they’re great for projects where the back of your embroidery won’t be visible.
Since you remove the stabilizer after stitching, you don’t have to worry about what the back looks like. So go ahead and stitch those intricate designs — knowing that the back will be as beautiful as the front!
Cut Away
Now, let’s talk about how to use cut away embroidery stabilizer.
Using a cut-away stabilizer is simple. Just hoop the stabilizer along with your fabric, stitch your design, and then trim away the excess stabilizer close to your stitches.
One of the best things about cut-away stabilizers is their long-term stability. Unlike tear-away stabilizers, cut-away stabilizers remain attached to the fabric even after embroidery. This ongoing support helps minimize distortion over time, keeping your stitches looking sharp for years to come. Specifically, they’re great for knits or jerseys to stand strong after an embroidery project. 👚
Wash Away/Water-Soluble
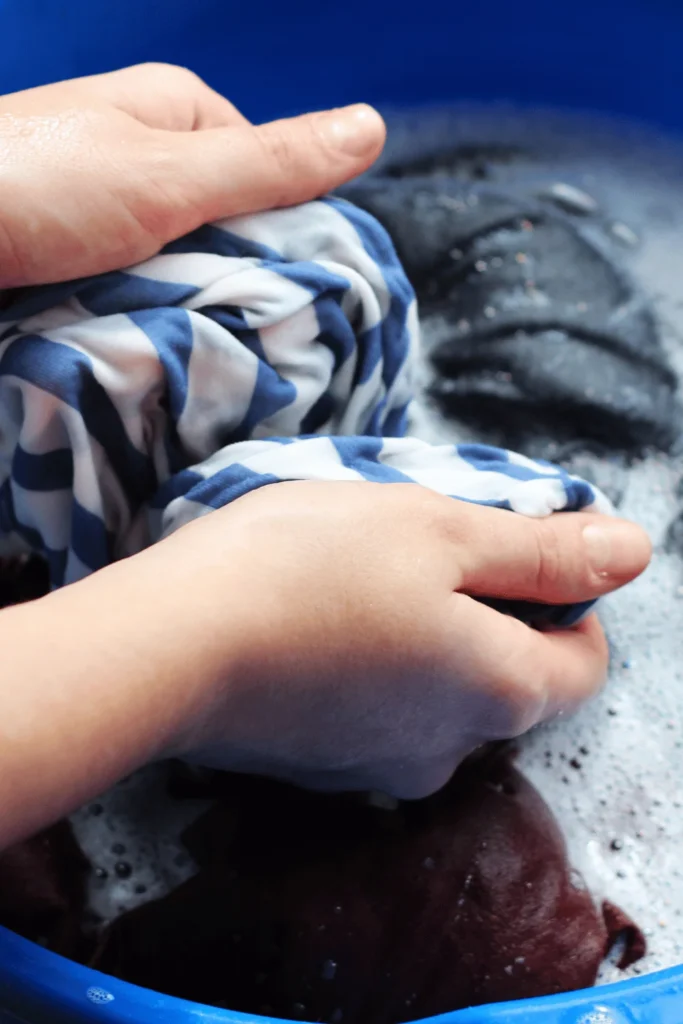
Simply hoop the stabilizer along with your fabric, stitch your design just like you normally would, and once you or your embroidery machine are done, and submerge your creation in water.
For delicate fabrics or detailed designs, you might opt for a clear water-soluble stabilizer to ensure it doesn’t leave any residue behind. And opaque water-soluble stabilizers work great for fabrics where visibility isn’t a concern. Since they dissolve completely, you’re left with nothing but your gorgeous stitches — no backing required!
But here’s a crucial tip when learning how to use embroidery stabilizer: make sure you rinse your embroidery thoroughly after dissolving the stabilizer. Any leftover traces can cause discoloration or stiffness in your fabric if not properly washed out.
Frequently Asked Questions
Now that we’ve answered the basics, let’s answer some other common questions about how to use embroidery stabilizers.
What are some tips & tricks for using each type of stabilizer?
When learning how to use stabilizers for embroidery, it’s important to differentiate between which type you’re using.
When using tear-away stabilizers, remember to tear gently to avoid damaging delicate stitches. Also, don’t be afraid to experiment with different weights of tear-away stabilizers to match the thickness of your fabric.
For water-soluble stabilizers, use cold water for dissolving and give your embroidery ample drying time to prevent distortion. If you’re working on textured fabrics, consider using a water-soluble topper for better stitch definition.
When using cut-away stabilizers, trim the excess close to your stitches without cutting into them. For intricate or high-density designs, you might want to try fusible cut-away stabilizers for added stability.
What are the best types of stabilizers to use?
Tear-away stabilizers are great for stable fabrics like cotton or denim. Water-soluble stabilizers are great for intricate designs on freestanding lace, delicate fabrics, or whenever the back of your embroidery is visible.
Cut-away stabilizers are your go-to for stretchy or unstable fabrics like knits or jerseys, providing long-term support. You can find all different types of embroidery stabilizers on sites like All Stitch, The Embroidery Store or Sulky — especially if you want to expand your knowledge even more like how to use iron on embroidery stabilizer!
What’s the best fabric to use with each stabilizer?
Tear-away stabilizers are best for lightweight fabrics like cotton, linen, or quilting cottons. Delicate fabrics like organza or chiffon would pair better with water-soluble stabilizers, and stable fabrics like denim, canvas, or heavy cottons most likely need cut-away stabilizers, which provide the sturdy foundation needed for long-term stability in your embroidery.
What are you waiting for? Grab your fabric, turn on your Ricoma embroidery machine, and let your stabilizer do the talking to make your work feel a whole lot easier.