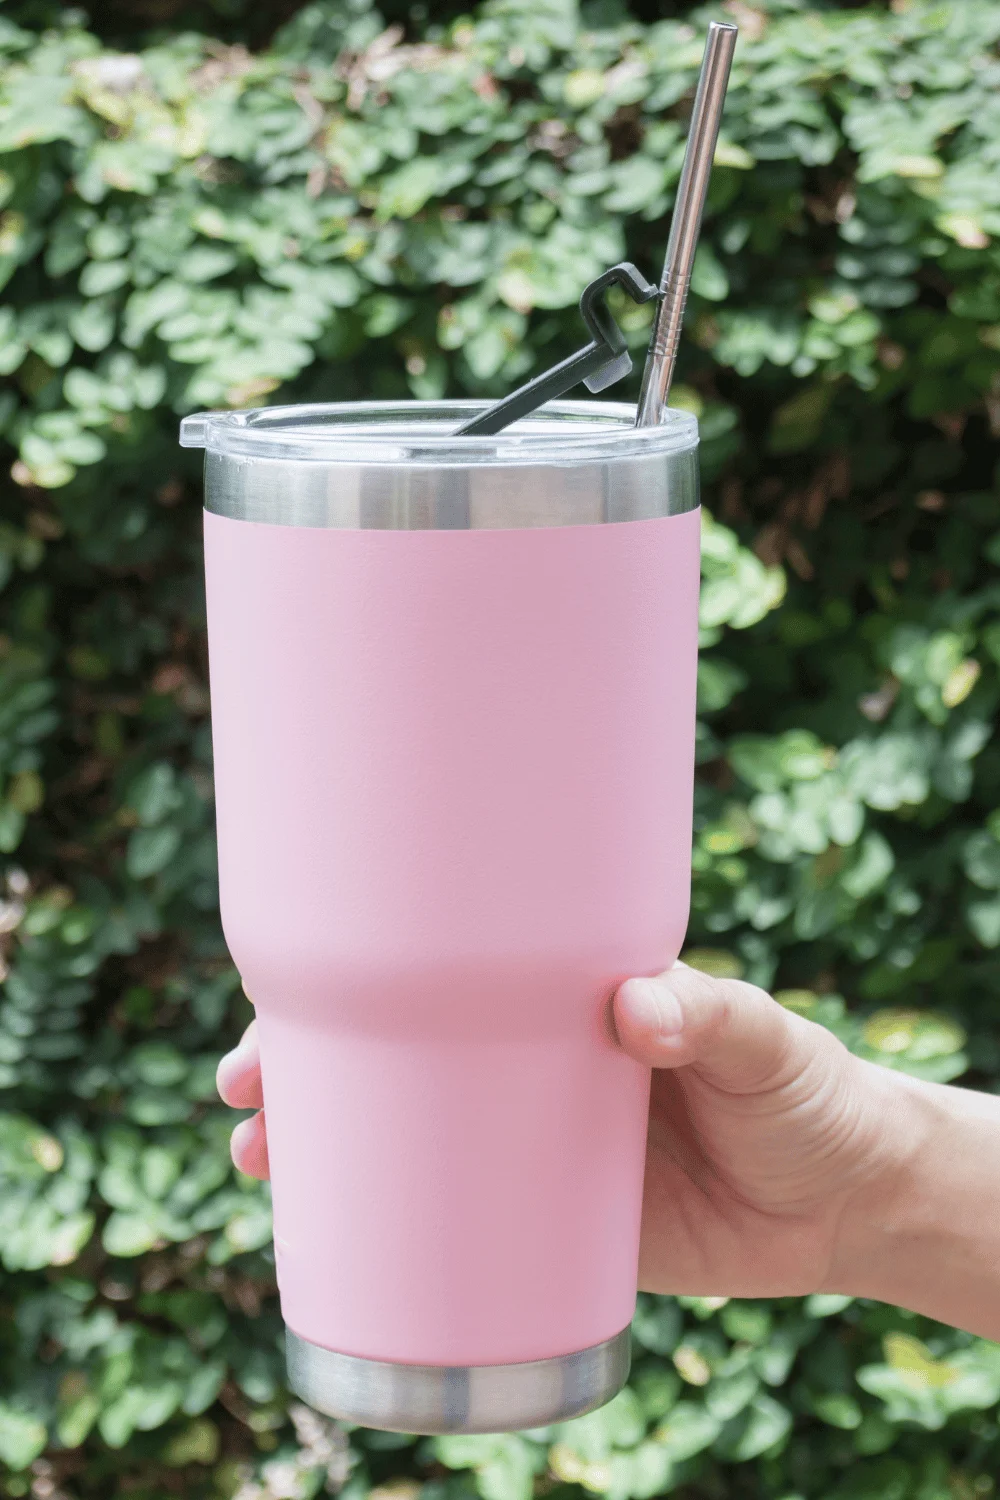
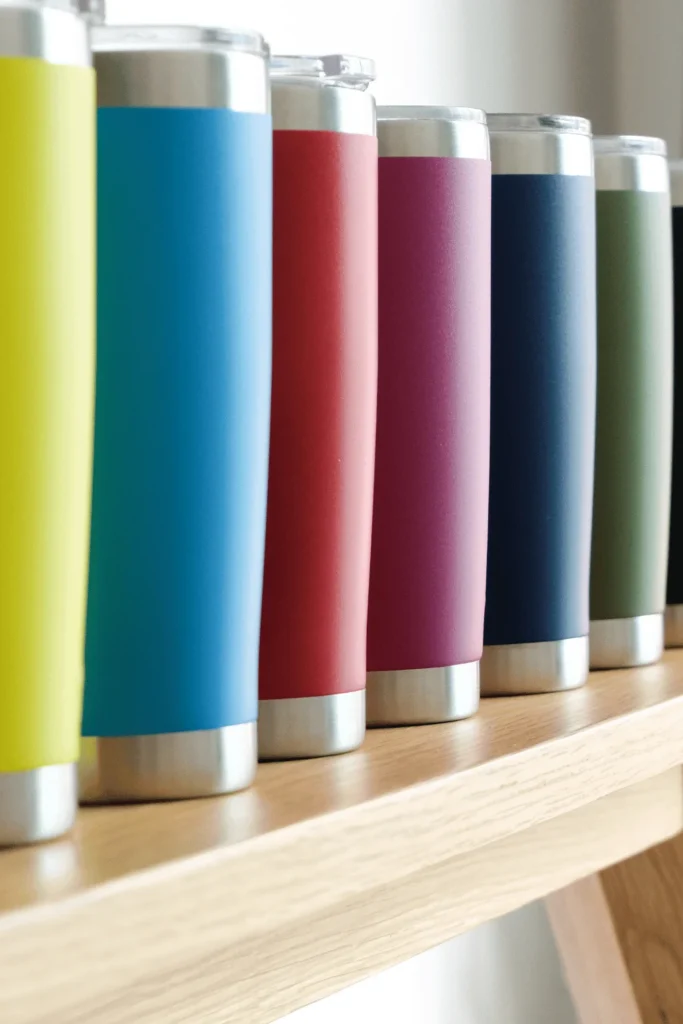
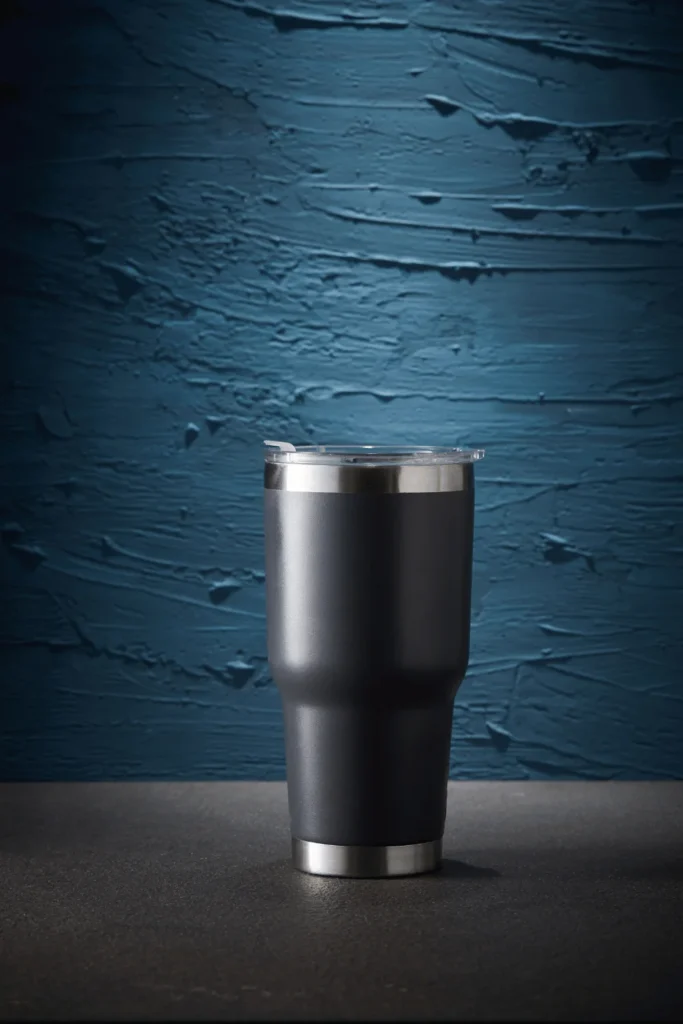
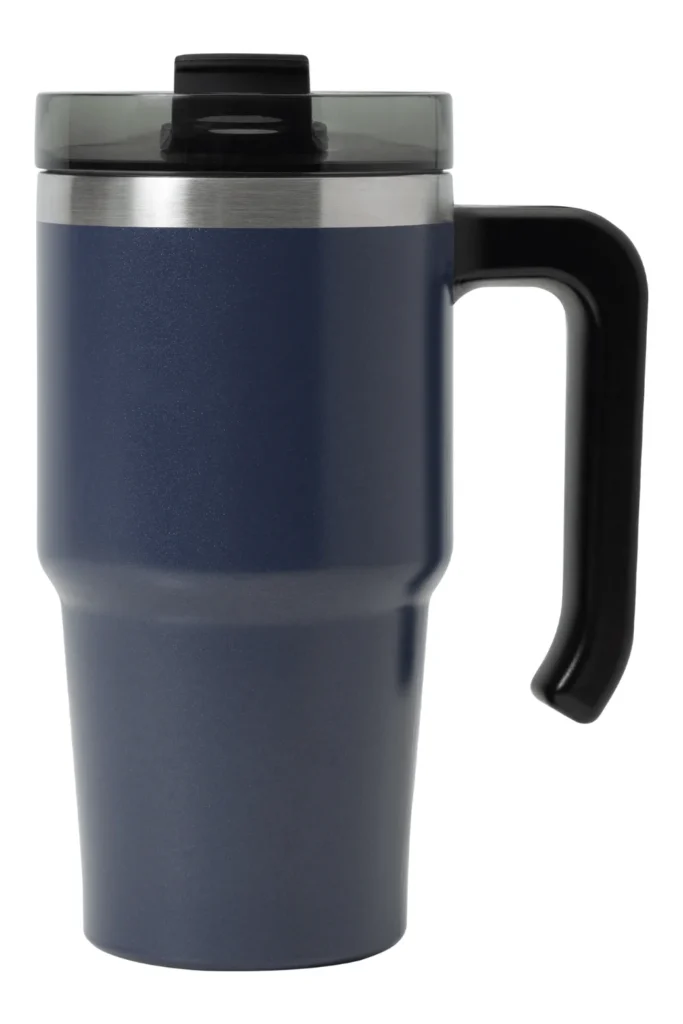
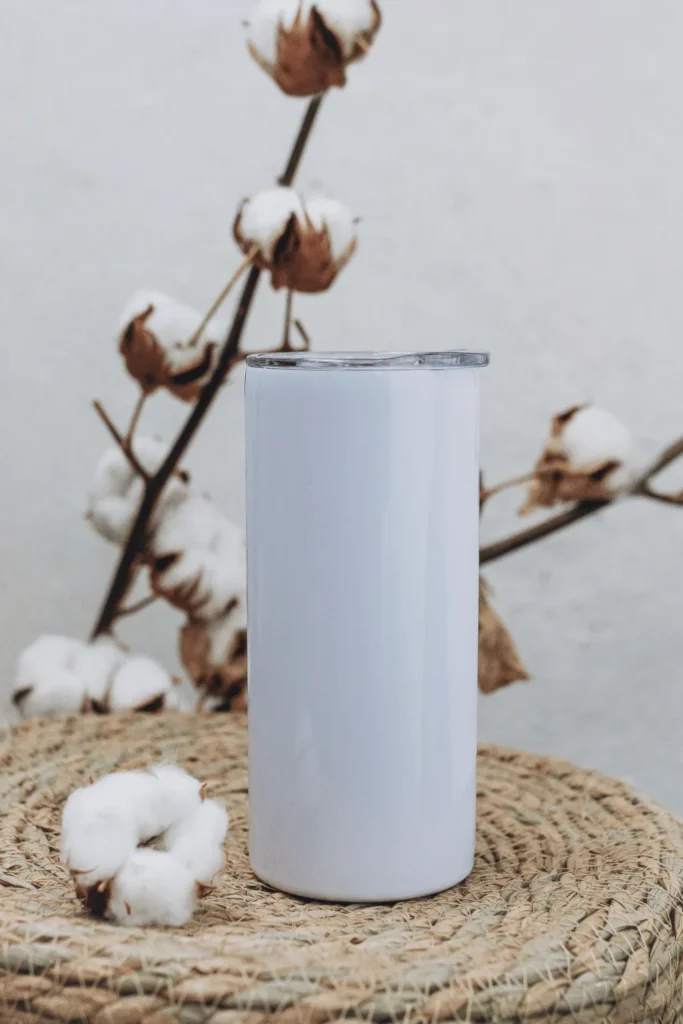
Custom Yeti cups have taken the world by storm, and it’s easy to see why! These durable, insulated cups are perfect for keeping your drinks cold (or hot) for hours, and when you add a personal touch, they become so much more than just a beverage container.
They can be a canvas for self-expression, a unique gift idea, or even the foundation for a thriving mug business from home.
For those with an entrepreneurial spirit, custom Yeti cups can be an exciting business opportunity! With relatively low start-up costs and high demand, you can find some great success in creating and selling personalized tumblers.
Want to get started now? Explore Ricoma’s machines to jumpstart your crafting business!
Choosing the Right Customization Method for Your Custom Yeti Cups
When it comes to creating customized Yeti cups, one size doesn’t fit all. Each method has its own set of pros and cons, and the right choice for you will depend on various factors. Let’s break down the most popular customization methods and what you need to consider for each.
The main factors to keep in mind are durability, cost, and the equipment needed. You’ll also want to think about the types of designs you want to create and how each method will affect the final look and feel of the cup. Some methods are better suited for intricate, multi-color designs, while others excel at creating a sleek, minimalist look.
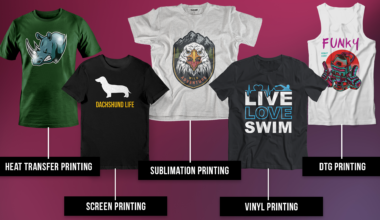
Vinyl Decals
Vinyl decals are a popular choice for customizing Yeti cups, especially for beginners. The process involves cutting designs out of adhesive vinyl and applying them to the cup’s surface. It’s relatively simple and doesn’t require expensive equipment, making it an excellent starting point for many.
Vinyl decals work best for simple designs and text. They’re great for creating monograms, names, logos, and basic graphics. One of the advantages of vinyl is the wide range of colors available, allowing for vibrant, eye-catching designs.
When it comes to durability, vinyl decals can last quite a while if properly cared for. However, they’re not as permanent as some other methods. To extend the life of vinyl-customized cups, hand washing is recommended, and exposure to extreme temperatures should be avoided.
Despite these considerations, many people appreciate the ability to change designs relatively easily by removing old vinyl and applying new decals!
Sublimation Printing
Sublimation printing is a more advanced method that allows for full-color, photorealistic designs. This process uses heat to transfer dye onto the surface of the cup, resulting in a permanent, fade-resistant image.
With sublimation, you can create complex designs with gradients, photographs, and intricate patterns. The possibilities are virtually limitless when it comes to color and detail. However, it’s important to note that sublimation only works on white or light-colored surfaces, so it’s not suitable for darker Yeti cups.
To get started with sublimation printing, you’ll need specialized equipment including a sublimation printer, heat press, and sublimation paper. While the initial investment is higher than with vinyl decals, the results can be stunning and long-lasting. Sublimated designs won’t peel or fade, making them ideal for frequent use and washing.
Step-by-Step Guide to Customizing Yeti Cups with Vinyl Decals
Now that we’ve explored various customization methods, let’s focus on one of the most accessible options: vinyl decals!
This method is popular among beginners due to its relatively low cost and ease of use. Plus, it offers great versatility, allowing you to easily change designs if you want to update the look of your cup.
Vinyl decals are perfect for creating text-based designs, simple graphics, and logos. They come in a wide variety of colors and finishes, including glossy, matte, and even glitter options. While not as permanent as some other methods, vinyl decals can last for years with proper care, making them a great choice for both personal use and small business ventures.
Materials Needed
Before you start customizing your Yeti cup with vinyl decals, you’ll need to gather a few essential materials. Here’s what you’ll need:
- A Yeti cup (or any stainless steel tumbler)
- Adhesive vinyl in your chosen color(s)
- Transfer tape
- A vinyl cutting machine (like the Ricoma RCP-6301 25’ Vinyl Cutter Essentials Bundle)
- Weeding tools
- Scissors
- Rubbing alcohol and lint-free cloths for cleaning
Using high-quality vinyl is crucial for ensuring durability. Cheap vinyl may peel or fade quickly, especially when exposed to moisture or sunlight. Opt for outdoor or permanent vinyl from reputable brands for the best results.
While not essential, some optional tools can make the process easier. A scraper tool can help smooth out bubbles when applying the vinyl, and a heat gun can be useful for helping vinyl adhere to curved surfaces. If you’re new to vinyl cutting, you might also want to invest in a starter kit that includes various tools and materials.
Cleaning and Preparing the Cup
Start by washing the cup with soap and water to remove any dirt or oils. Once it’s clean and dry, use rubbing alcohol and a lint-free cloth to wipe down the entire surface where you’ll be applying the vinyl. This step removes any remaining oils or residues that could interfere with adhesion.
If your cup has any existing decals or stickers, remove them completely before proceeding. You may need to use a product like Goo Gone to remove any stubborn adhesive residue.
Once the cup is clean and completely dry, avoid touching the surface with your bare hands to prevent transferring oils from your skin.
Cutting and Weeding the Vinyl
With your cup prepared, it’s time to create your design. You can either design your own graphic using software like Adobe Illustrator or Canva, or choose from pre-made designs available through your cutting machine’s software.
Once you have your design ready, load your vinyl into the cutting machine. Make sure to mirror your design if it includes text, as you’ll be applying it to the cup backwards. Set your machine to the appropriate settings for the type of vinyl you’re using, and start the cutting process.
After your design is cut, it’s time for weeding. This involves removing the excess vinyl around your design. Use your weeding tools to carefully peel away the negative space, leaving only your design on the vinyl backing. Take your time with this step, especially for intricate designs, to ensure clean, crisp lines.
Applying the Vinyl Design
Now comes the exciting part – applying your design to the cup!
- Start by cutting a piece of transfer tape slightly larger than your design. Peel off the backing and apply it over your weeded vinyl design, smoothing it down with a scraper tool to ensure good contact.
- Carefully peel the transfer tape away from the vinyl backing, bringing your design with it.
- Position the design on your cup where you want it to go. Once you’re happy with the placement, use your scraper tool to firmly press the design onto the cup, working from the center outwards to avoid air bubbles.
- Slowly peel away the transfer tape, leaving your vinyl design adhered to the cup. If any parts of the design lift with the transfer tape, simply press them back down and continue peeling.
- Once all the transfer tape is removed, give your design a final firm press with your fingers or the scraper tool.
To ensure the best adhesion, avoid washing your customized cup or exposing it to extreme temperatures for at least 24 hours. After that, your custom Yeti custom cup is ready to use and enjoy!
Step-by-Step Guide to Custom Yeti Cups Using Sublimation
Sublimation is a fantastic method for creating vibrant, full-color designs on Yeti cups that won’t peel or fade. This process involves using heat to transfer dye onto a special coating on the cup, resulting in a permanent, high-quality finish.
Materials Needed
Before you begin, you’ll need to gather some essential materials. These include:
- A sublimation-ready Yeti cup (or any tumbler with a polyester coating)
- A sublimation printer like the Epson EcoTank ET-2720, sublimation ink and paper
- Heat-resistant tape
- Tumbler heat press
- Heat-resistant gloves
- Lint-free cloth
- Rubbing alcohol
Designing Your Artwork
The process starts with creating your design using graphic software like Adobe Photoshop or Canva. Remember to mirror your image before printing it onto sublimation paper using your sublimation printer filled with sublimation ink. Once printed, cut out your design, leaving a small margin around the edges.
Preparing Your Yeti Cup
Next, prepare your cup by cleaning it thoroughly with rubbing alcohol and a lint-free cloth to remove any oils or residues. If your cup isn’t pre-coated for sublimation, you’ll need to apply a polyester spray coating and allow it to dry completely.
Apply Your Sublimation Design
To apply the design, wrap your printed design around the cup, ensuring it’s positioned correctly, and secure it with heat-resistant tape. If you’re using a mug press, simply insert the cup and close the press. For a flat heat press, use a mug wrap or silicone sheet to distribute heat around the cup evenly.
Set your mug heat press to 400°F (204°C) and press for 60-90 seconds, depending on your specific press and cup. Always follow the manufacturer’s recommendations for your particular equipment. Once the time is up, carefully remove the cup using heat-resistant gloves and allow it to cool for a few minutes before removing the sublimation paper.
After the cup has cooled enough to handle, carefully peel off the sublimation paper and clean any residue from the cup with a lint-free cloth. Your custom sublimated Yeti cup is now ready to use!
Start Your Customized Yeti Cup Business with Ricoma!
Our user-friendly machines can help you scale your love for Yetis into a full-fledged business! Get started by exploring our iKonix Digital Mug Heat Press for bulk orders so you can make multiple beautiful Yeti mug designs!