Ever thought about upcycling old t-shirts into a snuggly, nostalgia-packed work of art?
Learning how to make a quilt using T-shirts is like creating a snuggly time machine for your memories. Follow our memory quilt tutorial to transform each square into a storytelling masterpiece, from wild college nights to heartwarming family gatherings!
Creating a DIY t-shirt blanket can be a fun weekend project or a leisurely few-week adventure, depending on how fancy you want to get!
Want to know how to make a T-shirt quilt? Let’s dive in!
If you’re excited about learning how to make a T-shirt quilt, why not subscribe to the Ricoma YouTube channel for even more crafty inspiration?
Planning Your T-Shirt Quilt
Choosing a Theme or Concept
When choosing T-shirt quilt patterns, let your imagination run wild – from high school memories to sports fanaticism to your rock concert collection! The theme ties everything together and makes your quilt more meaningful.
For example, if you’re a music buff, you could create a quilt showcasing all the concerts you’ve attended. Or if you’re a traveler, why not make a quilt with shirts from different destinations?
When choosing your theme, consider the color scheme as well. You want your quilt to be visually appealing, so think about how the colors of your shirts will work together.
If your shirts are all over the color spectrum, you might want to use a neutral sashing (the fabric between the squares) to tie it all together.
Selecting T-Shirts for Your Quilt
When it comes to preserving memories through quilting, selecting which shirts to include is like taking a sentimental journey through your past. Not all shirts are created equal when it comes to quilt-making.
The number of shirts you’ll need depends on the size of your quilt and how large you want each square to be. A typical throw-sized quilt (about 50″ x 65″) usually requires 20-30 shirts. If you don’t have enough, you can always use both the front and back designs of some shirts to increase your square count.
Shirts with holes or extensive damage might not be suitable unless you’re going for a more rustic look. Also, consider the fabric type. 100% cotton shirts work best, but blends can be used too with proper stabilization.
Tip: For repurposing clothing into quilts, don’t stop at tees. Throw in some jerseys, sweatshirts, or even that old tank top for extra pizzazz! Just make sure they fit with your overall theme and color scheme.
Determining the Size of Your Quilt
Size matters when it comes to quilts! The size you choose will depend on how you plan to use the quilt and how many shirts you have available. Here are some standard quilt sizes to consider:
- Throw: 50″ x 65″ (perfect for snuggling on the couch)
- Twin: 70″ x 90″ (great for a single bed)
- Queen: 90″ x 100″ (ideal for a larger bed)
Think about how you’ll use the quilt. Will it be a decorative wall hanging, a cozy throw for movie nights, or a bedspread? This will help you decide on the most appropriate size.
If you’re torn between sizes or have too many shirts, why not make multiple quilts? You could create themed quilts for different periods of your life or even make smaller quilts as gifts for family members. (Who knows, maybe this is the start of a budding t-shirt business?)
How to Make a T-Shirt Quilt
So, want to know how to make a T-shirt quilt? First things first: round up those old tees and let’s get this party started!
Washing and Ironing T-Shirts
First things first – let’s get those shirts clean and wrinkle-free! Washing your shirts before starting is crucial. It removes any dirt or oils that might be on the fabric and pre-shrinks the shirts so your quilt doesn’t warp after its first wash.
Use a gentle cycle with cold water and a mild detergent. Avoid using fabric softener as it can make it harder for the fusible interfacing to stick later on. Once washed, tumble dry on low heat.
Now comes the part many people dread – ironing! But trust us, taking the time to iron your shirts properly will make cutting and sewing so much easier. Use a medium-hot iron and press out all the wrinkles. Pay special attention to the designs on the shirts – you want these to be as flat as possible.
(For vintage or delicate shirts, you might want to hand wash and air dry to preserve their condition. When ironing these, place a thin cloth over the shirt to protect it from direct heat.)
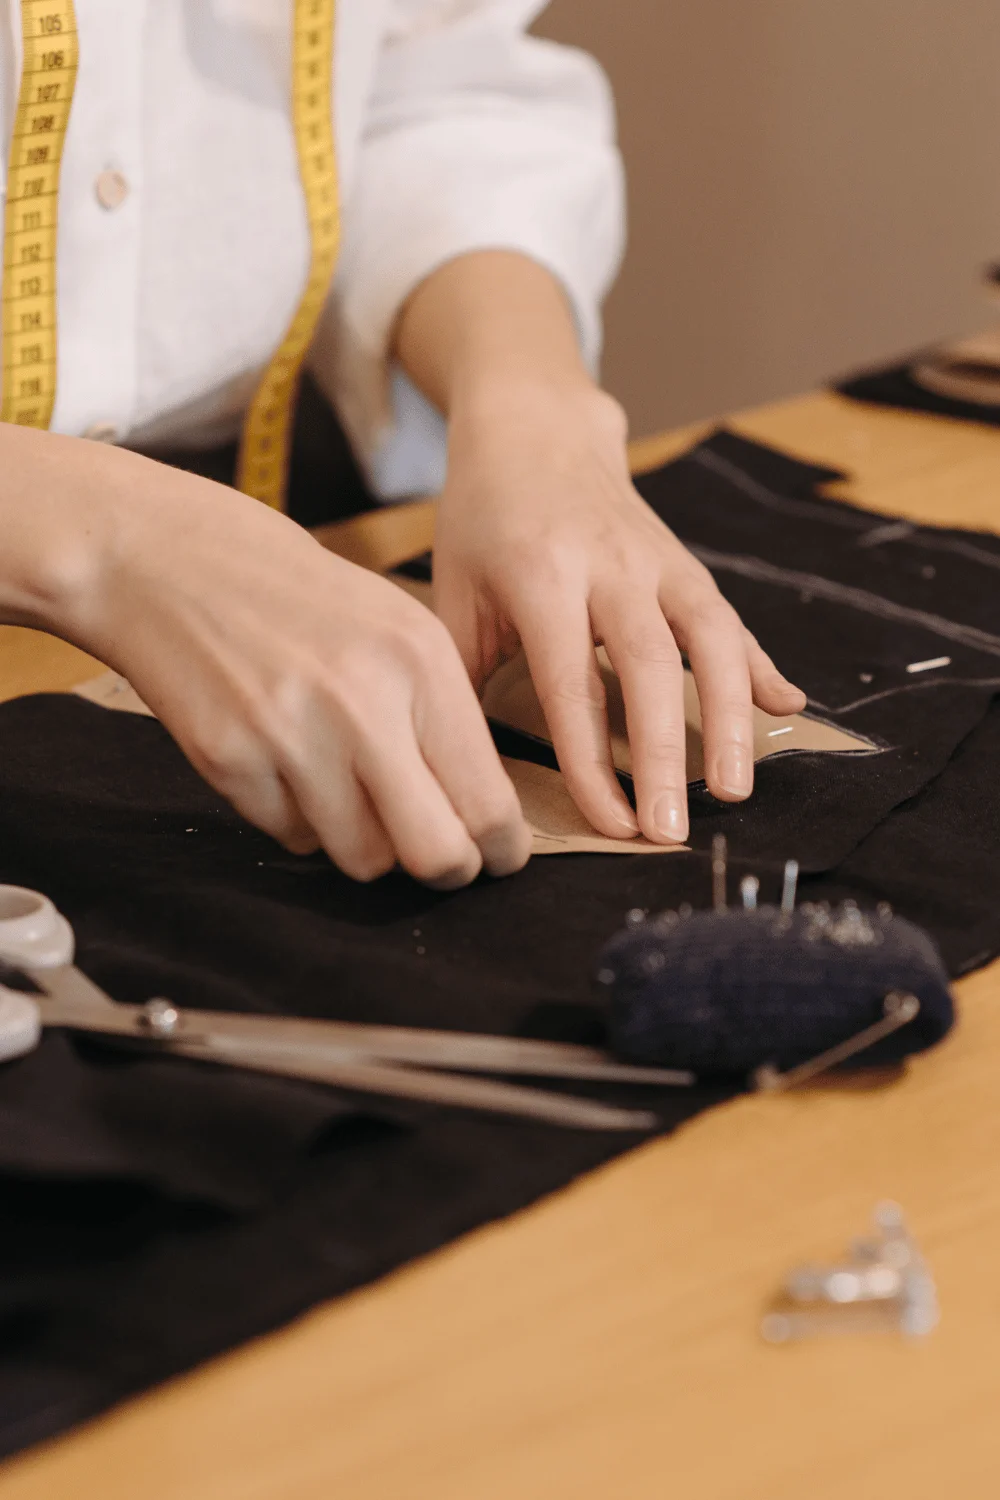
Cutting T-Shirts into Squares
You have two main options for cutting: fabric scissors or a rotary cutter. While scissors work fine, many crafters prefer a rotary cutter for its precision and speed. If you’re using a rotary cutter, make sure you have a self-healing cutting mat underneath.
Decide on the size of your squares. Most t-shirt quilts use 12″ or 15″ squares, but you can adjust based on your design and the size of the designs on your shirts. Create a cardboard template of your chosen size to ensure consistency.
When cutting, focus on preserving the main design of each shirt. Center the design in your square as much as possible. Don’t forget about the back of the shirt – sometimes there are designs there too!
Pro tip: If you have a shirt with a small design, consider cutting a smaller square and using solid fabric to frame it to the full square size. This can add visual interest to your quilt.
Designing the Layout
This is where your quilt really starts to take shape. Lay out all your cut squares on a large flat surface like a bed or the floor. If you have a design wall (a large piece of flannel or batting hung on a wall), even better!
Start arranging your squares in a way that’s visually pleasing. Consider color balance – you don’t want all your dark shirts clustered in one area. Also, think about the significance of each shirt. You might want to place particularly special shirts in prominent positions.
Don’t be afraid to play around with different arrangements. Step back and look at your layout from a distance. Take photos of different layouts to compare. This is your quilt, so go with what feels right to you!
If you want to add more structure to your quilt, consider using sashing (strips of fabric between the squares) or borders. These can help tie everything together visually and make the quilt larger if needed.
Once you’re happy with your layout, take a photo or number your squares so you remember the arrangement when it’s time to sew.
Stabilizing T-Shirt Squares
T-shirt material is stretchy, which can make it tricky to work with. Stabilizing your squares will make them easier to sew and help your quilt keep its shape over time.
The most common method for stabilizing is using fusible interfacing. This is a type of fabric that has adhesive on one side. When ironed onto your t-shirt squares, it provides stability without adding bulk.
Here’s how to apply fusible interfacing:
- Cut the interfacing slightly smaller than your t-shirt square.
- Place the interfacing adhesive-side down on the back of your t-shirt square.
- Cover with a pressing cloth to protect your iron.
- Press with a hot iron, holding for about 10 seconds in each spot.
- Allow to cool before handling.
If you prefer a softer quilt, you could use spray starch instead. This won’t provide as much stability but will still help control the stretch of the fabric.
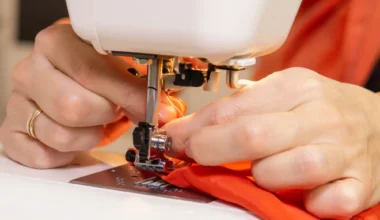
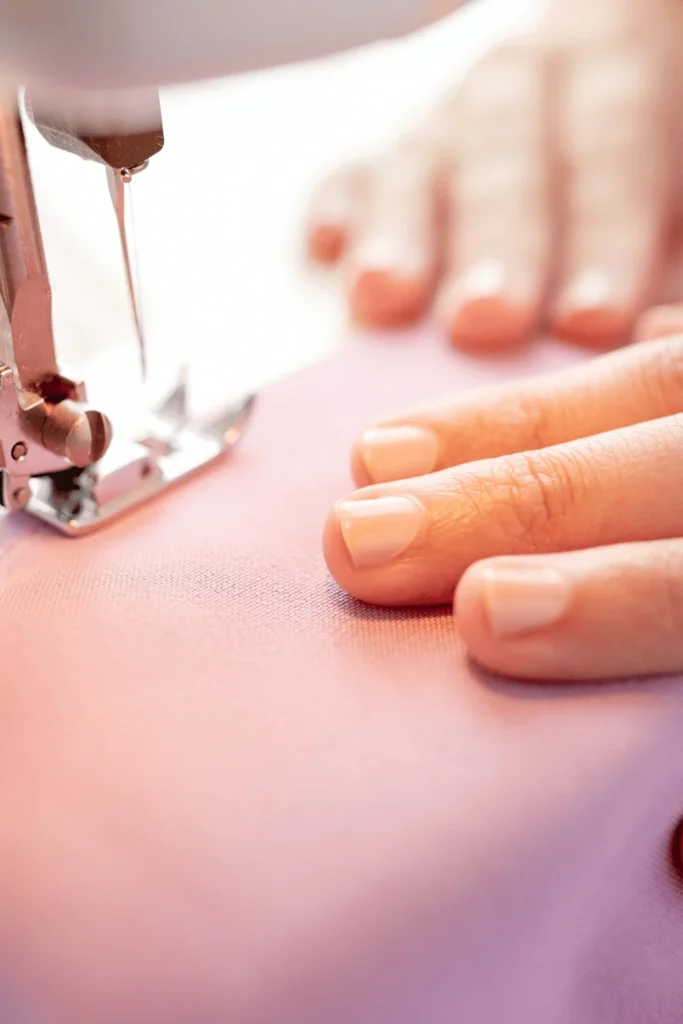
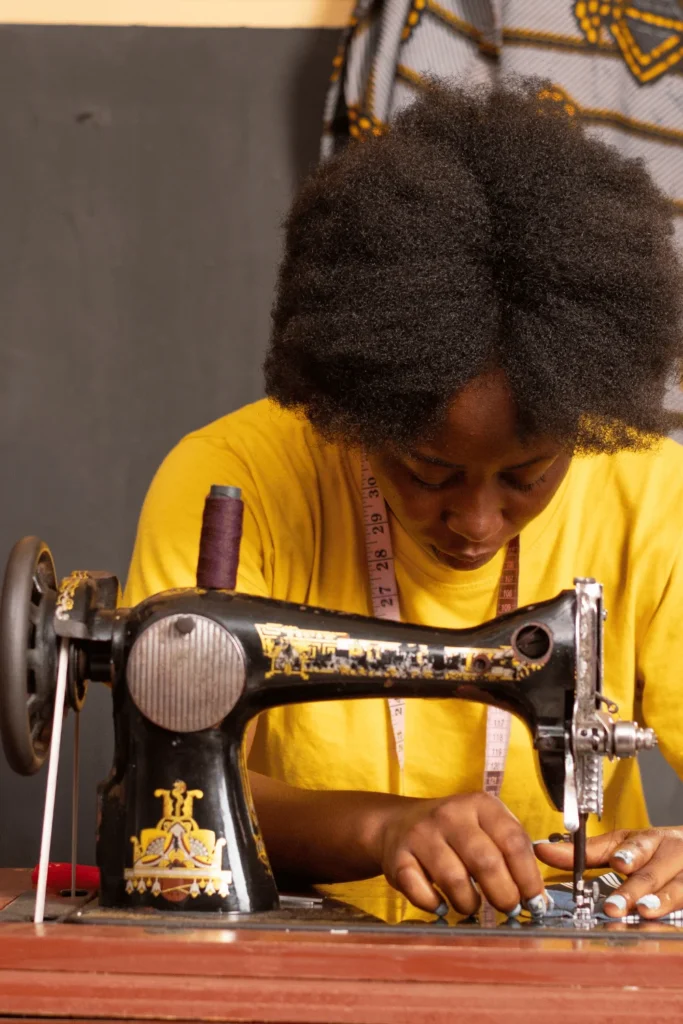
Sewing Squares Together
In quilting, a ¼” seam allowance is standard. Consistency is key here – if your seam allowances vary, your quilt blocks won’t line up properly. Many sewing machines have a ¼” foot which can be super helpful for maintaining consistent seams.
When sewing t-shirt material, use a slightly longer stitch length than you would for regular cotton. This helps prevent the seams from stretching out. A walking foot on your sewing machine can also be helpful as it feeds the top and bottom layers through evenly.
There are different approaches to piecing your quilt top:
- Row by Row: Sew the squares in each row together, then join the rows.
- Block by Block: Sew squares into larger blocks, then join the blocks.
Whichever method you choose, remember to press your seams as you go. This will give your quilt a neater appearance and make it easier to quilt later.
Note: For larger quilts, you might want to consider the “quilt-as-you-go” method. This involves quilting each block individually before joining them, which can be easier to manage on a home sewing machine.
Choosing the Right Backing Fabric
Choosing your backing fabric is just as important as the front of your quilt. After all, it’s what will be against your skin when you’re snuggled up!
When selecting backing fabric, consider:
- Durability: The backing needs to withstand frequent use and washing.
- Color: Choose a color that complements your quilt top.
- Size: You’ll need a piece slightly larger than your quilt top.
Popular choices for quilt backing include cotton, flannel, or minky fabric. Each has its own characteristics – cotton is breathable, flannel is warm, and minky is super soft.
To calculate how much backing fabric you need, add 4″ to both the length and width of your quilt top. For example, if your quilt top is 60″ x 80″, you’ll need backing fabric that’s at least 64″ x 84″.
If you can’t find fabric wide enough for your quilt, you may need to piece your backing. Just make sure any seams in the backing don’t align with seams in the quilt top.
Don’t forget about the option of using a flat sheet as backing – it’s often cheaper and comes in large sizes perfect for quilts!
Selecting Appropriate Batting
Batting is the inner layer of your quilt that provides warmth and loft. Choosing the right batting can make a big difference in how your quilt looks and feels.
There are several types of batting available:
- Cotton: Natural and breathable, great for everyday use.
- Polyester: Lightweight and easy to care for.
- Wool: Warm and has a nice loft, but can be more expensive.
- Bamboo: Eco-friendly and naturally antimicrobial.
When choosing batting, consider how you’ll use the quilt. A thicker batting will make a warmer quilt, while a thinner batting is better for a lightweight throw.
Also think about how you want your quilt to look. Some battings will give a puffier, more traditional quilt appearance, while others will result in a flatter finish.
If anyone using the quilt has allergies or sensitivities, be sure to choose a hypoallergenic option. Many battings now come in low-loft versions specifically designed for t-shirt quilts.
Layering the Quilt
Now it’s time to create your quilt sandwich! This involves layering your backing fabric, batting, and quilt top.
Start by laying out your backing fabric right side down on a large, flat surface. Smooth out any wrinkles. Next, lay your batting on top of the backing, smoothing it out as well. Finally, place your quilt top right side up on top of the batting.
The key here is to keep everything smooth and flat. Any wrinkles or bubbles at this stage can cause problems when you’re quilting.
To secure your layers, you have a few options:
- Pin basting: Use safety pins spaced about 4-5″ apart across the entire quilt.
- Spray basting: Use a temporary adhesive spray to hold the layers together.
- Thread basting: Sew long, loose stitches by hand to hold the layers.
Many crafters prefer spray basting for t-shirt quilts as it doesn’t leave any holes in the fabric. Whatever method you choose, take your time to ensure everything is secure and wrinkle-free.
Binding the Quilt
We’re in the home stretch now! Binding is the fabric strip that covers the raw edges of your quilt and gives it a finished look.
To make your binding:
- Cut strips of fabric 2.5″ wide.
- Sew the strips together end to end to create one long strip.
- Fold the strip in half lengthwise and press.
To attach the binding:
- Align the raw edges of the binding with the raw edge of the quilt front.
- Sew the binding to the quilt with a ¼” seam allowance.
- Fold the binding to the back of the quilt and hand sew in place.
For a professional finish, miter the corners of your binding. This creates a neat, angled fold at each corner.
If hand sewing isn’t your thing, you can machine bind your quilt. This method is faster but requires careful attention to catch both sides of the binding in your stitching.
Let’s Preserve Memories Through Ricoma’s Pro-Level Crafting Gear!
Ricoma offers a range of professional-grade machines that can enhance your t-shirt quilt-making process to a new level! Add intricate designs with your very own embroidery and sewing machines, print beautiful patterns with our printers, and more. Get started today!