Our crafting and fashion are rewinding back to the ‘80s and ‘90s, and we’re loving every second of it!
A decade or two before Y2K, both crafters and non-crafters were learning how to sew on patches with a sewing machine so they could identify with their favorite bands, hobbies, clubs, and interests.
Now, creating custom apparel isn’t just trendy; it’s actually a way lots of DIYers are starting their businesses from home. With their sewing machine, embroidery machines, and self-made or curated patches, they’re able to make bespoke pieces for themselves and their customers with ease.
So, how are they doing it? And more importantly, how can you do it, too? Let’s *patch* you right into the tools & tips for sewing on patches with a sewing machine.
What You’ll Need
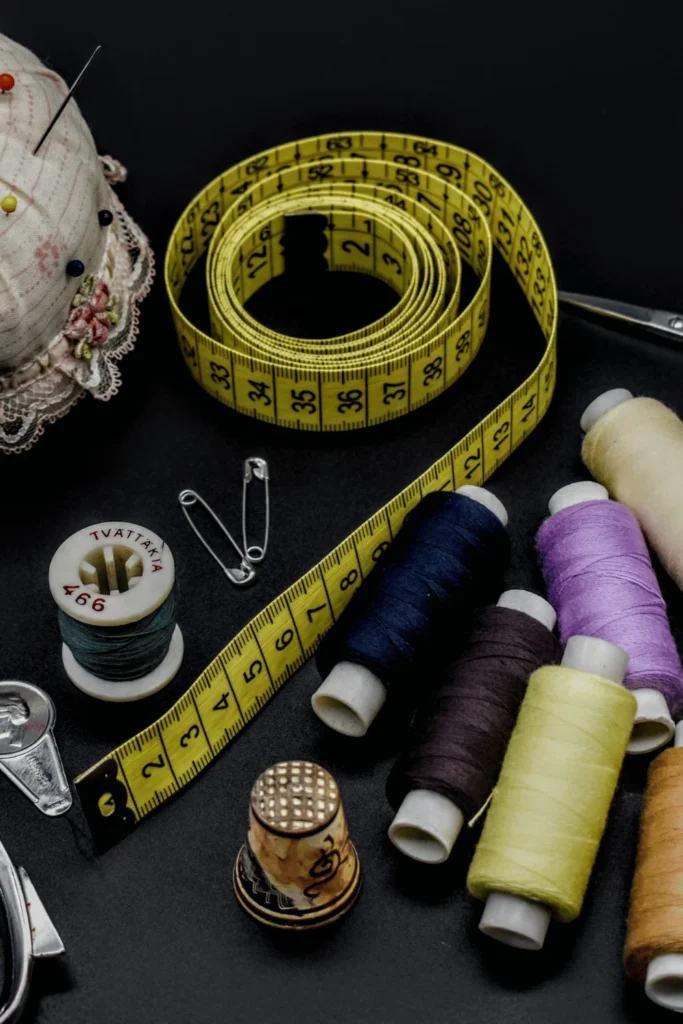
Materials
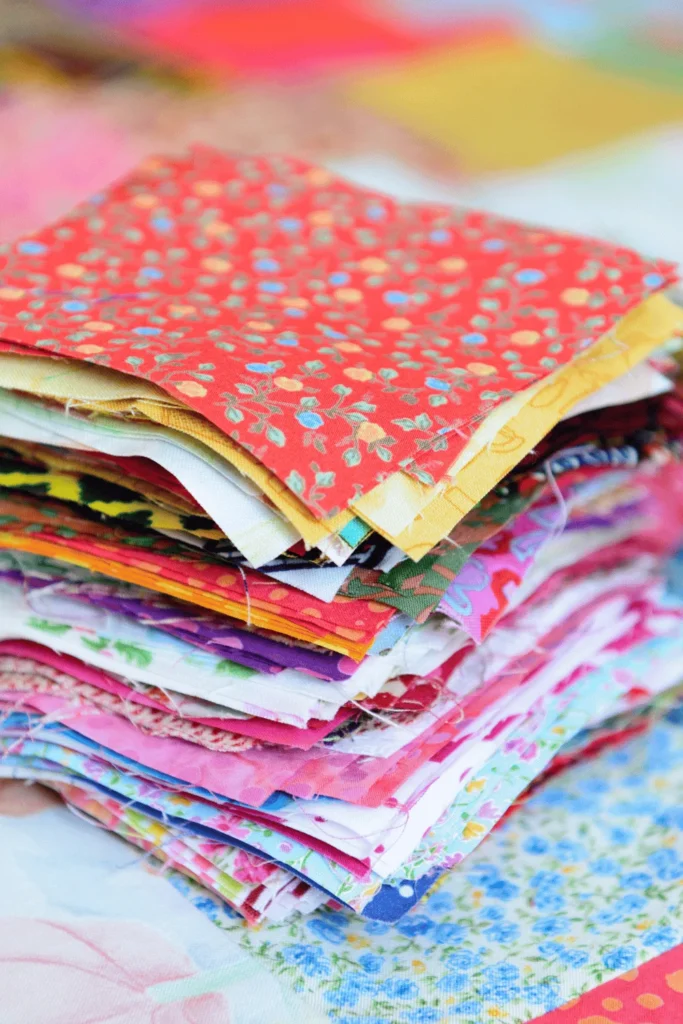
In order to begin learning how to sew on patches with a sewing machine, you’ll first need some patches! Consider everything from quirky designs to timeless emblems to vintage finds to express yourself (and to make your customers love them).
You can have lots of fun browsing through some sewing patches on Etsy!
You’ll also need your desired fabric or substrate that you’ll be ironing the patches on. And, some stabilizer, to make sure there’s no puckering or stretching during the sewing process. (Contrary to popular belief, stabilizer isn’t just for embroidery!)
Finally, you’ll need the right thread to achieve that polished result when sewing on a patch with a sewing machine. Opt for one thread that matches either the color of the patch or the garment.
Tools
When learning how to sew on a patch with a sewing machine, a few key tools are required.
- First, your trusty sewing machine for patches is most important. Before diving into your project, ensure your sewing machine is in top-notch condition, properly threaded, and equipped with the appropriate needle and presser foot for the task at hand.
- Easy-to-use digitizing software with ongoing updates, like our Chroma Digitizing Software
- Sharp scissors for trimming threads cutting fabric and shaping patches
- Pins or fabric adhesive to secure your patches in place while sewing
You’ve got your tools and materials for learning how to sew on patches with a sewing machine; now, let’s get patching!
Preparing Your Patch Fabric
The prep is just as important as the sewing itself when learning how to sew on patches with a sewing machine.
Here’s how to get started:
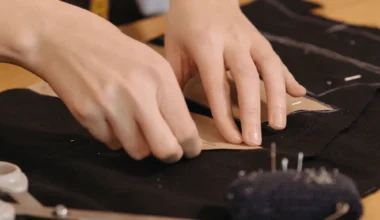
Positioning the Patch
When it comes to how to sew on a patch with an embroidery machine, positioning the patch on your garment with thoughtful consideration and precision is key.
Determine where you want to place your patch, envisioning how it will enhance the overall aesthetic of the garment. Are you adding it to the sleeve of a jacket? Accenting the pocket of jeans?
If you’re not sure, pick a location that compliments the garment’s style… or make it something totally off-the-cuff. Maybe it’ll be your new bespoke style!
Once you’ve settled on the perfect spot, use fabric chalk or pins to mark it accurately. These markers serve as guides to ensure precise placement and alignment when it’s time to sew on the patch.
Taking the time to carefully position the patch sets the stage for a professional-looking result that seamlessly integrates with the garment’s design.
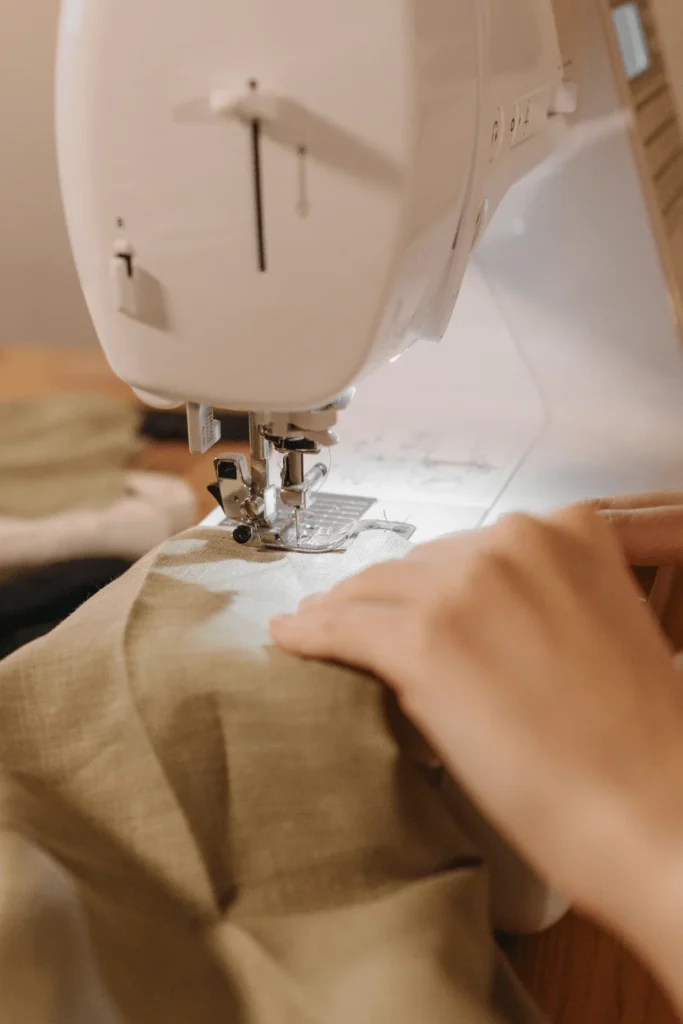
Setting Up Your Sewing Machine
Pick the appropriate needle and presser foot for the task at hand.
Different fabrics and patch materials demand specific needles and presser feet to ensure optimal results. Denim is likely going to need a different needle than cotton.
Likewise, opt for the right presser foot, like a standard foot or a walking foot for thicker fabrics, to facilitate smooth stitching.
Then, thread your sewing machine with matching thread to blend seamlessly with your patch. This will create a more polished, clean finish.
As you’re doing this, adjust the tension on your sewing machine. This will help prevent any fabric puckering or bunching. If you don’t know how to adjust, consult your sewing machine’s manual for guidance on adjusting tension settings.
Sewing the Patch
The Sewing Process
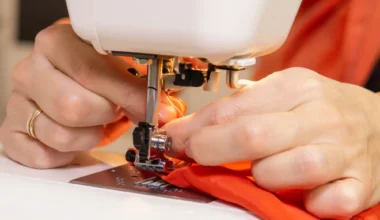
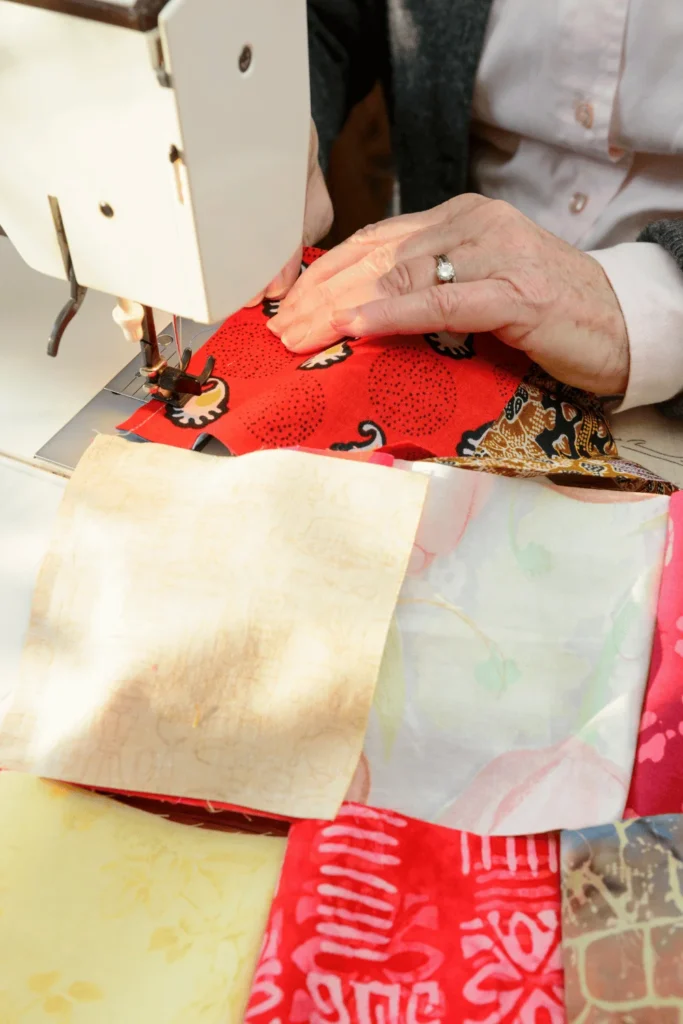
Position your garment under the sewing machine needle, focusing on sewing around the edges of the patch first. This initial stitching serves to secure the patch in place, preventing any unwanted shifting during subsequent sewing steps.
Now, pick the appropriate stitch for your patch.
Depending on its design and size, opt for either a straight stitch for simple, clean edges or a zigzag stitch for added durability, which is particularly useful for larger patches or intricate designs.
As you sew, remember to proceed slowly and attentively. You want an event stitch and a precise patch placement. Rushing through the sewing process could cause uneven or skipped stitches. Maintain a steady pace, keeping your movements smooth and controlled for the best possible outcome.
Mistakes to Avoid
- Not securing your patch before sewing – this could cause shifting or puckering during stitching
- Not picking the right needle and presser foot. Using the wrong ones can lead to fabric damage or uneven stitching.
- Rushing, especially with thicker fabrics or intricate designs,. This can cause uneven or skipped stitches.
- Forgetting to backstitch at the beginning and end of your stitching. This will help secure the threads and prevent them from unraveling over time.
Finishing Touches
Securing the Stitches
Backstitch at both the beginning and end of your sewing to reinforce the threads, preventing unraveling and ensuring the patch remains firmly in place.
Then, tidy up any loose ends by carefully trimming excess thread from the edges of the patch using scissors. If you used fabric chalk or pins to mark the patch’s placement, remember to remove them once your sewing is complete.
Caring For Your Patched Garment
Here’s what we recommend after patching:
- Adhere to the garment’s care instructions. Especially before washing or ironing, always check these instructions, as different fabrics may require specific care methods to prevent damage to both the fabric and the patches.
- Don’t immediately wash your garment. Instead, let it properly set, ensuring the patches stay securely attached.
- Spot-clean to remove stains or dirt. This will help maintain the patches’ integrity while addressing any soiled areas.
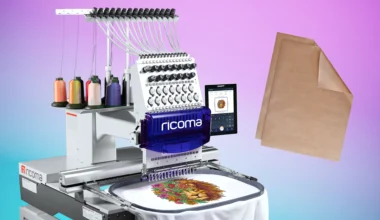
Next Up: Embroidery with Ricoma’s SWIFT!
Now that you’ve got patches down, why not create even larger thread designs? Discover the innovative features and capabilities of Ricoma’s SWIFT, meticulously designed to transform your embroidery projects into works of art. Explore how to sew on a patch with a sewing machine so you can enhance your creative process and bring your vision to life!