Oh boy. In the middle of sewing your dream embroidery project, everything is going smoothly, and suddenly, your sewing machine comes to a screeching halt.
The needle is stuck, the thread is tangled, and you’re left feeling frustrated and defeated. We’ve all been there left wondering “Why is my sewing machine jamming?”, and it’s not fun!
Sewing machine jams are one of the most common (and annoying) problems sewists encounter. Don’t worry — understanding why your sewing machine jams and how to fix it is easier than you might think.
The Basics of Your Sewing Machine: How It Works
So what do you need to think of first when pondering “Why is my sewing machine getting jammed?” You should always start with the basics!
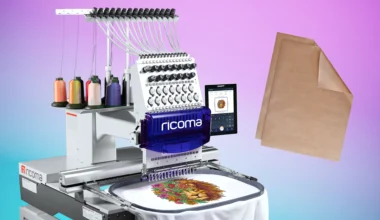
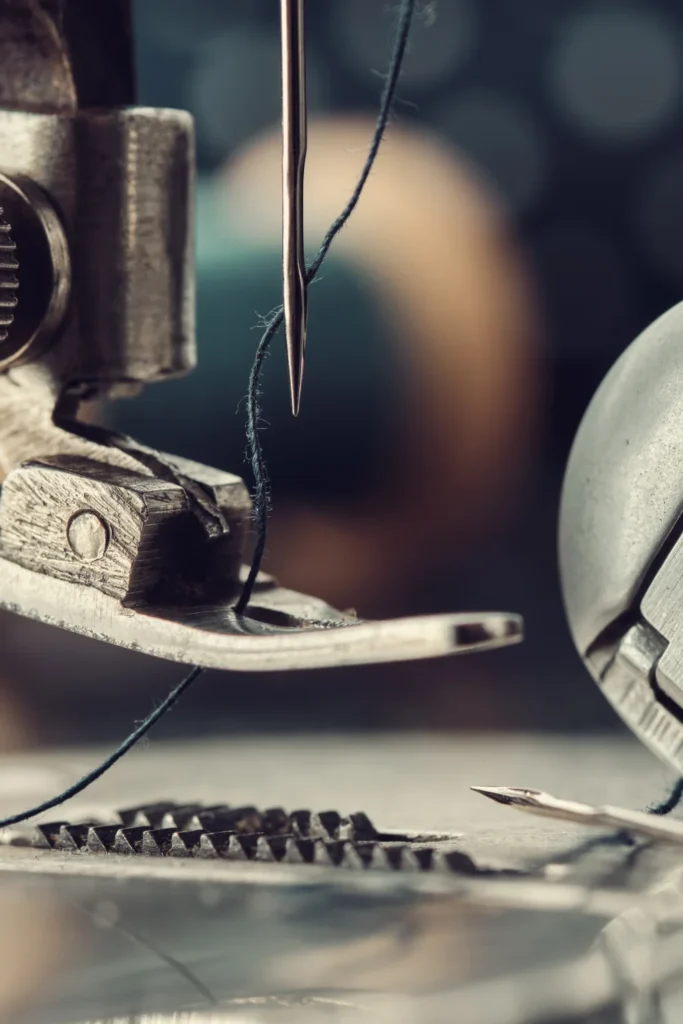
Essentially, your sewing machine is a clever combination of moving parts that work together to create stitches. The needle moves up and down, carrying the top thread down to meet the bobbin thread.
The bobbin thread then loops around the top thread, and as the needle rises, it pulls the threads together to form a stitch. The feed dogs, those little teeth under the needle, help move the fabric along, ensuring each stitch is perfectly spaced. It’s a beautiful dance of mechanics. But when one part gets out of sync, a jam can happen.
What Constitutes a Jam?

A jam is basically when your sewing machine stops working properly because something is blocking or disrupting the normal movement of the thread, needle, or fabric. There are different types of jams, each with its own set of symptoms.
A thread jam happens when the thread gets tangled or stuck, usually around the needle or in the bobbin area.
A needle jam occurs when the needle hits something it shouldn’t, like a pin or the metal plate under the fabric.
And a bobbin jam is when the bobbin thread gets caught or doesn’t wind properly.
How can you tell if your machine is jammed? Well, there are a few telltale signs. You might hear a loud clicking or grinding noise, or notice that the needle is stuck in the down position.
The fabric might not be moving as it should, or you might see a big tangle of thread around the needle or bobbin. Sometimes, the handwheel (that big wheel on the side of your machine) becomes difficult or impossible to turn. If you experience any of these symptoms, it’s likely you’re dealing with a jam.
Common Causes of Jamming
Sewing machine jams can be frustrating, but understanding the common causes can help prevent them. These causes can be categorized into thread-related issues, needle problems, and neglecting machine maintenance.
Thread-related issues, such as using the wrong thread type or incorrect threading, can lead to jams. Needle problems, like using a dull or bent needle, can also cause trouble.
Lastly, neglecting regular maintenance, like cleaning and oiling your machine, can result in jams.
Thread-Related Issues
Using the correct thread type and weight for your fabric and needle is crucial to keep you from wondering “Why is my sewing machine jamming?” If the thread is too thick or thin for the needle, there’s incorrect threading, or if the thread is not properly placed in the machine, it can get tangled and cause jams.
Additionally, lint and debris can build up in the thread path, obstructing the smooth flow of the thread. Regularly checking and cleaning the thread path can help prevent these issues.
Incorrect Thread Tension
Thread tension plays a significant role in sewing. It determines how tight or loose the stitches are. If the tension is too tight, the thread can break or cause puckered stitches. If it’s too loose, the stitches may be uneven and the thread can tangle. Signs of incorrect tension include loose or tight stitches.
To fix this, refer to your sewing machine’s manual for instructions on adjusting the tension settings properly. Testing on a scrap piece of fabric can also help you find the right balance.
Thread Quality and Type
Using high-quality thread is essential for smooth sewing. Low-quality or old thread can break or shred, leading to jams. It’s important to use thread that is compatible with your sewing machine and the fabric you are working with.
Investing in threads from reputable brands ensures better performance and reduces the chances of jamming. Always store your thread properly to avoid exposure to dust and sunlight, which can weaken it over time.
Thread Path Obstructions
The thread path in your sewing machine can easily become obstructed by lint, dust, and thread fragments. These blockages can cause the thread to catch and jam. Regular cleaning of the thread path is essential to maintain smooth operation.
Using a lint brush and tweezers, carefully remove any debris from the thread path. Make it a habit to clean your machine after every project to prevent jams and keep your sewing machine running smoothly.
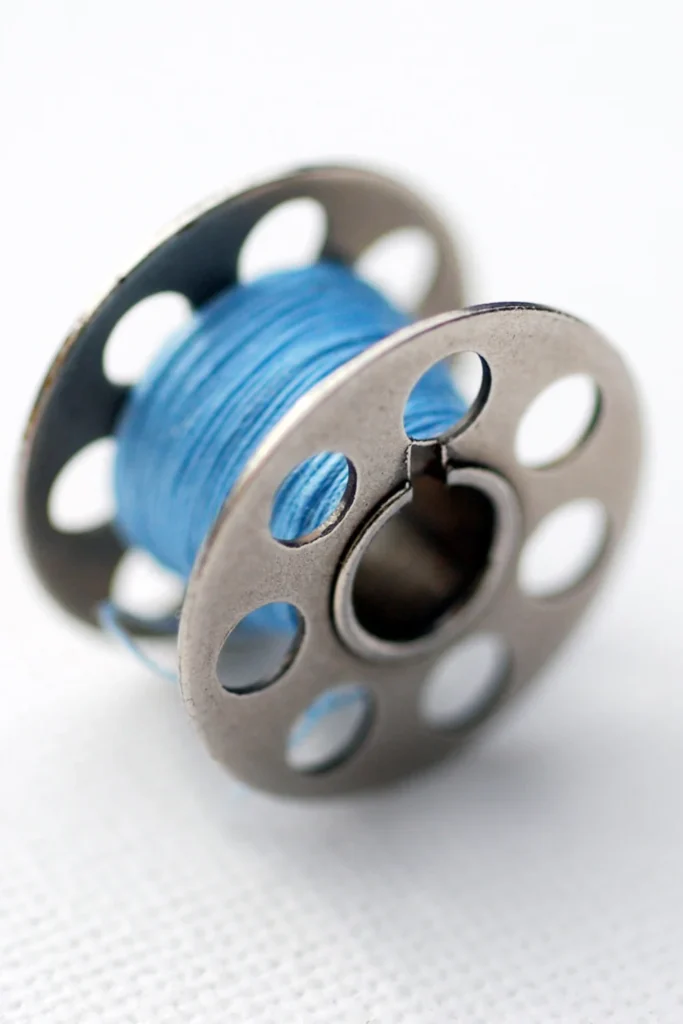
Bobbin Problems
The bobbin plays a crucial role in the sewing process by providing the bottom thread for stitches. If the bobbin is not wound correctly, it can lead to jams. Ensure that the bobbin is wound evenly without any loose or tight spots. Improper insertion of the bobbin into its case can also cause issues. Make sure the bobbin is placed correctly according to your sewing machine’s manual.
Using low-quality bobbin thread can break easily, leading to jams. For troubleshooting, check that the bobbin is wound properly, inserted correctly, and made of high-quality thread to prevent problems.
Needle Issues
If you’re thinking “Why is my sewing machine jamming?” and you’re working with a bent or dull needle, then there is your answer!
A bent or dull needle can cause skipped stitches and jams. It’s important to use the right needle type and size for your fabric. For example, using a needle designed for heavy fabrics on lightweight material can lead to problems.
Regularly changing the needle after every 8-10 hours of sewing can prevent these issues. To check for damage, look for any bends or dull points. If you notice any, replace the needle immediately to ensure smooth sewing.
Machine Maintenance Neglect
Regular maintenance is key to keeping you from wondering “Why is my sewing machine jamming?” and your sewing machine running smoothly. Basic tasks include cleaning lint and debris from the machine, oiling it to ensure parts move smoothly, and adjusting the thread tension.
De-lint your machine after every few projects, especially if you’re working with lint-heavy fabrics like flannel or fleece.
Use a drop or two of oil as recommended in your machine’s manual, usually around the bobbin case and moving parts. A maintenance schedule, such as a monthly cleaning and oiling routine, can help prevent issues.
*Always consult your machine’s manual for specific maintenance instructions to keep it in top condition.
How to Troubleshoot Solutions
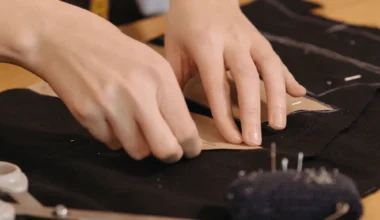
Visual Inspection
Start by giving your sewing machine a good look-over. Check for any obvious signs of damage or parts that are out of place. Focus on the needle, making sure it isn’t bent or dull. Look at the thread path to ensure the thread is correctly threaded through the machine. Check the bobbin area to see if it’s properly inserted and wound.
If you’re not sure what something should look like, refer to your machine’s manual, which usually has helpful diagrams and instructions.
Listening to Unusual Noises
Pay attention to any unusual sounds your sewing machine might be making. These noises can be clues to what’s wrong. For example, a clunking noise could mean something is loose or needs oiling, while a high-pitched whine might indicate a problem with the motor or tension settings.
If you hear strange noises, try to pinpoint where they are coming from. Then, take steps to fix the problem based on the type of noise you hear. Your manual can also guide you on what different noises might mean.
Testing Stitch Patterns
Testing different stitch patterns can help you figure out what’s wrong with your sewing machine. Start with a simple straight stitch and see if it looks normal. Then, try other stitches, like zigzag or decorative patterns. Pay attention to any changes in the machine’s behavior or the quality of the stitches.
If you notice problems with certain stitches, it might help you identify the issue, such as incorrect tension or threading problems. Keep an eye on how the fabric moves and whether the stitches are consistent.
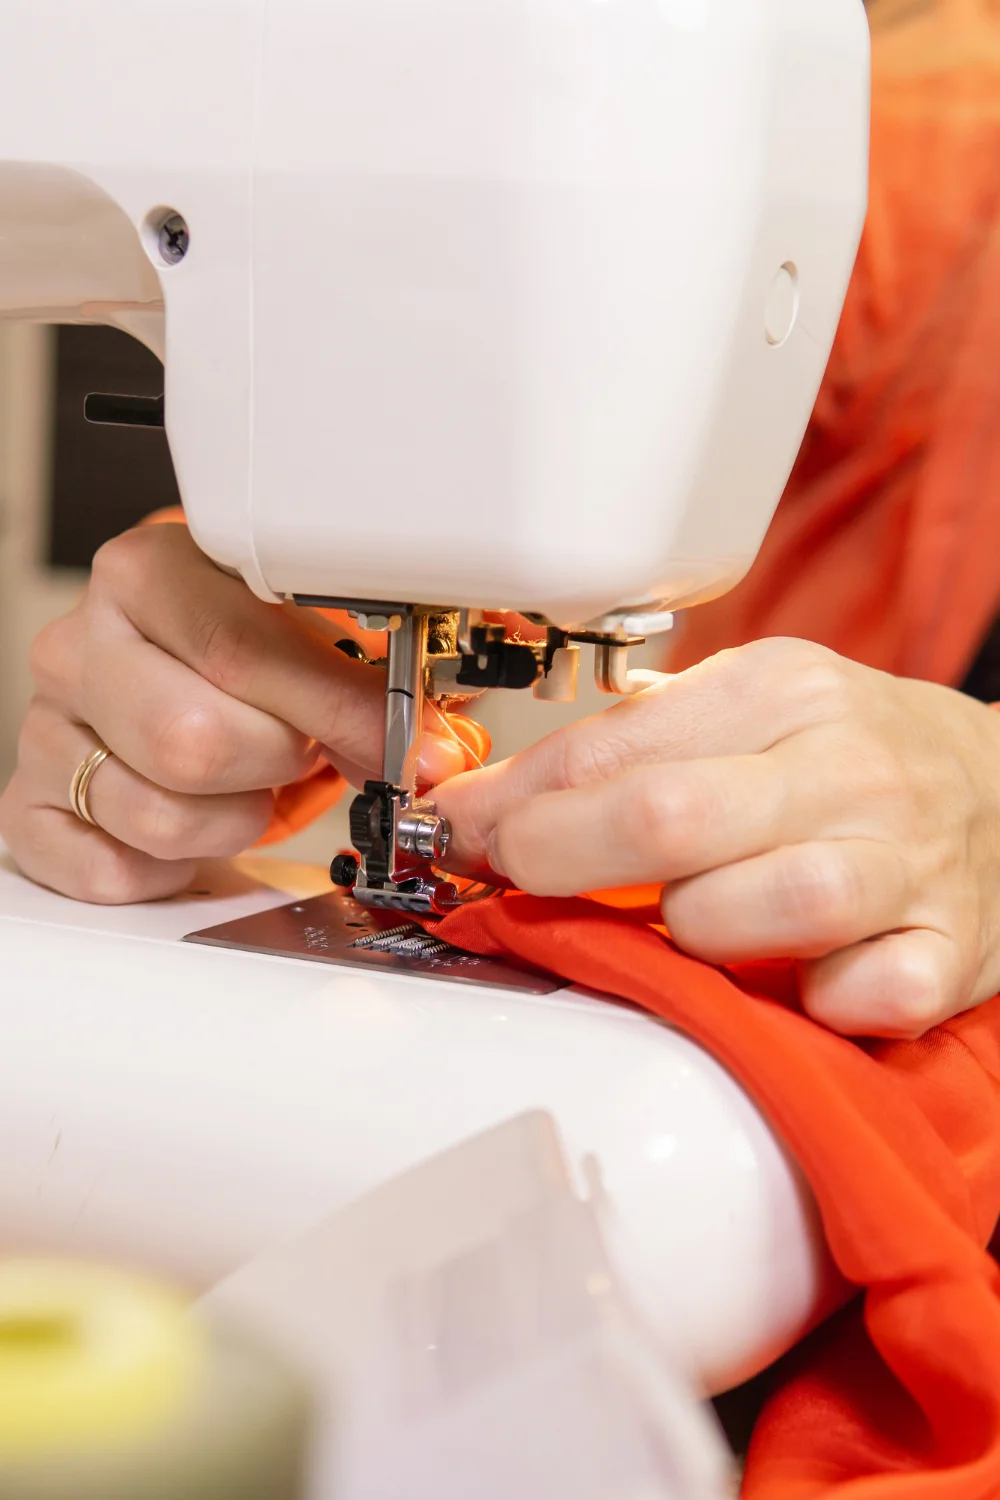
Steps to Fix Jamming
Adjusting Thread Tension
Proper thread tension is super important for smooth sewing. If your tension is too tight or too loose, it can cause the thread to jam. To adjust the tension, first, check your machine’s manual for specific instructions.
Generally, you will find a dial or knob for adjusting tension. Start by setting it in the middle and testing it on a scrap piece of fabric. If the stitches are too tight, loosen the tension by turning the dial to a lower number. If the stitches are too loose, increase the tension. Keep testing and adjusting until the stitches look even.
Bobbin Reinsertion and Cleaning
A poorly inserted bobbin or a dirty bobbin case can also cause jams. To fix this, remove the bobbin and reinsert it correctly according to your machine’s manual. While the bobbin is out, check the bobbin case for any lint or debris.
Use a small brush or compressed air to clean out any buildup. Make sure the bobbin is wound evenly and correctly placed back in its case.
Changing Needles
A bent or dull needle can cause a lot of problems, including jams. Changing the needle is a simple fix that can make a big difference.
First, turn off your machine and raise the needle to its highest position. Loosen the screw that holds the needle and remove it. Insert a new needle, making sure the flat side faces the back. Tighten the screw securely. Always use a new, sharp needle for each project, and choose the right type and size for the fabric you’re working with.
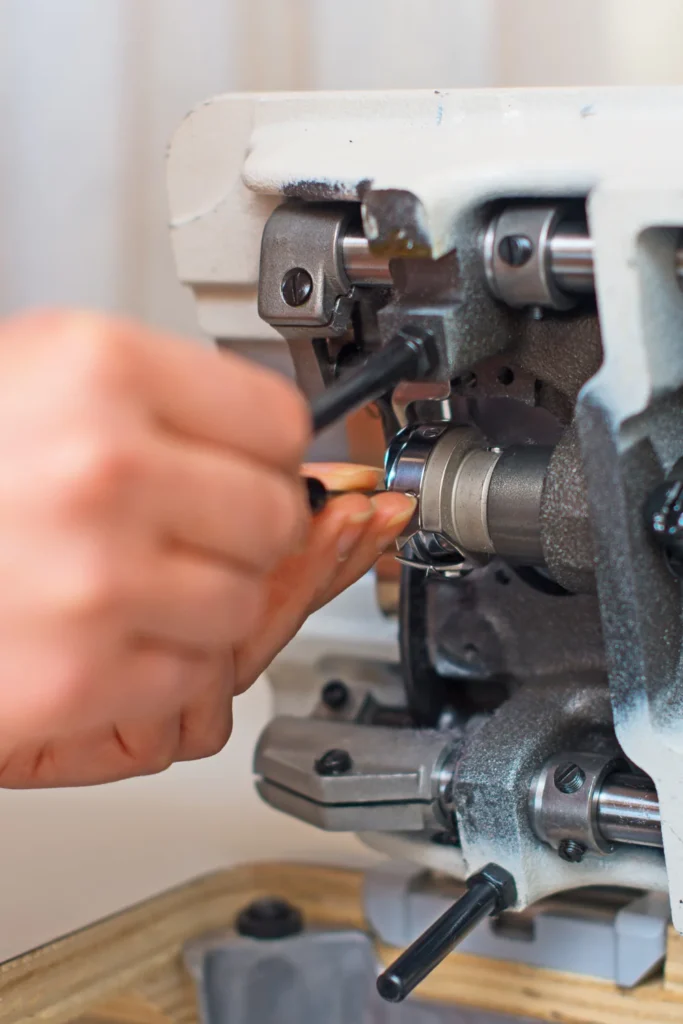
Routine Maintenance Practices
If you’ve gone through all of the other precautions and are still wondering “Why is my sewing machine jamming up?” then it’s probably time to consider the last time you maintained your sewing machine! Regular maintenance is key to keeping your sewing machine in top shape and preventing jams. Make it a habit to clean your machine after every few projects.
Remove lint and dust from the bobbin area and other parts of the machine. Oil your machine as recommended in the manual, usually around the bobbin case and moving parts. Adjust the thread tension regularly and keep your machine covered when not in use to protect it from dust. Follow the maintenance schedule in your manual for the best results.
Find a Creative Community In Ricoma to Answer All of Your Embroidery-Related Questions!
Joining the Ricoma community opens up a world of possibilities. You’ll get access to a treasure trove of resources, including tutorials, tips, and tricks to help you take your sewing skills to the next level!
Compare our embroidery machines to find the perfect fit for your needs and get your business started. We can’t wait to welcome you!